66
ED50
08-2018
DL4614-140
dormakaba ED50 OHC Installation Instructions
Chapter 29
29.9 Perform partial learning cycle to rotate arm to door installation
position
CAUTION
Learning cycle must be performed while
motor is cold!
CAUTION
Verify that the following have been set
1. AS parameter-Installation type, Para. 29.7
2. Tb parameter-Door width, Para. 29.2
3. Braking circuit plug, Para. 29.1
4. Spring tension, Para. 29.4
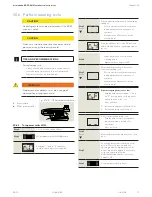
Step 1
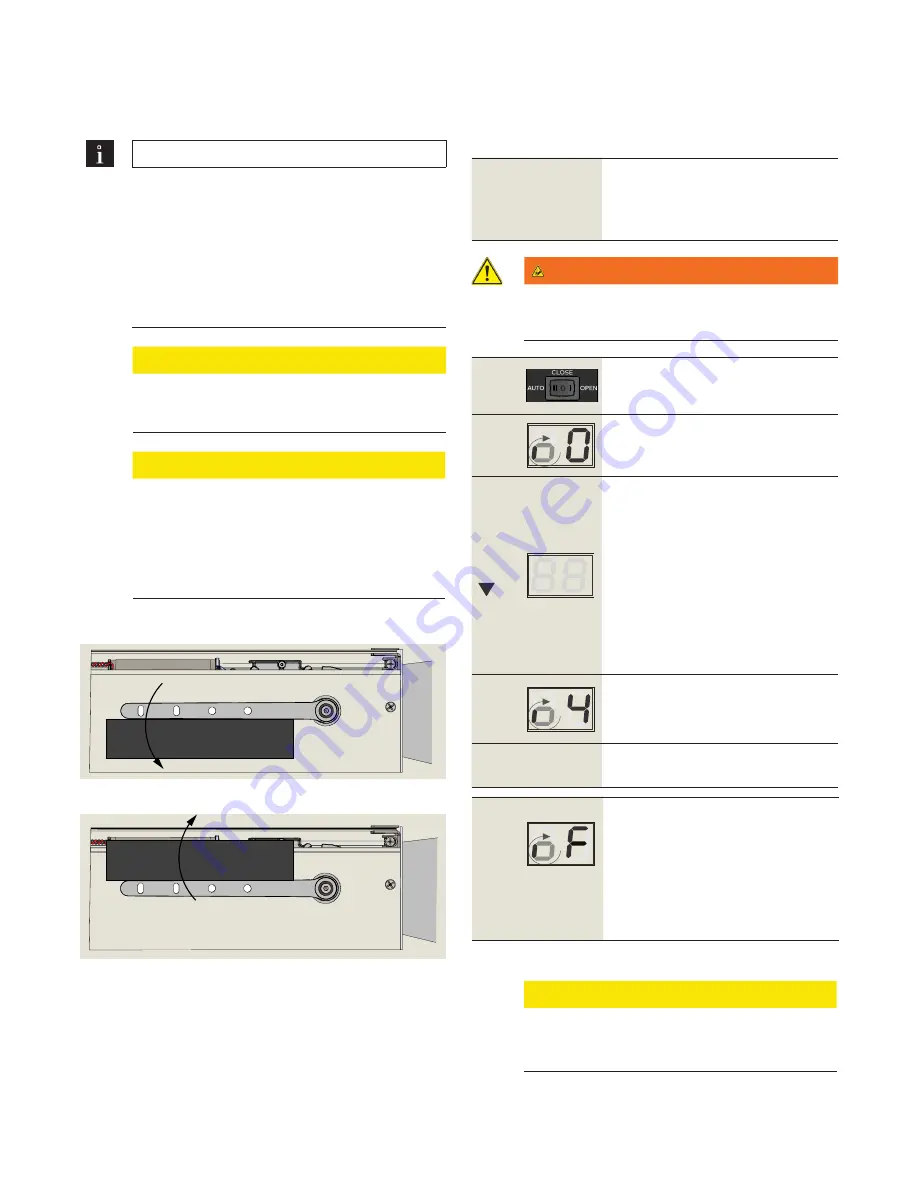
Block arm at door closed position.
Hold block in place [Use caution!], or
clamp block to header, against the arm
in door closing direction
during learning
cycle
WARNING
Use caution when in close proximity to overhead
arm during learning cycle!
Step 2
Set program switch to CLOSE position.
Rotating "o" and a "0" indicates
operator learning cycle is required.
Step 3
Press
Press and hold down button until display
changes.
• Arm first rotates to find door closed
position.
See Step 1: Arm must be
blocked so arm cannot travel past
this position.
• Arm performs several movements
and display shows a sequence of
symbols.
• Movements of arm must not be
interrupted!
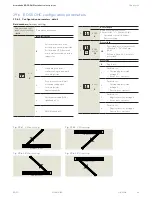
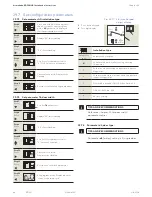
Display indicates arm is at 70° position.
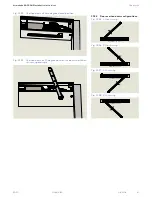
Reference Fig. 29.9.4.
Step 4
If desired, manually move door to 900
position for door installation.
TIPS AND RECOMMENDATIONS
• Arm installation; Reference Chapter 28.
• Arm must be blocked at door closed position
(0 degrees) during the learning cycle so that
it cannot travel past this position in the door
closing direction.
• Partial learning cycle will position arm at
70 degree position for door installation.
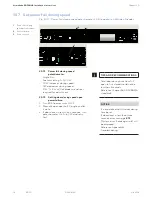
29.9.1 Initiate learning cycle to rotate arm.
Operator spring tension too low.
• Display with small rotating "o" and
an "F" during learn cycle indicates
spring tension is too low.
• Arm rotates to closed position.
1. Increase spring tension (Para. 33.1).
2. Restart learning cycle (Step 1).
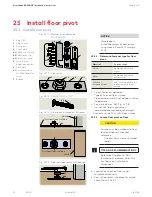
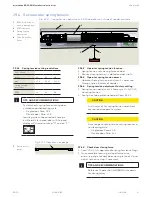
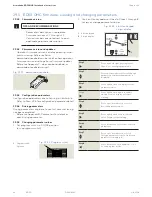
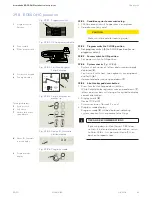
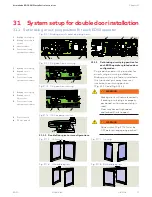
Fig. 29.9.1 RH outswing arm block
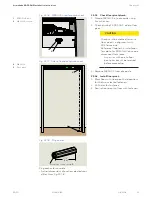
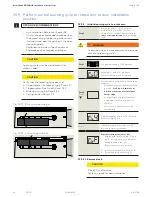
Fig. 29.9.2 LH inswing arm block
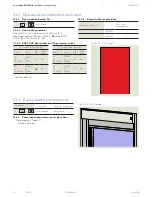
29.9.32 Remove block.
CAUTION
Do not turn off power!
System is ready for door installation.

