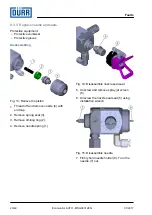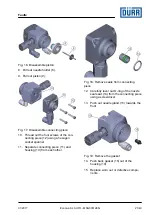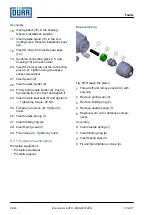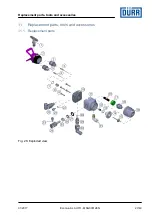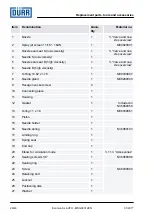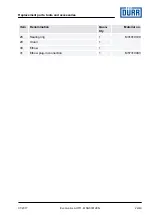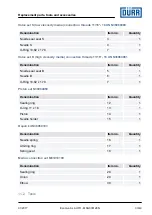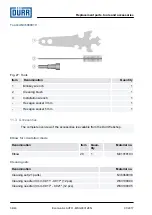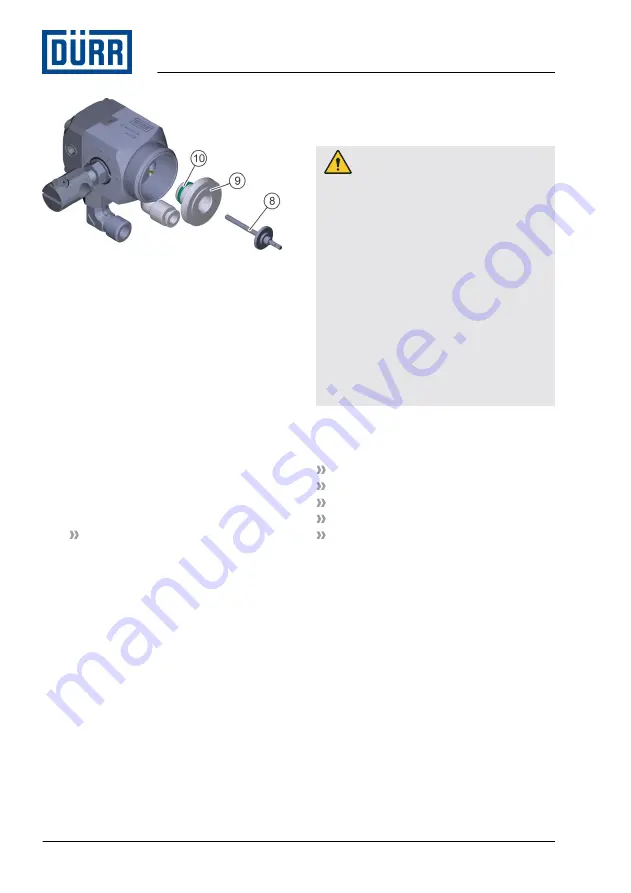
Fig. 24: Disassemble piston.
8. Pull out needle holder (8).
9. Pull out piston (9).
10. Pull off O-ring (10) from the piston.
11. Replace worn out or defective compo-
nents.
Assembly
12. Push up O-ring (10) on to the piston (9).
13. Insert piston (9).
14. Insert needle holder (8).
15. Firmly hold needle holder (8). Push in
the needle from the front and tighten it.
16. Insert nozzle seal seat (5) and tighten it.
Tightening torque: 20 Nm
17. Fit spray jet screen (6). Tighten by
hand.
18. Insert needle spring (1).
19. Insert limiting ring (2).
20. Insert spring seat (3).
21. Fit end cap (4). Tighten by hand.
9
Disassembly and Disposal
9.1
Safety recommendations
WARNING!
Risk of injury due to escaping material
and compressed air
Material can escape with high pressure
and penetrate the body. The injury can
look like a harmless cut wound. Death or
serious injuries may result.
– If there are injuries, seek medical
attention immediately.
Before working on the product:
– Disconnect the system with the
product from compressed air and
material supply.
– Secure the system against recon-
nection.
– Relieve the lines.
9.2
Disassembly
Protective equipment:
Use ear protection
Eye protection
Respiratory protection device
Protective workwear
Protective gloves
1. Rinsing
2. Disconnect the compressed air supply
and material feed. Secure against recon-
nection.
3. Disconnect all lines.
4. Disassemble the spray gun from the sup-
port bracket.
Disassembly and Disposal
01/2017
EcoGun AL AUTO - MSG00012EN
24/40


