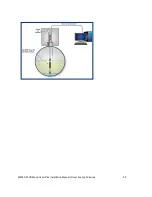
13.1 DFS Density Measurement Float Installation
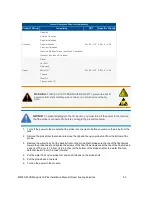
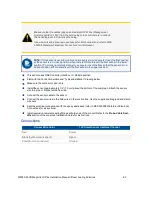
WARNING:
THIS IS A STATIC SENSITIVE DEVICE! To prevent the risk of
explosion from static discharge,
do not
clean or rub this device with a dry
cloth.
1. Shut down the module that the probe is connected to. Then, remove the probe from the tank.
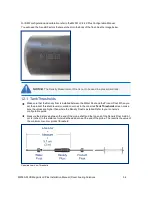
2. Turn the bottom Probe Ring counter-clockwise to unscrew the ring from the probe. Then, remove the
water float.
3. Put the density float onto the probe shaft so the two attachment screw point toward the top of the
probe. Tighten the 2 attachment screws to the probe shaft.
NOTE:
The float should be installed so that the top of the float is approximately 300mm from
the probe bottom.
4. Put the Water Float back on the Probe Shaft. Put the bottom Probe Ring back on the threads and turn it
clockwise to tighten it.
5. Put the probe back inside the tank.
6. Supply power up the system.
7. For Density Measurement Float configuration and calibration, refer to your Console Configuration
Manual.
8. For the configuration and calibration, you will need the A and B parameters printed on the body of the
float. These parameters are also written on the label inside the float packaging.
M2050-PLUS MagLink LX Plus Installation Manual | Dover Fueling Solutions
56
Summary of Contents for M2050-PLUS
Page 35: ...M2050 PLUS MagLink LX Plus Installation Manual Dover Fueling Solutions 35 ...
Page 58: ...M2050 PLUS MagLink LX Plus Installation Manual Dover Fueling Solutions 58 ...
Page 115: ...M2050 PLUS MagLink LX Plus Installation Manual Dover Fueling Solutions 115 ...
Page 117: ...M2050 PLUS MagLink LX Plus Installation Manual Dover Fueling Solutions 117 ...
Page 120: ...M2050 PLUS MagLink LX Plus Installation Manual Dover Fueling Solutions 120 ...
Page 121: ...M2050 PLUS MagLink LX Plus Installation Manual Dover Fueling Solutions 121 ...
Page 124: ......


