3 6
12
Mark the anchor holes through the cabinet floor or mark around the plinth
structure using masking tape, pencil, etc. Remove the control panel trim and
slide the unit back inside.
13.
Remove the unit from the plinth (if used). Align the plinth over the markings and
mark the anchor holes. Drill the anchor holes and secure the plinth (if used) to
the floor. Mount the unit back on the plinth (if used) and again slide the unit
forward towards the wall opening until the sleeve protrudes slightly out the
front exterior.
If no plinth was used, after drilling the anchor holes, again slide the unit forward
towards the wall opening until the sleeve protrudes slightly out the front exterior.
The next pages involve installing and securing the control panel trim.
Optional Plinths
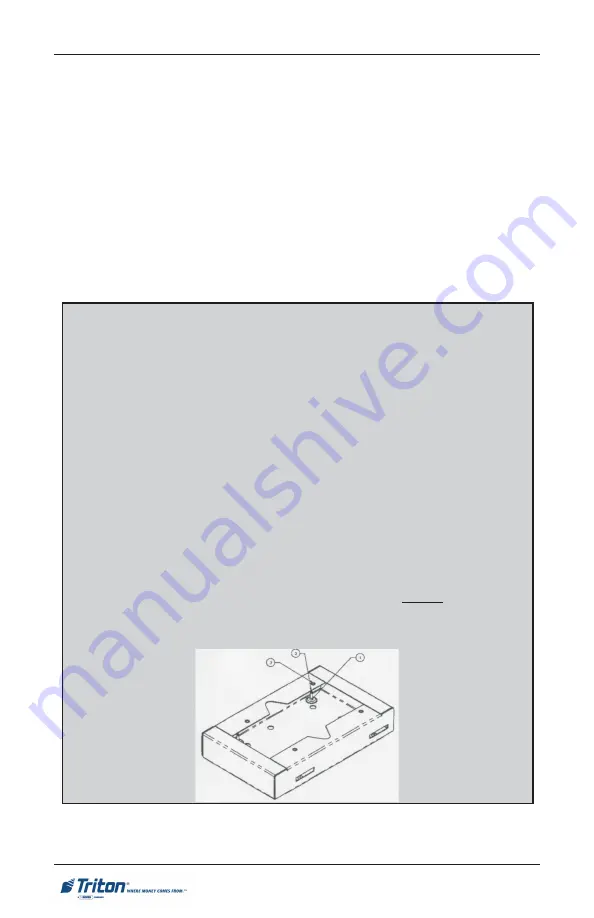
Triton Systems now offers two (2) metal-constructed optional plinths w/
leveling feet. The plinths come in 2 heights: 2 - 3/8" (61 mm) and 4 - 3/4" (122
mm). Based on the height requirement needed, you can either:
1)
Raise the unit with the leveling feet installed in the cabinet (Business
Hours and Level 1) using a 1/4" nut driver/socket wrench.
(
Caution
: The leveling feet are primarily for that purpose - leveling the ATM,
not to raise the unit by a significant amount).
2)
Construct your own. A plinth is a platform on which the ATM rests or is
secured. A plinth enables the ATM to be installed at the required height
through the wall. If built, it must be no smaller than the base of the cabinet
and must be constructed of a material that is capable of supporting the
weight of the ATM.
3)
Purchase an optional plinth (below). Raise the unit by a fixed amount (2 -
3/8" or 4 - 3/4") and still be able to adjust up using the plinths leveling feet
(adjustable crescent wrench - side access).
Caution
: Leveling feet are prima-
rily used for leveling the ATM, not to raise the unit by a significant amount.
(Note: Before installing the plinth, adjust the leveling feet a 1/4" (6mm) below
the platform to gain access with an open-end box wrench for additional adjust-
ments)
FT5000 - S
ITE
P
REPARATION
AND
I
NSTALLATION
G
UIDE
Summary of Contents for Triton FT5000
Page 8: ...THIS PAGE INTENTIONALLY LEFT BLANK 8 FT5000 SITE PREPARATION AND INSTALLATION GUIDE ...
Page 9: ...9 ATM INSTALLATION FOR ACCESSIBILITY ...
Page 21: ...21 ATM ENVIRONMENTAL PRECAUTIONS CHECKLIST ...
Page 23: ...23 SITE PREPARATION INSTALLATION Ground exterior ...
Page 44: ...44 FT5000 SITE PREPARATION AND INSTALLATION GUIDE THIS PAGE INTENTIONALLY LEFT BLANK ...
Page 45: ...45 POWER AND COMMUNICATION ...
Page 48: ...48 THIS PAGE INTENTIONALLY LEFT BLANK FT5000 SITE PREPARATION AND INSTALLATION GUIDE ...
Page 49: ...49 NMD 100 DISPENSING MECHANISM REMOVAL INSTALLATION ...
Page 54: ...54 THIS PAGE INTENTIONALLY LEFT BLANK FT5000 SITE PREPARATION AND INSTALLATION GUIDE ...
Page 55: ...55 REAR SERVICE PANEL RSP TCP IP and VSAT INSTALLATION CONNECTIVITY ...


