18
L. DRUM SECTION ASSEMBLY
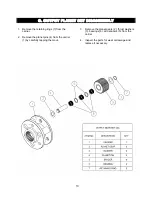
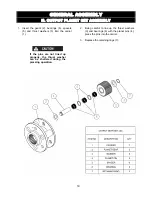
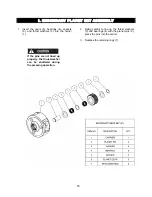
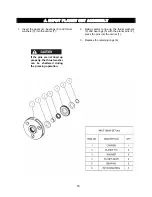
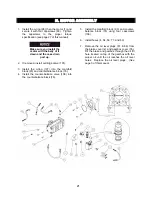
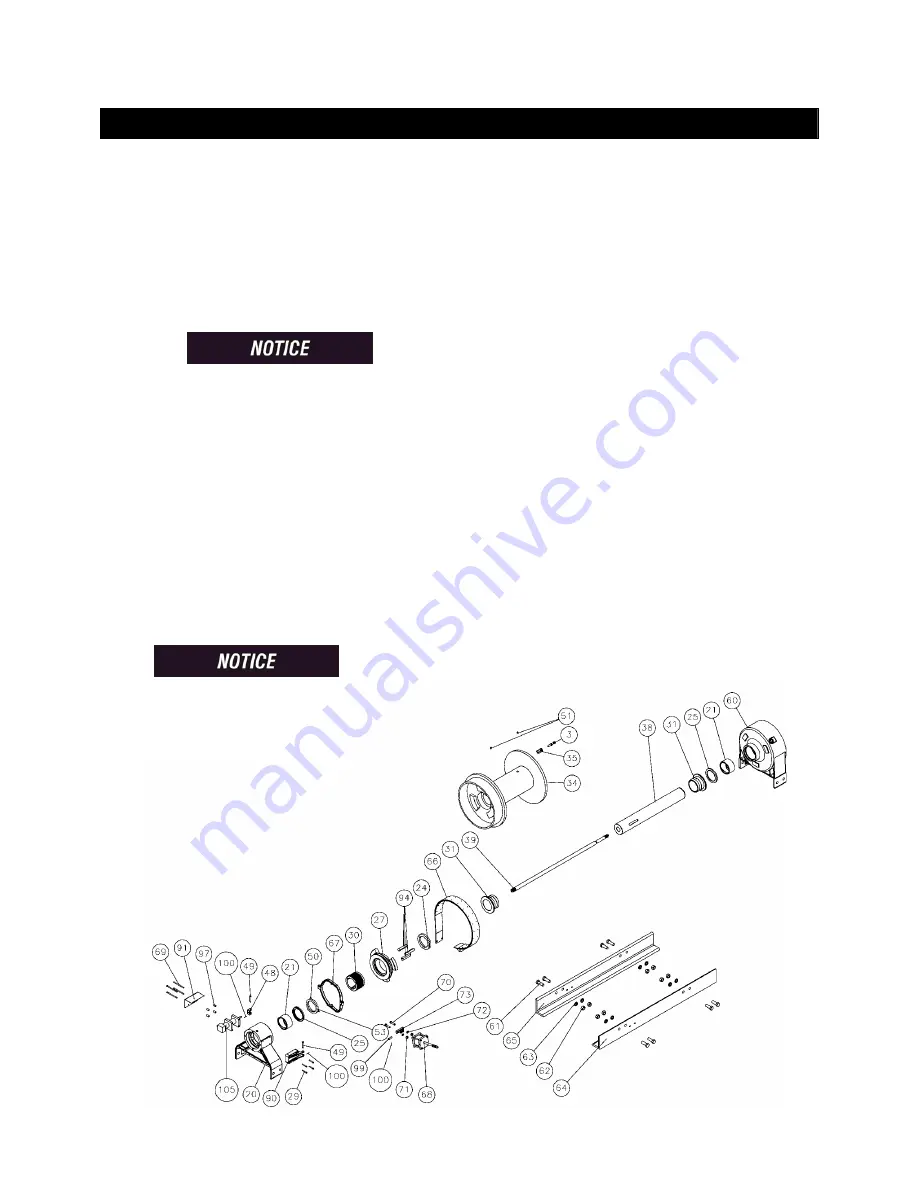
1. After inspecting and replacing the necessary
parts, such as the drum bushings (31).
Install the drum (34) onto the output shaft
(38). This part is very heavy and you will
need the assistance of a hoist. With the
weight of the drum supported, install the
brake band assembly (66) along with the
bracket (73), capscrews (70), nuts (71), and
washers (72).
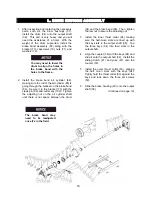
2. Install the brake band air cylinder (68),
making sure the rod of the air cylinder (68) is
going through the bracket on the brake band
(66). Secure it to the bracket (73) with the
clevis pin (99) and cotter key (100). Tighten
the adjusting nut on the air cylinder shaft
until there is not space between the drum
(34) and the brake band (66). Then, tighten
the jam nut to secure the adjusting nut.
3. Install the inner thrust collar (24) making
sure the half-moon slots are lined up with
the key slots in the output shaft (38). Tap
the three keys (94) into their slots in the
output shaft.
4. Align the coupler (30) with the keys (94) and
slide it onto the output shaft (38). Install the
sliding clutch (27) and yoke (67) onto the
coupler (30).
5. Install the outer thrust collar (53), aligning
the half moon slots with the keys (94).
Tightly hold the thrust collar (53) against the
keys and lock down the three set screws
(50).
6. Slide the brake housing (20) onto the output
shaft (38).
(
Continued on page 19)
The brake band may
need to be readjusted
once it’s in the field.
You may need to lower the
drum to align the holes in
the brake band with the
holes in the frame.
Summary of Contents for TWG Tulsa RUFNEK 80
Page 9: ...9 CLUTCH INSPECTION ...
Page 26: ...26 VISCOSITY CHART ...


