23
Maintenance of the face-tanner
The lamp of the face-tanner must also be maintained at
regular intervals. To do this, the filter cassette must be
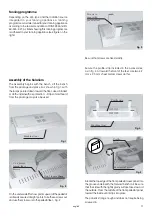
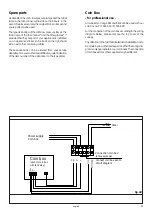
taken out by removing the 4 screws shown below in Fig.
37.
Fig. 37
Remove these 4 screws
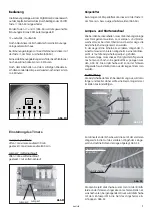
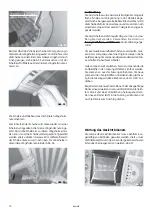
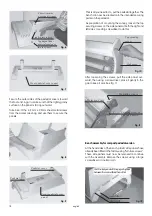
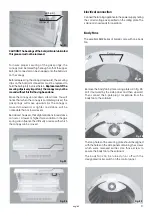
The top acrylic sheet is designed to be placed with
tension into the canopy grooves. To remove, press
inward in two places along the center of the sheet as
in fig. 26 and pull it out from the front groove, as that
edge will come free first.
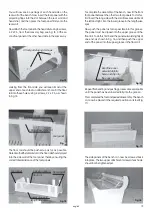
Use the reverse method to replace. Slide the front-
ward edge of the sheet into its groove all the way in,
and then place the other edge into its groove. To do
this, the middle of the acrylic sheet must be
depressed in two spots.
NOTE:
The acrylic sheet in the canopy was first
mounted in the factory as a flat sheet. After a while,
the operation of the unit and its removal and
replacement will cause the sheet to take on the form
of the canopy.
Fig. 27
Fig. 26
Press th mounting profile
slightly downwards
Fig. 25
Now press the pane and the mounting profile slightly
downward at several points along the rear side. When
sufficient pressure is applied, the pane and the
mounting profile will snap into place in the groove
along the rear side.
The acrylic sheets should be regularly cleaned. Use
only solvent-free, non-caustic materials.
WARNING:
Only lamps listed on the warning / danger
label, or those with certified Compatibility Declarations
should be used as replacements. These lamps can be
purchased from your authorized distributor.
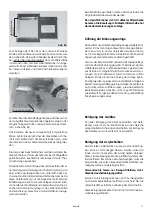
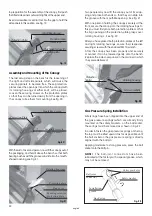
Turn each lamp so that one of the bi-pins can be seen
through the lampholder groove. Take the lamp out
carefully. Replace the new lamp in the reverse manner.
Then turn the lamp 90 degrees in the direction to
where the writing on the lamp is visible.
The starters should be changed with each lamp
replacement. To do this, press inward on the starter
and turn it until it comes free from its fixture. Replace
the new starter in the reverse manner.
Summary of Contents for excellent 24/1
Page 28: ...28 Notizen notes...

