Copyright © 2001-2018, Dr Robot Inc. All Rights Reserved.
www.DrRobot.com
V.03.02.18.Q
- 20 -
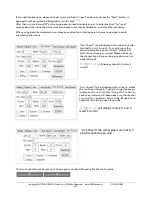
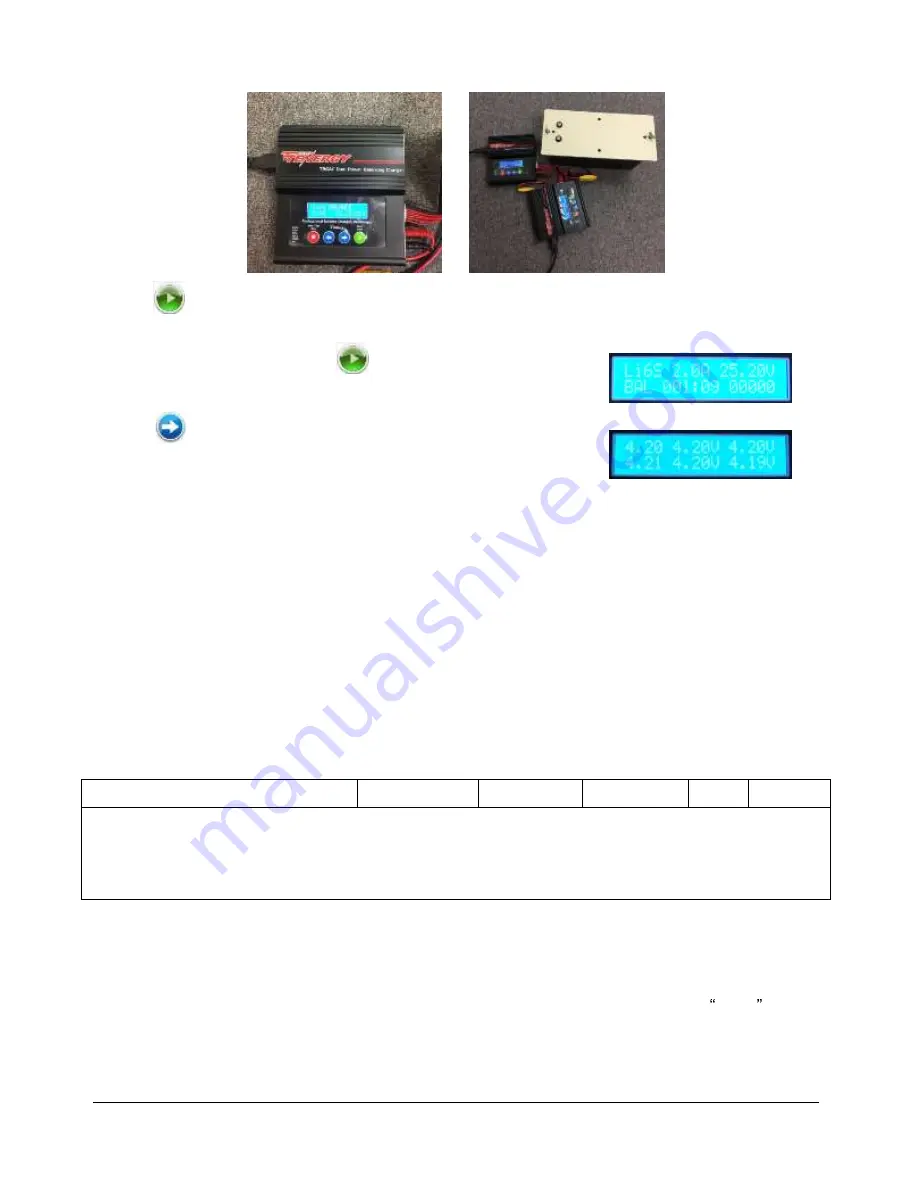
6) Press
button for few seconds, the charge station will check the battery and display what the reading is. It
should be same as your settings above.
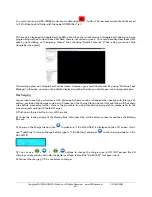
7) If everything is right, you can press
button again to start charging.
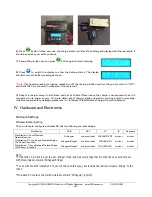
8) Press
to switch the display to show the battery status. The display
should show each battery reading as shown.
*
Note
: If any battery reading is missing, please turn off the charging station and turn the power switch to “OFF”,
and check the 7-pin connector, make sure it connects well.
9) Keep the charger away from children and pet at all time! Never leave the charger unsupervised when it is
connected to its power supply. For more detail about charger station operation, warning and error message,
maintenance and safety message, please refer to “Intelligent Digital Balance Charger Operation Manual”.
IV.
Hardware and Electronics
Network Settings
Wireless Router Setting
The on-robot pre-configured wireless AP has the following pre-set settings:
PicoStation
SSID
KEY
IP
ID
Password
PicoStation-1: Local Wireless
Network(option)
DriJaguar
drrobotdrrobot 192.168.0.245 drrobot
drrobot
PicoStation-2: Long Range Wireless Bridge
(On Robot) (optional)
DriJaguarBridgeY drrobotdrrobot
192.168.0.21
drrobot
drrobot
PicoStation- 3: Long Range Wireless Bridge
(Off Robot) (optional)
DriJaguarBridgeY drrobotdrrobot
192.168.0.20
drrobot
drrobot
Note:
* PicoStation 2, 3 work in peer to peer (bridge) mode, and must work together. No other device could connect
with this wireless network (DriJaguarBridge).
* You could connect Picostation 3 to your network. In this way, your local network will wirelessly bridge to the
robot.
* On-board PC could connect with wireless network "DriJaguar",(option)


