36
DR
®
ROTO-HOG™ POWER TILLER
End of Season and Storage
WHEN PERFORMING ANY MAINTENANCE, YOU MUST FIRST SHUT OFF THE ENGINE, WAIT FIVE (5)
MINUTES TO ALLOW PARTS TO COOL AND DISCONNECT THE SPARK PLUG WIRE, KEEPING IT AWAY
FROM THE SPARK PLUG.
NOTE:
Please refer to the Engine Owner’s Manual for Engine-specific procedures.
•
Change the Engine oil.
•
If your DR ROTO-HOG POWER TILLER will be idle for more than 30 days, we recommend using a
gas stabilizer. This will prevent sediment from gumming up the carburetor. If there is dirt or
moisture in the gas or tank, remove it by draining the tank. Completely fill the tank with fresh,
unleaded gas and add the appropriate amount of stabilizer or gasoline additive. Run the Engine for
a short time to allow the additive to circulate.
•
Remove the Spark Plug and pour about 1 ounce of motor oil into the cylinder hole. Replace the
Plug and pull the Recoil Starter Rope until you feel strong resistance. This will coat the Piston and
seat the Valves to prevent moisture buildup.
•
Clean or replace the Engine Air Filter. Reference the Engine Owner’s Manual.
•
Clean dirt and debris from the Engine Cylinder Head Cooling Fins, Debris Screen, and Muffler.
•
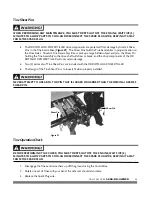
Clean out residual debris from the under the Debris Shield and Tine Assemblies.
•
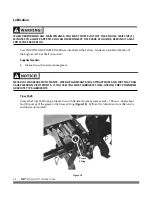
Lubricate the Tine Assemblies. See page 30.
•
Touchup all rusted or chipped paint surfaces. Sand them lightly before painting.
•
Be sure all Nuts, Bolts, and Screws are securely fastened.
•
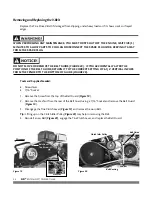
Inspect moving parts and the Tine Drive Belt for damage and wear; replace if necessary.
•
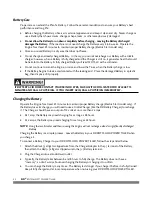
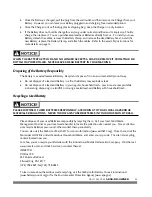
Store the Battery in a dry area that will not freeze. If you will not use the machine over a long
period, charge the battery every four to six weeks. See page 32.
•
If possible, store your DR ROTO-HOG POWER TILLER inside, but not near an open flame or spark
such as found in a water heater.
•
After the DR ROTO-HOG POWER TILLER has cooled, cover the machine with a suitable protective
cover that does not retain moisture. Do not use plastic as this material cannot breathe; it also
allows condensation to form, which will cause your machine to rust.
Summary of Contents for ROTO-HOG
Page 14: ...10 DR ROTO HOG POWER TILLER ...
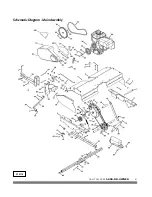
Page 45: ...CALL TOLL FREE 1 800 DR OWNER 41 Schematic Diagram Main Assembly 070718 ...
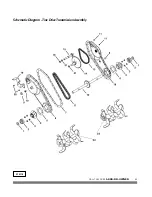
Page 47: ...CALL TOLL FREE 1 800 DR OWNER 43 Schematic Diagram Tine Drive Transmission Assembly 070718 ...
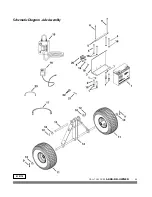
Page 49: ...CALL TOLL FREE 1 800 DR OWNER 45 Schematic Diagram Axle Assembly 070718 ...
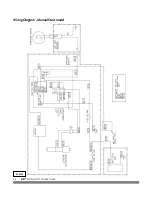
Page 50: ...46 DR ROTO HOG POWER TILLER Wiring Diagram Manual Start model 070725 ...
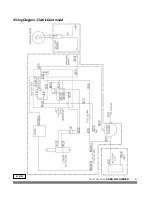
Page 51: ...CALL TOLL FREE 1 800 DR OWNER 47 Wiring Diagram Electric Start model 070725 ...

