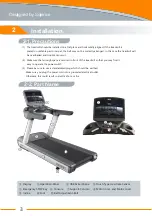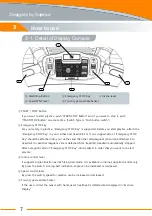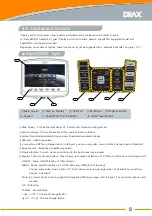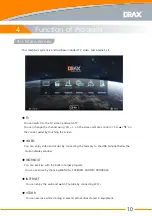
(1) Make sure whether “below components” are delivered or not.
(2) If some of components are not delivered, Contact DRAX INC. Customer Support Center.
[Components]
. Main Frame ASSY
. Upper Frame ASSY
.
. Console Display ASSY
. Support Column
. Bolt and Nut Sets
. User’s Manual
2-3. How to installation
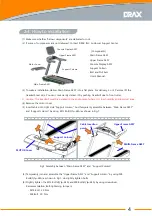
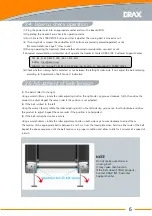
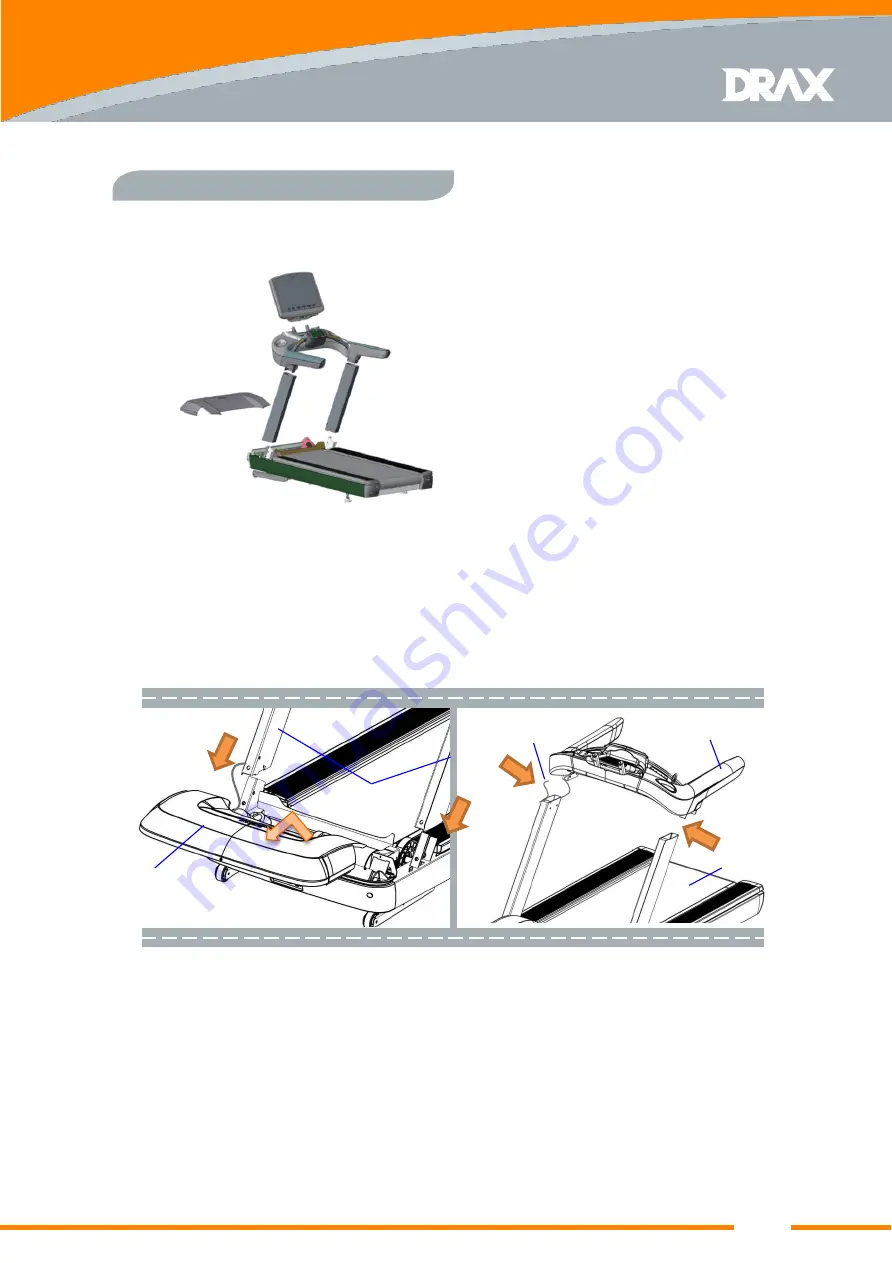
(5) Temporarily join and assemble the “Upper Frame ASSY” and “Support column” by using M8
Bolts(Q’ty=6EA) as shown in Fig.1. do slightly tighten bolts
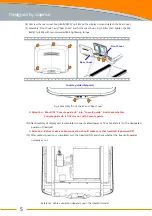
(6) Slightly tighten the M12 Bolts(Q’ty=6EA) and M8 Bolts(Q’ty=6EA) by using screwdriver.
Recommendation: Bolt-tightening torque is
- M12 Bolt : 30 N.m
- M8 Bolt : 20 N.m
4
Cable Insertion
point
Fig.1 Assembly between “Main Frame ASSY” and “ Support Column”
MOTOR Cover
Support Column
MAIN-Frame ASSY
Upper Frame ASSY
Motor Cover
Console Display ASSY
Upper Frame ASSY
Main Frame ASSY
Support Column
(3) To make a installation, deliver Main Frame ASSY into a flat place. For delivery, 2 or 3 Persons lift the
treadmill-rear side. You can conveniently deliver it by pushing treadmill due to front roller.
※ Caution: The treadmill must be installed in the environment where it is low humidity and low dust area.
(4) Remove the motor cover.
(5) Insert cables into right side “Support column”. And temporarily assemble between “Main Frame ASSY”
and “Support column” by using M12 Bolt(Q’ty=6EA) as shown in Fig.1.
Summary of Contents for REDON NR20
Page 18: ...Part List 6 NR30SXA 17 NR30SXA...
Page 19: ...18 Part List 6...


