VigorPro5300 Series User’s Guide
195
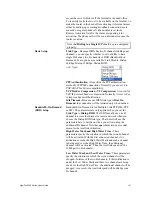
with MAC address not listed above are allowed to access
AP.
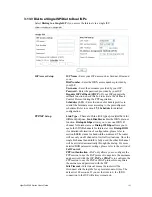
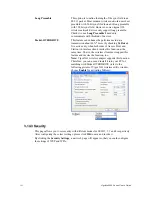
Enable Mac Access Filter
Select to enable the MAC Address filter for wireless
LAN identified with SSID 1 to 4 respectively. All the
clients (expressed by MAC addresses) listed in the box
can be grouped under different wireless LAN. For
example, they can be grouped under SSID 1 and SSID 2
at the same time if you check SSID 1 and SSID 2.
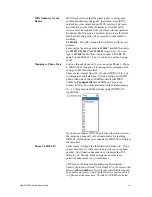
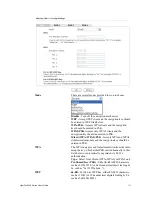
MAC Address Filter
Display all MAC addresses that are edited before.
Client’s MAC Address
-
Manually enter the MAC
address of wireless client.
Attribute s
-
select to isolate the wireless connection of the wireless
client of the MAC address from LAN.
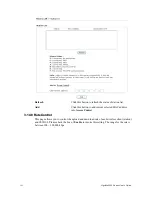
Add
Add a new MAC address into the list.
Delete
Delete the selected MAC address in the list.
Edit
Edit the selected MAC address in the list.
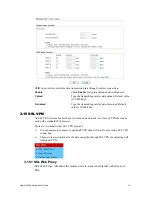
Cancel
Give up the access control set up.
OK
Click it to save the access control list.
Clear All
Clean all entries in the MAC address list.
3
3
.
.
1
1
4
4
.
.
5
5
W
W
P
P
S
S
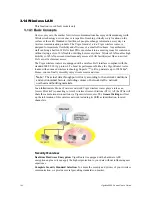
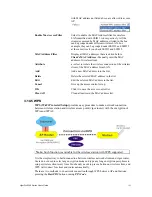
WPS (Wi-Fi Protected Setup)
provides easy procedure to make network connection
between wireless station and wireless access point (vigor router) with the encryption of
WPA and WPA2.
Note:
Such function is available for the wireless station with WPS supported.
It is the simplest way to build connection between wireless network clients and vigor router.
Users do not need to select any encryption mode and type any long encryption passphrase to
setup a wireless client every time. He/she only needs to press a button on wireless client, and
WPS will connect for client and router automatically.
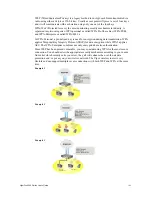
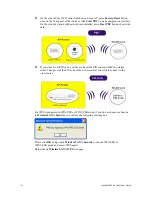
There are two methods to do network connection through WPS between AP and Stations:
pressing the
Start PBC
button or using
PIN Code
.
Summary of Contents for VigorPro 5300
Page 8: ......
Page 22: ...VigorPro5300 Series User s Guide 14...
Page 34: ...VigorPro5300 Series User s Guide 26 This page is left blank...
Page 98: ...VigorPro5300 Series User s Guide 90...
Page 221: ...VigorPro5300 Series User s Guide 213...
Page 258: ...VigorPro5300 Series User s Guide 250 13 Click Close to exit...

