4
3
3
.
.
H
H
a
a
r
r
d
d
w
w
a
a
r
r
e
e
I
I
n
n
s
s
t
t
a
a
l
l
l
l
a
a
t
t
i
i
o
o
n
n
This section will guide you to install the switch through hardware connection and
configure the switch’s settings through web browser.
3
3
.
.
1
1
N
N
e
e
t
t
w
w
o
o
r
r
k
k
C
C
o
o
n
n
n
n
e
e
c
c
t
t
i
i
o
o
n
n
Before starting to configure the switch, you have to connect your devices
correctly.
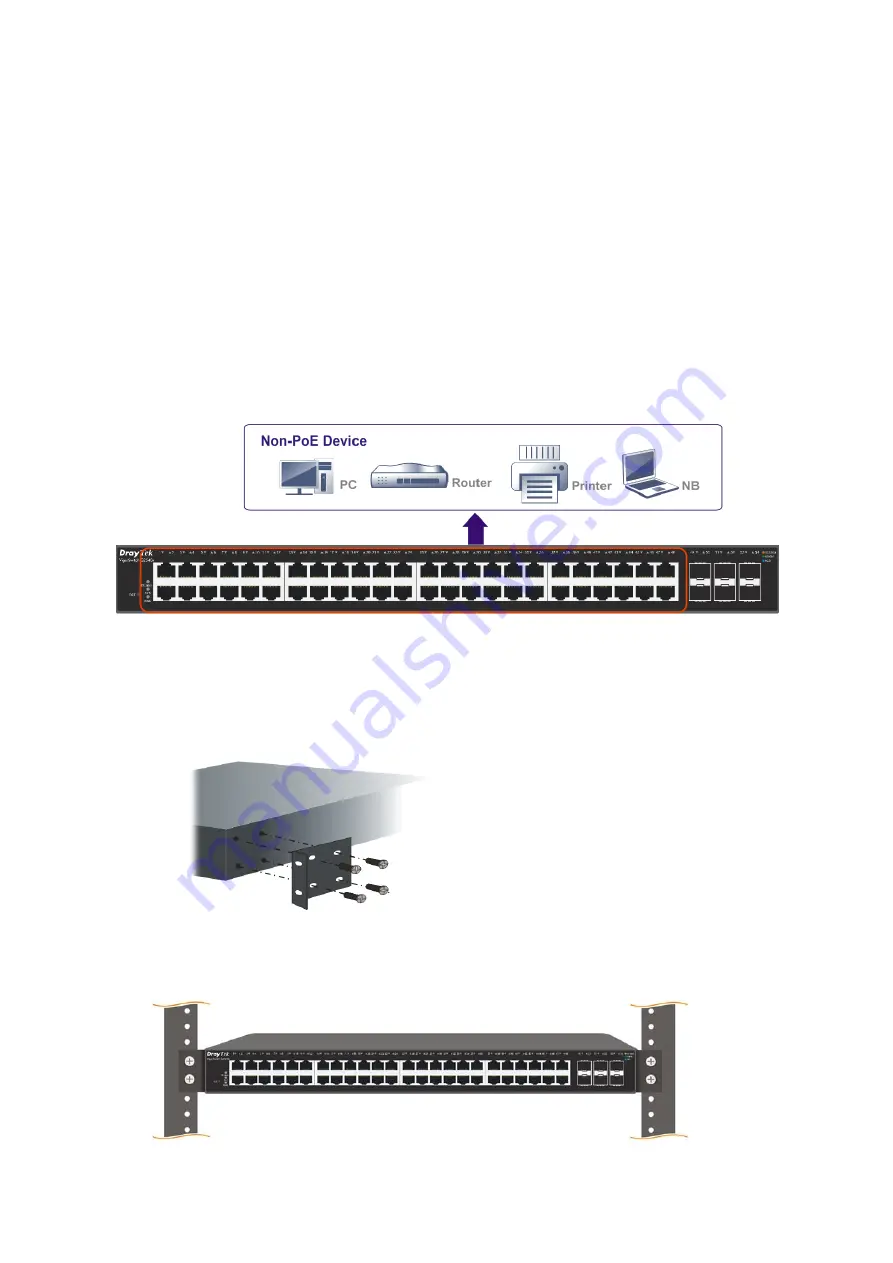
Use the Ethernet cable(s) to connect None-PoE devices to the Vigor switch.
All device ports are in the same local area network.
3
3
.
.
2
2
R
R
a
a
c
c
k
k
-
-
M
M
o
o
u
u
n
n
t
t
e
e
d
d
I
I
n
n
s
s
t
t
a
a
l
l
l
l
a
a
t
t
i
i
o
o
n
n
The switch can be installed easily by using rack mount kit.
1.
Fasten the rack mount kit on both sides of the
VigorSwitch using specific screws.
2.
Then, install the VigorSwitch (with rack mount kit)
on the 19-inch chassis by using other four screws.


