8.
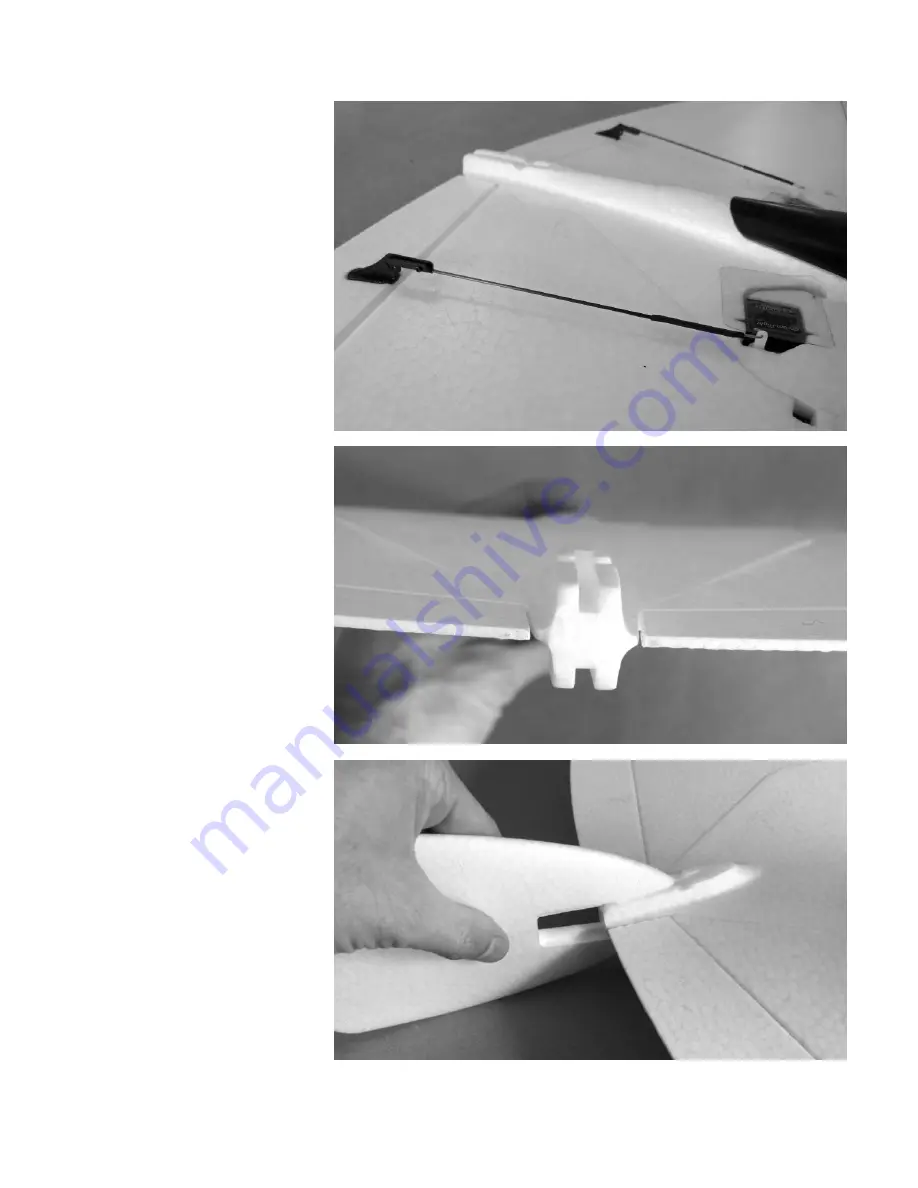
Insert wire "U-Bend" side of
each pushrod into outermost
(second) hole of servo arms.
9.
Ensure that both clevises slide
freely on each pushrod for the
next adjustments. Loosen clevis
screw if necessary.
10.
Turn on transmitter and plug
battery into the Extension Wire
to power up servos. Double
check that your servo arms are
centered.
11.
Connect clevises to elevon
control horns at outermost hole
as shown.
12.
Align elevons with fuselage and
wingtips as shown to the right.
Adjust clevis as necessary and
tighten clevis screws with
elevons in their correct neutral
position. Do not over-tighten
clevis screws; when properly
tightened, tip of screw should
protrude slightly from side of
clevis. Check by hand to make
sure clevis is now locked onto
pushrod. It is possible to add a
drop of instant glue to rear of
clevis (pushrod side) for added
security; however, do not get
any glue near the clevis pin and
control horn.
13.
Slide Tail Fin onto glider from
rear until it locks in position. The
tail is held in place by a friction
fit. If it loosens over time, use a
piece of tape to secure it.
10.


