Rev. 1.2.
6
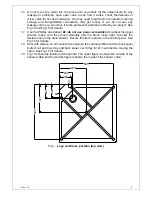
16. Do not move the cabin into the place until you check all the components for any
leakage or problems; open each valve to see how it works, check thermostatic or
mixer valve for hot and cold water. You may need to tight some connections (during
storage and transportation connections may get loose). If you do not see any
leakage, then you can move it to the permanent position and finish your project. See
Fig 14 and Fig 15 for details.
17. Use the Phillips screwdriver
#2
(
do not use power
screwdriver
) to adjust the upper
wheels, make sure they move smoothly and the doors close tight. Connect the
flexible hose to the hand shower. Secure this item in place on the control panel. See
Fig 16 for details.
18. Seal with silicone on all connections between the vertical profiles and the back panel,
bottom rail and tray, tray and back panel. Let it dray for 24 hours before moving the
cabin. See Fig 17 for details.
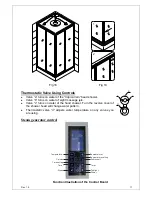
19. Fig 19 shows the location of the handle. The upper figure is shown the outside of the
shower cabin and the bottom figure is shown the inside of the shower cabin.
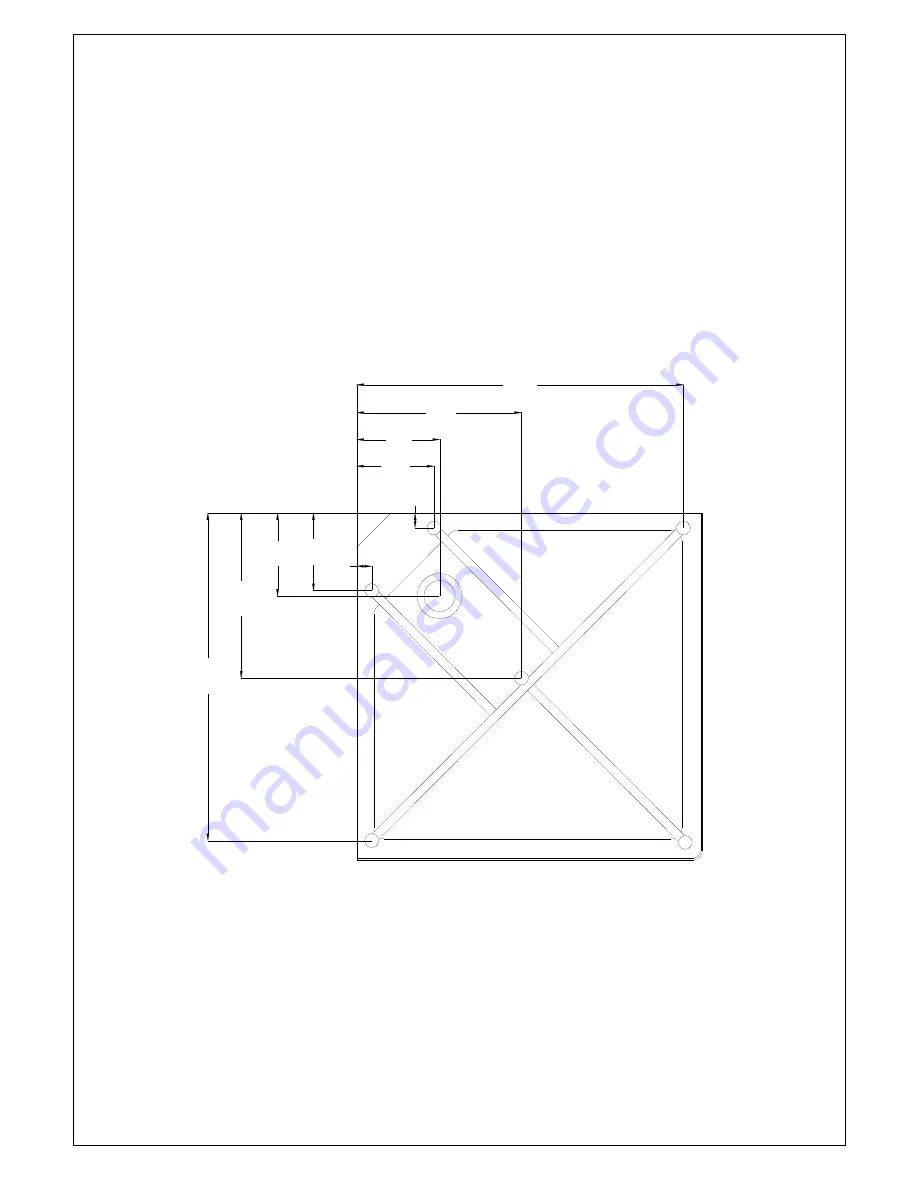
Fig 1
Legs and frame position (top view)
945
9
45
477
240
224
44
47
7
240
224
44


