background image

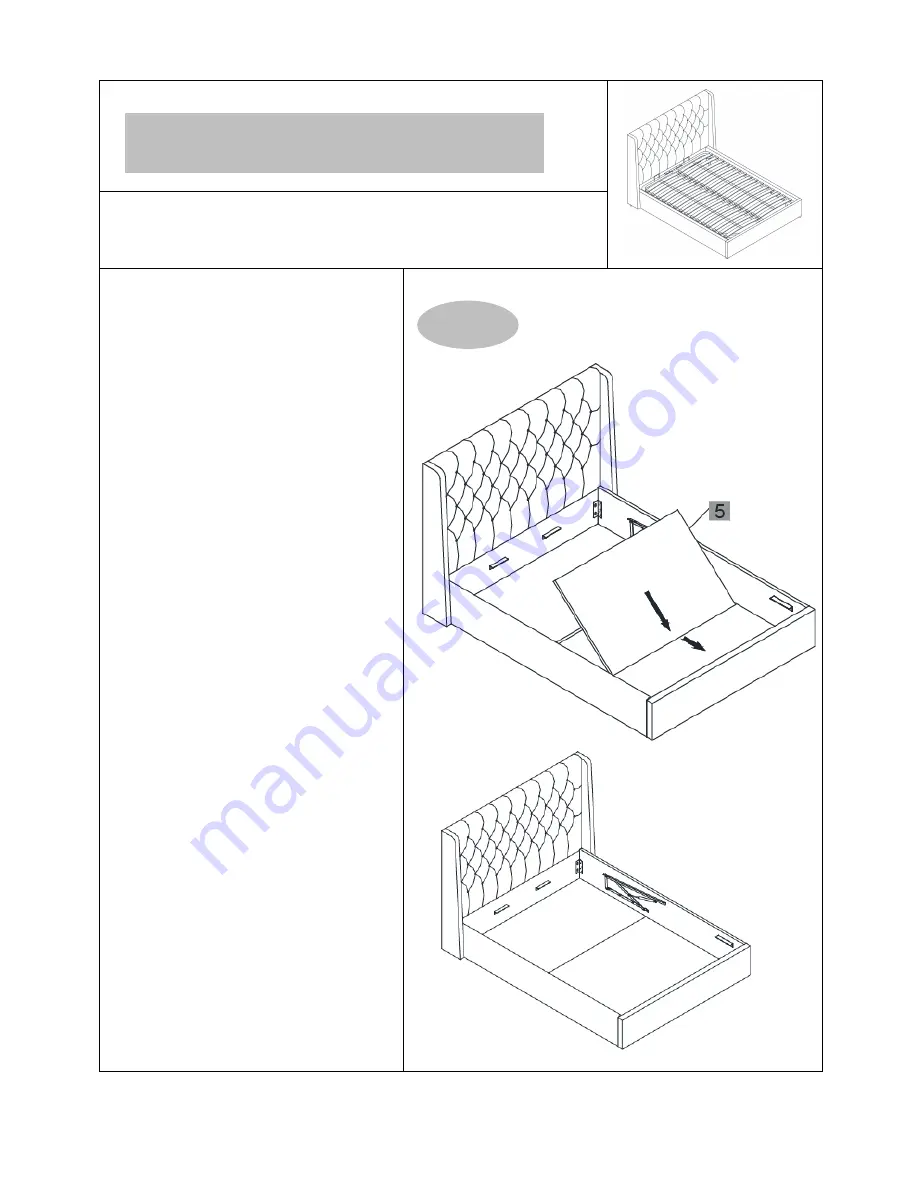
  ASSEMBLY 

STEP 

4


Revision    number    1/1


(

1

). 

Fix the bottom boards

Summary of Contents for Deacon Ottoman

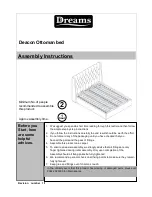
Page 1: ...sure an easier assembly we strongly advise that all fittings are only finger tightened during initial assembly Only upon completion of the Assembly should all fixing points be fully tightened 6 We rec...

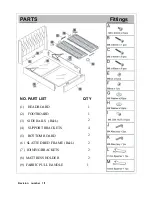
Page 2: ...er 1 1 PARTS Fittings QTY 1 1 4 2 2 NO PART LIST 1 HEADBOARD 2 FOOTBOARD 3 SIDE RAILS R L 4 SUPPORT BRACKETS 5 BOTTOM BOARD 6 SLATTED BED FRAME R L 7 JOINING BRACKETS 8 MATTRESS HOLDER 9 FABRIC PULL H...

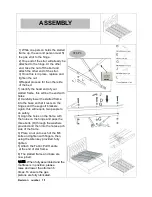
Page 3: ...P 1 2 Attach the side rails to the headboard and footboard Note Leave 10 mm protruding as in the diagram Revision number 1 1 1 Loosen the pre assembled bolts on the headboard and footboard with the Al...

Page 4: ...2 Revision number 1 1 MAKE CERTAIN THE BED IS SQUARED UP AS SHOWN ON THE RIGHT Once all four comers are located make sure the bed is still square as in the sketch then tighten all the bolts 100 using...

Page 5: ...ASSEMBLY STEP 3 Revision number 1 1 1 Attach the support brackets to the headboard and footboard by using bolts A washer H and allen key K...

Page 6: ...ASSEMBLY STEP 4 Revision number 1 1 1 Fix the bottom boards...

Page 7: ...B through the holes and tighten with the M8 nut Revision number 1 1 2 Slot the bolts C through the holes and tighten with the M6 JCN nuts Complete at head and foot end of frame 3 Push the two mattres...

Page 8: ...lower the slatted frame into the base so that it rests on the hinges and the support brackets Again this will require two people to do safely 3 Align the holes on the frame with the holes on the hing...

Reviews: