MAINTENANCE
SECTION 5
Page 27
DRESSTA
OM515C520C99/1E
COOLING SYSTEM
IMPORTANT!
Never add coolant into the radiator of an overheated engine unless absolutely
necessary.
IMPORTANT!
Cooling system must be deaerated and filled at the rate of 19 [l/min].
5.8.8. CLEANING THE RADIATOR
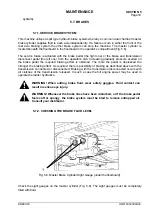
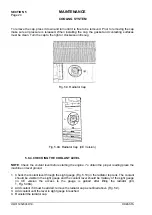
Remove all bugs and dirt from the radiator core, using air or water under pressure. Direct the flow
through the core, opposite to the normal direction of air flow (from outside the coolant level sight
gauge, Fig. 5.10). The following should be cleaned:
n
oil cooler,
n
the air conditioner cooler (if equipped).
In CE version clean also the transmission oil cooler. To gain the access to the cooler, the radiator
grill must be lifted up (Fig. 5.48A).
5.9. DRIVE AXLES
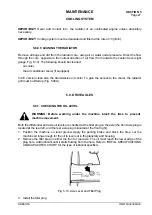
5.9.1. CHECKING THE OIL LEVEL
WARNING: Before working under the machine, block the tires to prevent
machine movement.
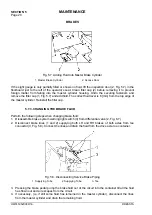
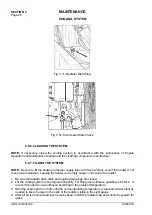
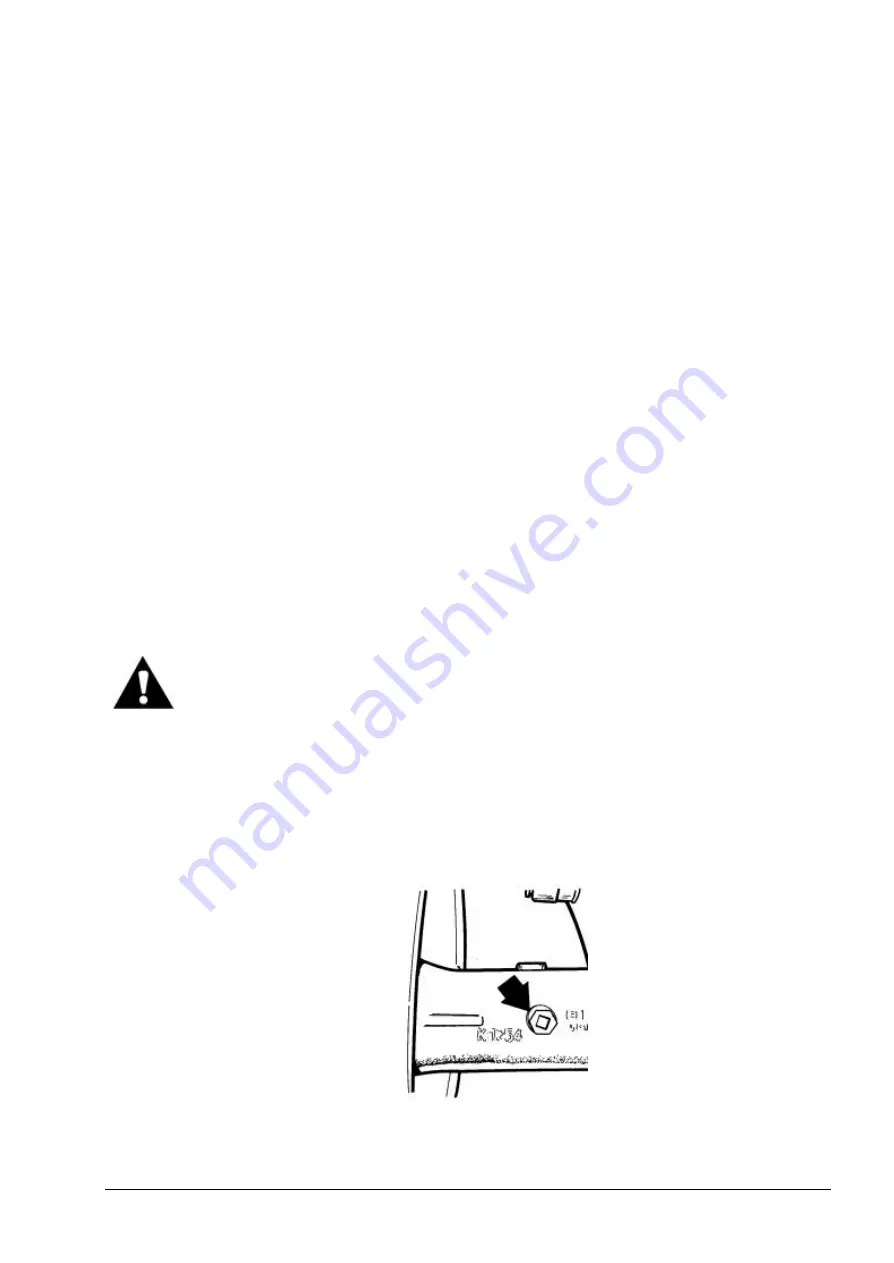
Both the differential and axle oil levels are checked at the filler plug on the axle (the front axle plug is
located at the rear left, and the rear axle plug is located at the front right).
1. Position the machine on level ground. Apply the parking brake and block the tires. Let the
machine sit long enough for the oil to level out in the planetary and housing.
2. Remove the filler plug on either the front or rear axle. The oil must reach the lower edge of the
plug hole. Add lubricant until it starts flowing from the hole. Refer to “REFILL SPECIFICATIONS
AND CAPACITIES CHART” for the type of lubricant specified.
Fig. 5.13. Axle Level and Filler Plug
3. Install the filler plug.
Summary of Contents for 515C
Page 3: ...OM515C520C99 1E DRESSTA ...
Page 5: ......
Page 7: ......
Page 10: ...SECTION 1 INTRODUCTION ...
Page 12: ......
Page 17: ...SECTION 2 SAFETY PRECAUTIONS ...
Page 19: ......
Page 37: ...SECTION 3 MACHINE TRANSPORT AND STORAGE ...
Page 39: ......
Page 49: ...SECTION 4 OPERATING ...
Page 51: ......
Page 107: ...SECTION 5 MAINTENANCE ...
Page 165: ...SECTION 6 SPECIFICATIONS ...
Page 167: ......
Page 181: ...SECTION 6 SPECIFICATIONS Page 16 OM515C520C99 1E DRESSTA WIRING DIAGRAMS ...
Page 182: ...SPECIFICATIONS SECTION 6 Page 17 DRESSTA OM515C520C99 1E WIRING DIAGRAMS ...
Page 187: ...SECTION 6 SPECIFICATIONS Page 22 OM515C520C99 1E DRESSTA WIRING DIAGRAMS ...


