


SECTION 5
MAINTENANCE
Page 24
OM515C520C99/1E
DRESSTA
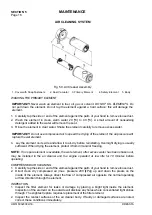
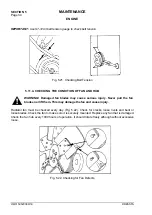
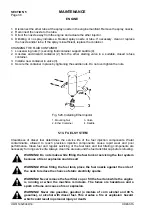
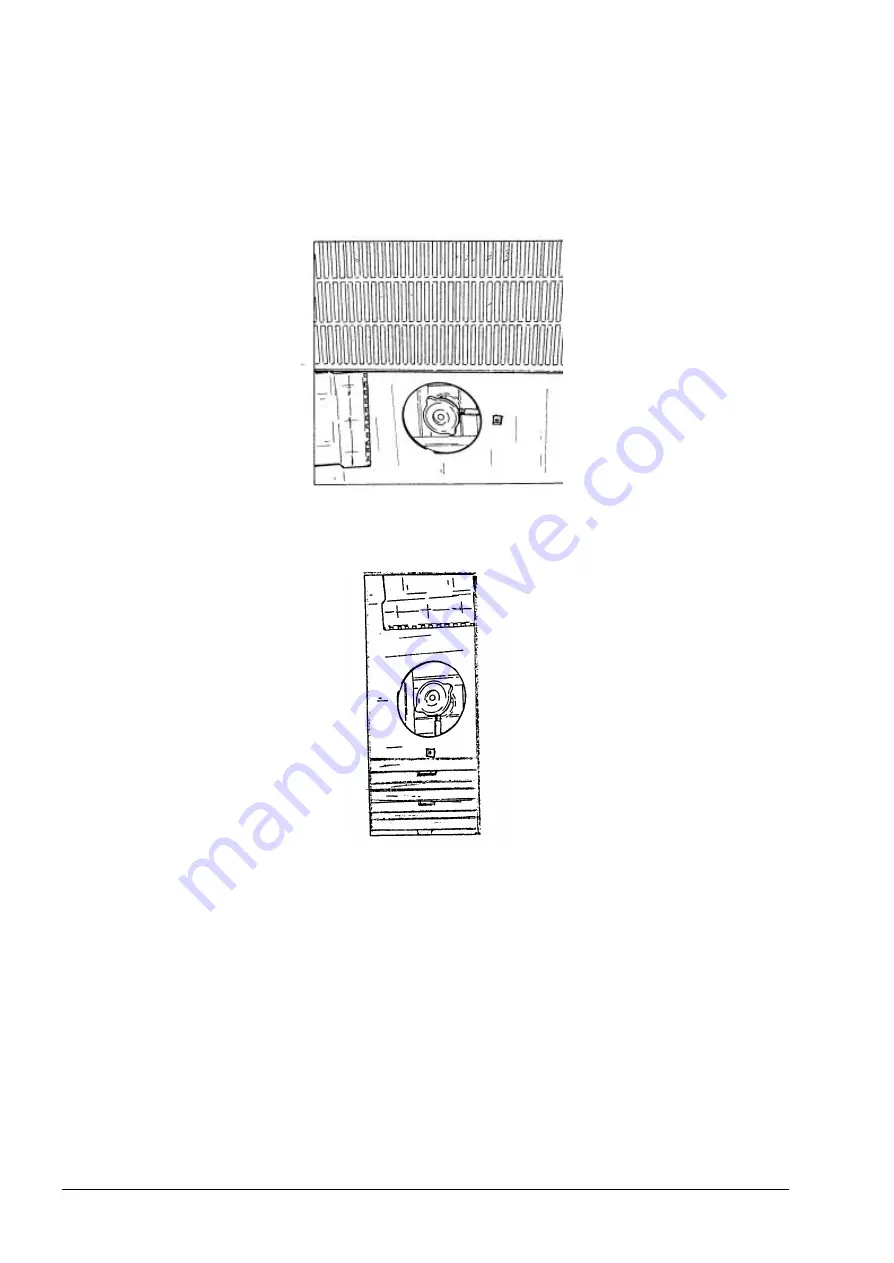
COOLING SYSTEM
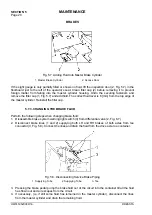
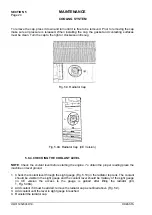
To remove the cap, press it down and turn until it is free to be removed. Prior to removing the cap
make sure all pressure is released. When installing the cap, the gasket and contacting surfaces
must be clean. Turn the cap to the right or clockwise until snug.
Fig. 5.9. Radiator Cap
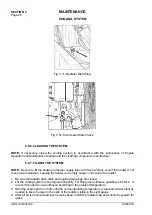
Fig. 5.9A. Radiator Cap (CE Version)
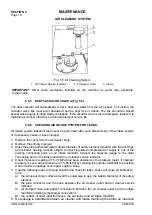
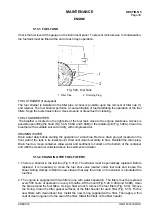
5.8.4. CHECKING THE COOLANT LEVEL
NOTE
:
Check the coolant level before starting the engine. To obtain the proper reading place the
machine on level ground.
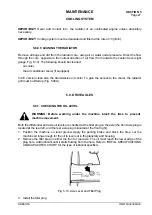
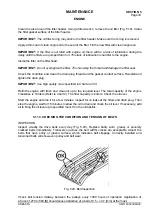
1. Check the coolant level through the sight gauge (Fig. 5.10) in the radiator top tank. The coolant
should be visible in the sight gauge and the coolant level should be midway of the sight gauge
(in CE version the access to the gauge is gained after lifting the radiator grill,
1, Fig. 5.48A).
2. Add coolant if it must be added; remove the radiator cap as outlined above (Fig. 5.9).
3. Add coolant until the level in sight gauge in reached.
4. Reinstall the radiator cap.
Summary of Contents for 515C
Page 3: ...OM515C520C99 1E DRESSTA ...
Page 5: ......
Page 7: ......
Page 10: ...SECTION 1 INTRODUCTION ...
Page 12: ......
Page 17: ...SECTION 2 SAFETY PRECAUTIONS ...
Page 19: ......
Page 37: ...SECTION 3 MACHINE TRANSPORT AND STORAGE ...
Page 39: ......
Page 49: ...SECTION 4 OPERATING ...
Page 51: ......
Page 107: ...SECTION 5 MAINTENANCE ...
Page 165: ...SECTION 6 SPECIFICATIONS ...
Page 167: ......
Page 181: ...SECTION 6 SPECIFICATIONS Page 16 OM515C520C99 1E DRESSTA WIRING DIAGRAMS ...
Page 182: ...SPECIFICATIONS SECTION 6 Page 17 DRESSTA OM515C520C99 1E WIRING DIAGRAMS ...
Page 187: ...SECTION 6 SPECIFICATIONS Page 22 OM515C520C99 1E DRESSTA WIRING DIAGRAMS ...


