SECTION 5
MAINTENANCE
Page 44
OM560C99/1E
DRESSTA
HYDRAULIC SYSTEM
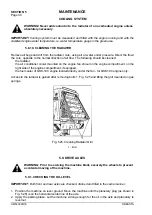
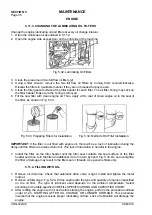
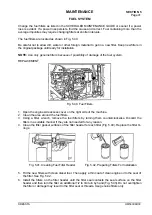
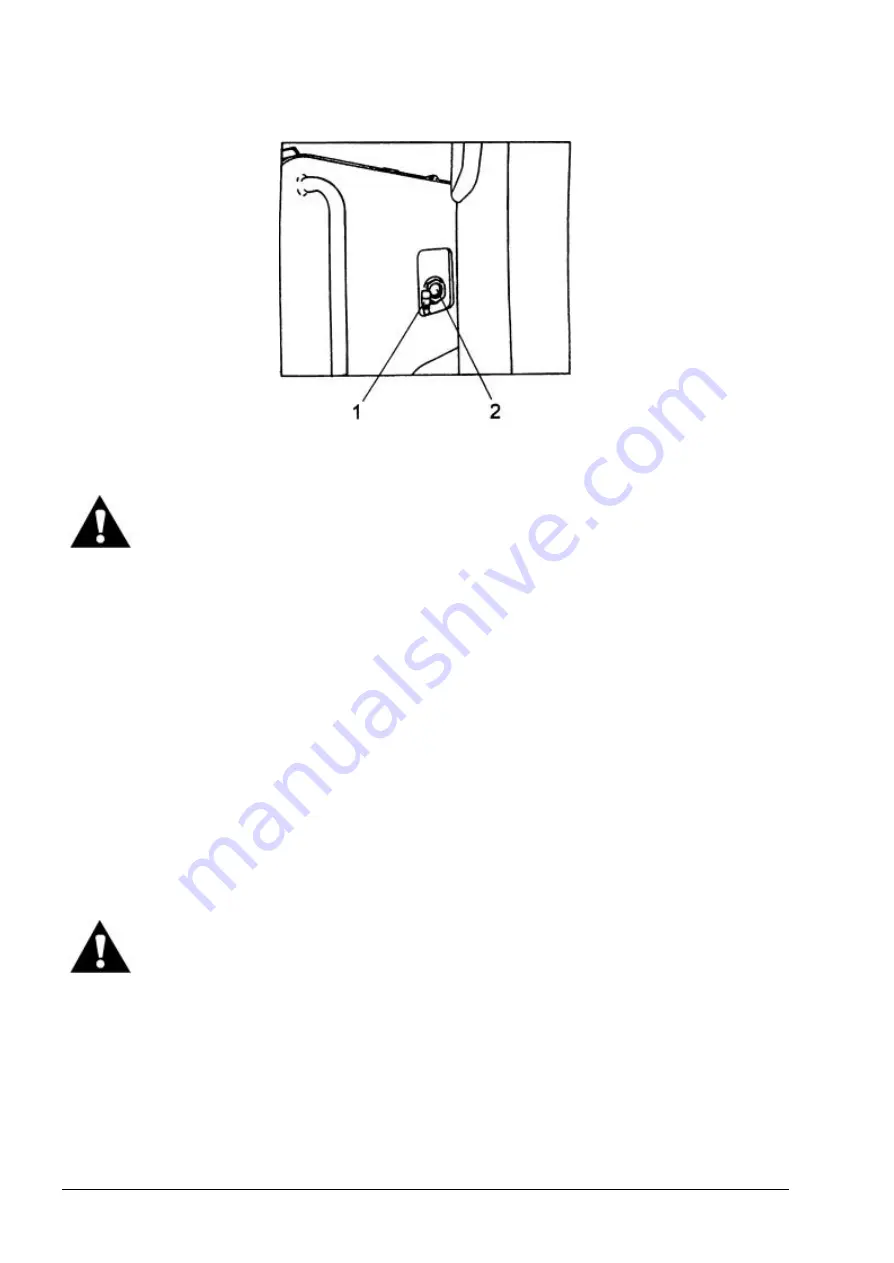
Fig. 5.48. Hydraulic Tank Sight Gauge
1 - Air Filter Service Indicator 2 - Hydraulic Reservoir Sight Gauge
WARNING! This machine has a pressurized hydraulic reservoir. Loosen the filler
cap slowly to release the pressure. It is obligatory before disassembly of any
hydraulic system components.
4. Slowly remove the reservoir filler cap. Add fluid until the ball in the sight gauge reaches the top
of the gauge. Refer to "REFILL SPECIFICATIONS AND CAPACITIES CHART" for the grade of
fluid specified.
5. Install the filler cap.
5.14.2. CHANGING THE HYDRAULIC SYSTEM OIL
1. Operate the boom, bucket and steering circuits until the hydraulic oil becomes warm.
2. Park the machine on level ground, lower the bucket flat on the ground.
3. Stop the engine, and apply the parking brake.
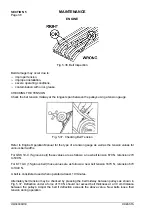
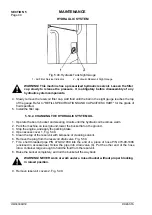
4. Open access cover 1, Fig. 5.49.
5. Clean the top of the reservoir with kerosene or cleaning solvent.
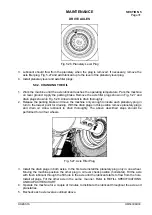
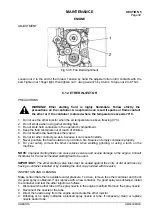
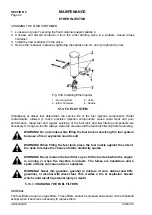
6. Remove the plug from the reservoir drain valve, Fig. 5.50.
7. Fit a short threaded pipe P/N 470-90-1008 into the end of a piece of hose P/N 470-90-1006
(enclosed in accessories). Screw the pipe into drain valve (4). Put the other end of the hose
into a container large enough to hold the fluid from the reservoir.
8. Raise the bucket completely, and roll the bucket all the way back.
WARNING! NEVER work or walk under a raised bucket without proper blocking
in raised position.
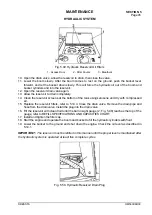
9. Remove reservoir covers 2, Fig. 5.49.
Summary of Contents for 560C
Page 1: ...OM560C99 1E OPERATOR S MANUAL 560C SERIAL NUMBERS 15001 AND UP ...
Page 3: ......
Page 5: ......
Page 7: ......
Page 10: ...SECTION 1 INTRODUCTION ...
Page 12: ......
Page 16: ...SECTION 2 SAFETY PRECAUTIONS ...
Page 18: ......
Page 32: ...SECTION 3 MACHINE TRANSPORT AND STORAGE ...
Page 34: ......
Page 42: ...SECTION 4 OPERATING ...
Page 43: ......
Page 45: ......
Page 49: ...SECTION 4 OPERATING Page 6 OM560C99 1E DRESSTA UNIVERSAL SYMBOLS FOR INSTRUMENTS AND CONTROLS ...
Page 88: ...SECTION 5 MAINTENANCE ...
Page 141: ...SECTION 6 SPECIFICATIONS ...
Page 143: ......

