MAINTENANCE
SECTION 5
Page 31
DRESSTA
OM560C99/1E
DRIVE AXLES
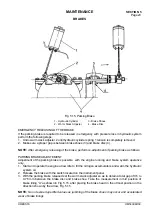
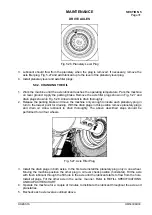
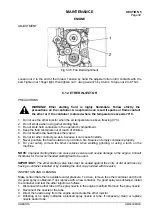
Fig. 5.26. Planetary Level Plug
3. Lubricant should flow from the planetary when the plug is removed. If necessary, remove the
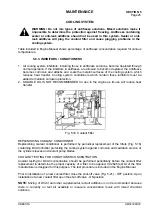
axle filler plug, Fig. 5.27 and add lubricant up to the level of the planetary level plug.
4. Install planetary level and axle filler plugs.
5.9.2. CHANGING THE OIL
1. Work the machine until the axle lubricant reaches the operating temperature. Park the machine
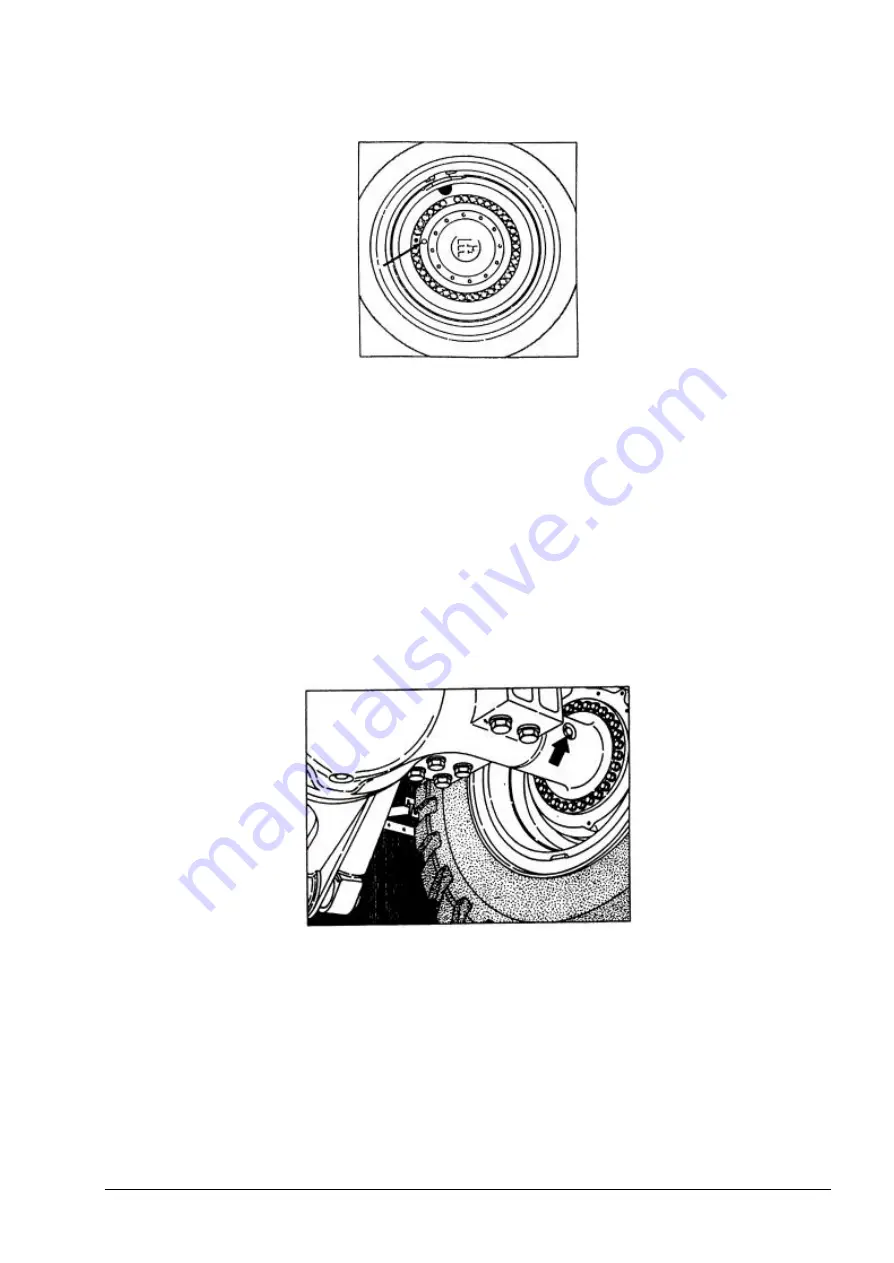
on level ground. Apply the parking brake. Remove the axle filler plugs shown in Fig. 5.27 and
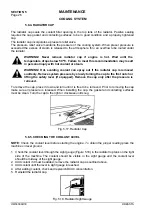
drain plugs shown in Fig. 5.28. Allow lubricant to drain thoroughly.
2. Release the parking brake and move the machine only enough to locate each planetary plug in
turn to the lowest point for draining. With the drain plugs in this position remove planetary plugs
and drain oil. Allow lubricant to drain thoroughly. The above described steps should be
performed for all four wheels.
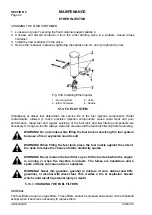
Fig. 5.27. Axle Filler Plug
3. Install the drain plugs in both axles. In the first axle install the planetary plug only in one wheel.
Moving the machine position the other plug in oil level check position (horizontal). Fill the axle
with fresh lubricant through the fill hole in the axle until the lubricant starts to flow from the hole.
Install all plugs. Fill the other axle in the same manner. Refer to REFILL SPECIFICATIONS
AND CAPACITIES CHART.
4. Operate the machine for a couple of minutes to distribute the lubricant throughout the axle and
planetaries.
5. Recheck each axle level as outlined above.
Summary of Contents for 560C
Page 1: ...OM560C99 1E OPERATOR S MANUAL 560C SERIAL NUMBERS 15001 AND UP ...
Page 3: ......
Page 5: ......
Page 7: ......
Page 10: ...SECTION 1 INTRODUCTION ...
Page 12: ......
Page 16: ...SECTION 2 SAFETY PRECAUTIONS ...
Page 18: ......
Page 32: ...SECTION 3 MACHINE TRANSPORT AND STORAGE ...
Page 34: ......
Page 42: ...SECTION 4 OPERATING ...
Page 43: ......
Page 45: ......
Page 49: ...SECTION 4 OPERATING Page 6 OM560C99 1E DRESSTA UNIVERSAL SYMBOLS FOR INSTRUMENTS AND CONTROLS ...
Page 88: ...SECTION 5 MAINTENANCE ...
Page 141: ...SECTION 6 SPECIFICATIONS ...
Page 143: ......

