9
1
Installation
1.1
SAFETY FIRST!
The installation of the DashDAQ must be done in
such a manner that it does not interfere with the
safe operation of your vehicle. If you can not mount
the DashDAQ such a manner, Promptly return the
DashDAQ, in a new and unused condition, with a
dated proof of purchase, to the place of purchase
for a full refund.
1.2
Attaching Windshield Mount
1. Remove these two items from packaging:
a. Display Unit
b. Windshield Mount
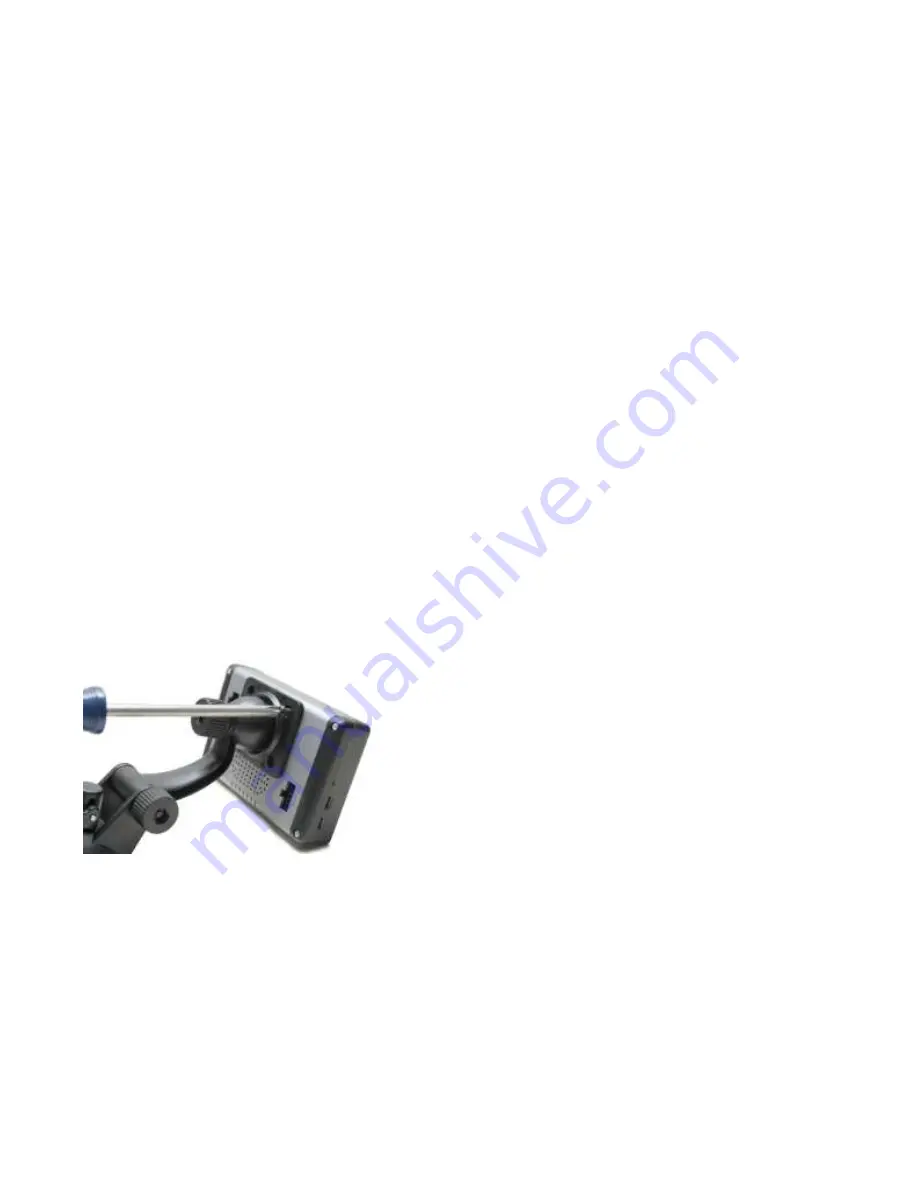
2. Line up the four holes on the windshield
mount and thread each of the four screws
into the display unit.
10
3. Using a Phillips head screwdriver, lightly
tighten each of the four screws. Note: Over
tightening
can
possibly
damage
your
DashDAQ. Tighten the screws so they are
snug, no more.
1.3
Windshield Mounting
Your DashDAQ must be mounted on your
windshield in a spot that does not obstruct your
view of the road or in any way interfere with the
safe operation of your vehicle.
1.4
Mounting suggestions:
Find your OBDII port on your vehicle. Plug in the
DashDAQ OBDII connector. Route your cable
safely, (see “
Cable Routing
” below) and note
where it reaches. Mount the DashDAQ in a spot
that does not obstruct your view based on where
the cable ends.
•
Mount the DashDAQ as low to your
dashboard as possible.
•
A mount to left or in the middle works well.
1.5
Cable Routing
The DashDAQ OBDII cable must be routed in your
vehicle in a manner that doesn’t interfere with safe
operation of your vehicle.
Summary of Contents for DashDAQ Series II
Page 31: ...61...


