

SKU 95622
For technical questions please call 1-800-444-3353
Page 5
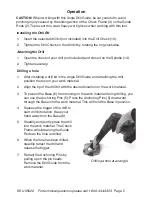
Operation
CAUTION: When working with this Angle Drill Guide, be very careful to avoid
pinching injury caused by the sliding action of the Chuck Frame (3) on the Guide
Rods (2). To prevent this, wear heavy work gloves when working with this tool.
Installing the Drill Bit
1.
Insert the selected drill bit (not included) into the Drill Chuck (10).
2.
Tighten the Drill Chuck on the drill bit by rotating the ring clockwise.
Attaching the Drill
1.
Open the chuck of your drill (not included) and close it on the Spindle (14).
2.
Tighten securely.
Drilling a hole
1.
After installing a drill bit in the Angle Drill Guide and attaching the drill,
position the tool on your work material.
2.
Align the tip of the drill bit with the desired location on the work material.
3.
To prevent the Base (6) from moving on the work material during drilling, you
can use the Anchoring Pins (5). Press the Anchoring Pins (5) downward
through the Base into the work material. This will hold the Base in position.
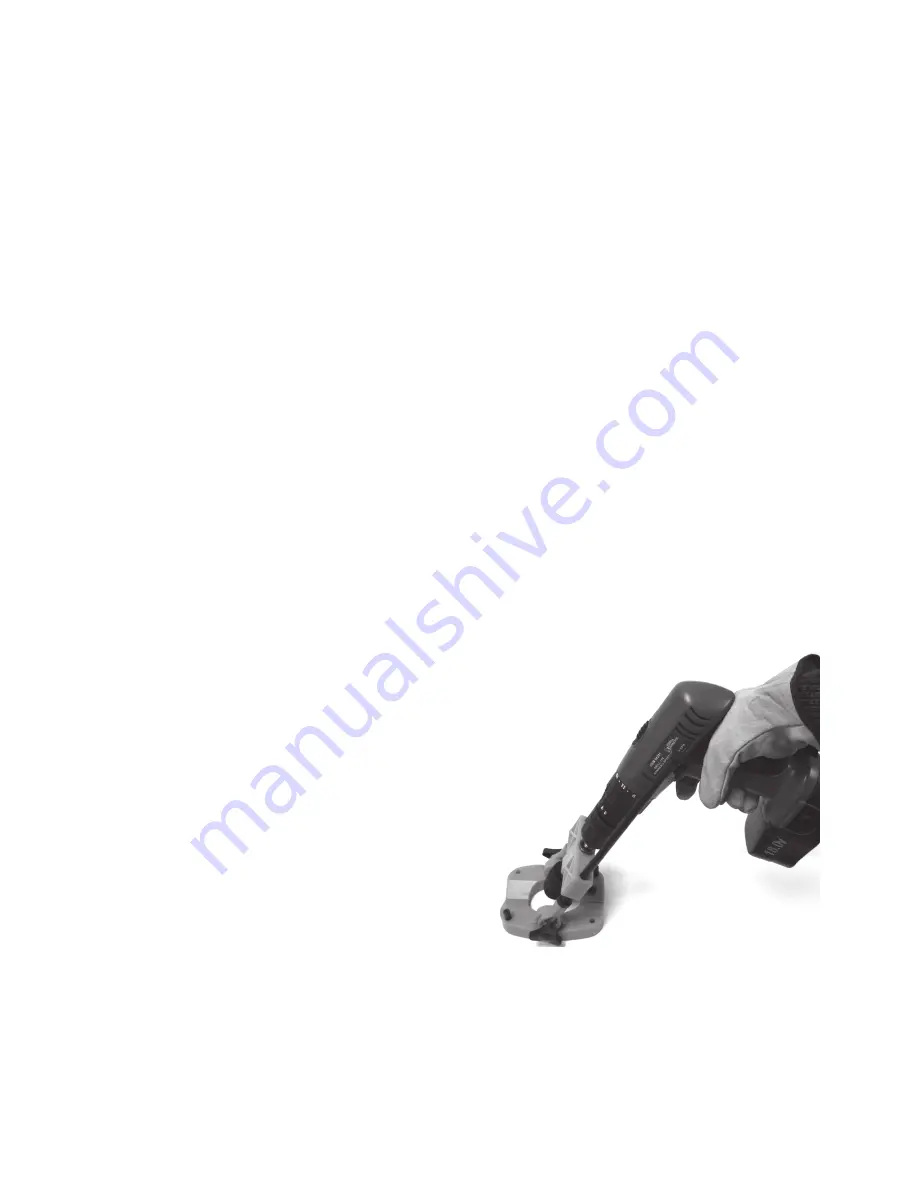
4.
Squeeze the trigger of the drill to
start drill bit rotation. Keep your
hand away from the Base (6).
5.
Steadily and gently press the drill
into the work material. The Chuck
Frame will slide along the Guide
Rods as the hole is drilled.
6.
When the hole has been drilled,
steadily retract the drill and
release the trigger.
7.
Retract the Anchoring Pins by
pulling up on the pin heads.
Remove the Drill Guide from the
work material.
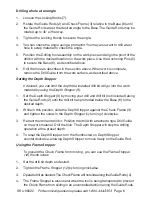
Drilling a hole at an angle


