DOC-0128 Rev F
© 2017 DROPLET MEASUREMENT TECHNOLOGIES
5 4
5)
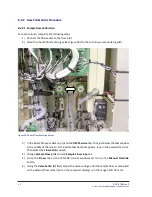
Remove the membrane by sliding it from the top or bottom of the Nafion block. Do not
touch the membrane itself with your bare hands.
6)
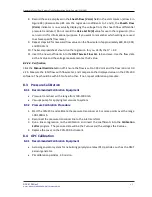
Inspect the membrane. It should be round and have no areas that are deformed or
collapsed (Figure 34). It will have a gentle curve to it. If the membrane looks defective, it
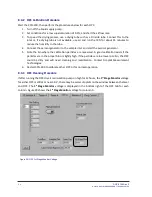
needs to be replaced (Figure 35).
7)
Soak the membrane in distilled or deionized water for 10 minutes to allow it to maximize
its length.
8)
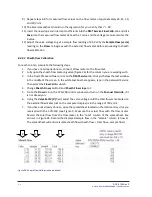
Gently slide one end of Nafion membrane onto Nafion Insertion Tool (Figure 33).
9)
Insert tool into Nafion block and push through other end. There is a blind hole at the
bottom that the tool needs to find.
10)
Adjust the Nafion membrane in Nafion block so that it extends equally out the top and
bottom.
11)
Reinstall the o-rings on top and bottom around the membrane.
12)
Screw tee fittings on back of the Nafion block.
13)
Reinstall 1/8” nuts with tubing into tees.
14)
Turn on supply pump to wet membrane.
If the problem persists, contact DMT.
Figure 35: Typical Bad Membrane Note Kinks and Flat spots
Figure 33: Nafion Insertion
Figure 34: Typical Healthy Membrane


