Copyright © 2001-2018, Dr Robot Inc. All Rights Reserved.
www.DrRobot.com
V.07.08.18.Q
- 9 -
Operation Scenario
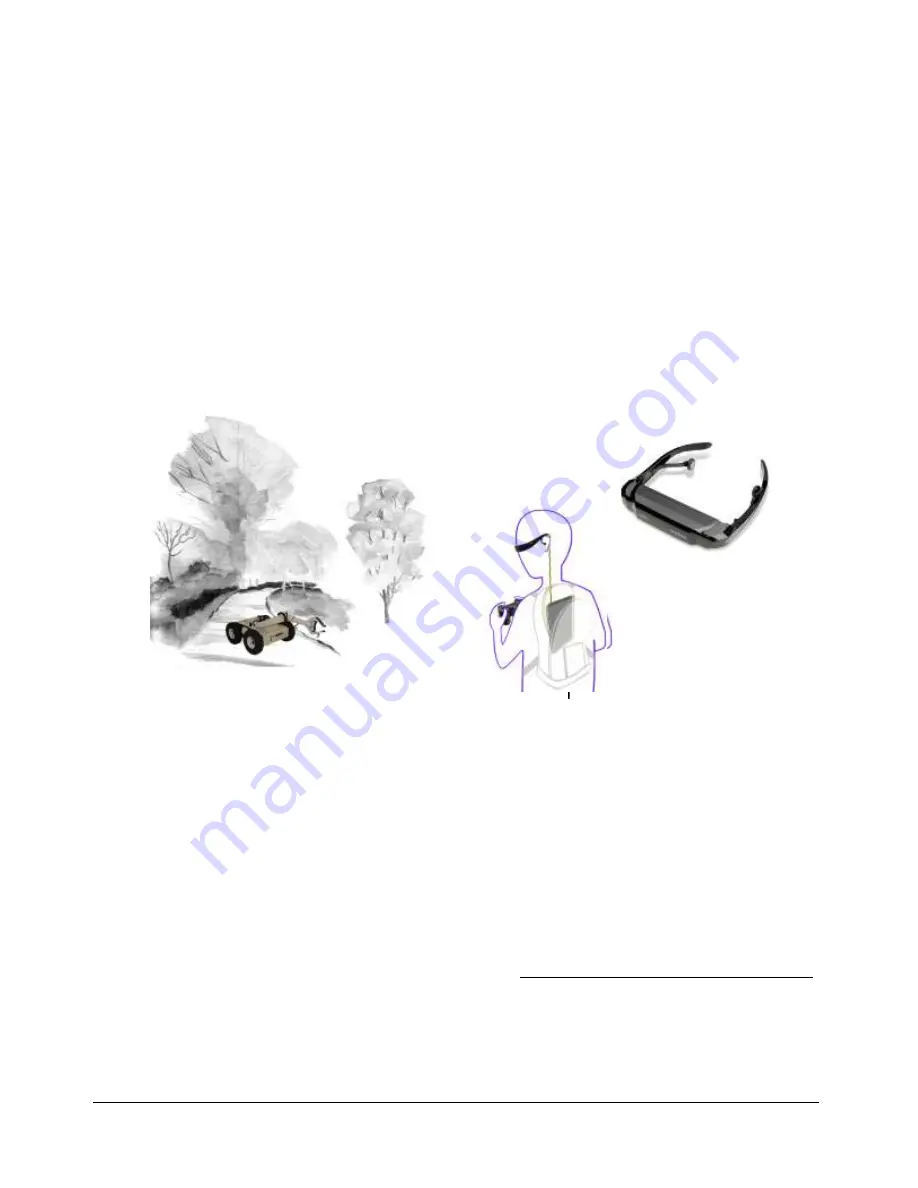
Diagram below illustrates the typical operation scenario. The Jaguar is a wireless networked outdoor mobile
robot. It comes with a wireless 802.11 AP/router. The remote host controller PC running the “Jaguar Control”
program connects to the Jaguar robot via:
Network cable – Connect the robot on-board AP/router. (DO NOT connect to the WAN port), or
Wireless – To connect the host controller PC to the on-robot wireless AP/router, configure the host PC’s
wireless settings using the default wireless configuration settings found in the Network Connection
session of this manual.
Human operator carrying the host controller PC could use the head-mounted display (accessory option) and the
included game-pad controller in outdoor environment to monitor and control the operator under any outdoor
lighting environment, even under direct sunshine. The included “Jaguar Control” program will therefore be
projected on the head-mounted display, where you could see all the sensor information from the robot, and the
video streamed from the camera on robot (Please refer to “Jaguar Control program” session for detail).
Typical Operation Scenario
Note: The host controller PC running the “Jaguar Control” program could be mounted on the robot instead off the
robot if your application requires so.
Software Installation
Jaguar Control programs, application development library and supporting documents could be found from the
Jaguar software CD.
On the host controller computer, you should install the following programs from the installation CD:
“Jaguar Control” program - installed by the Setup.exe from CD
Google Earth program - could be downloaded from http://earth.google.com/download-earth.html.
Please follow its installation instruction.
Axis camera SDK – installed from CD
Portable PC (Host controller PC)
(Optional)
Head-mounted display
(Optional)
Gamepad
Controller


