background image

English

Store this document in a safe place

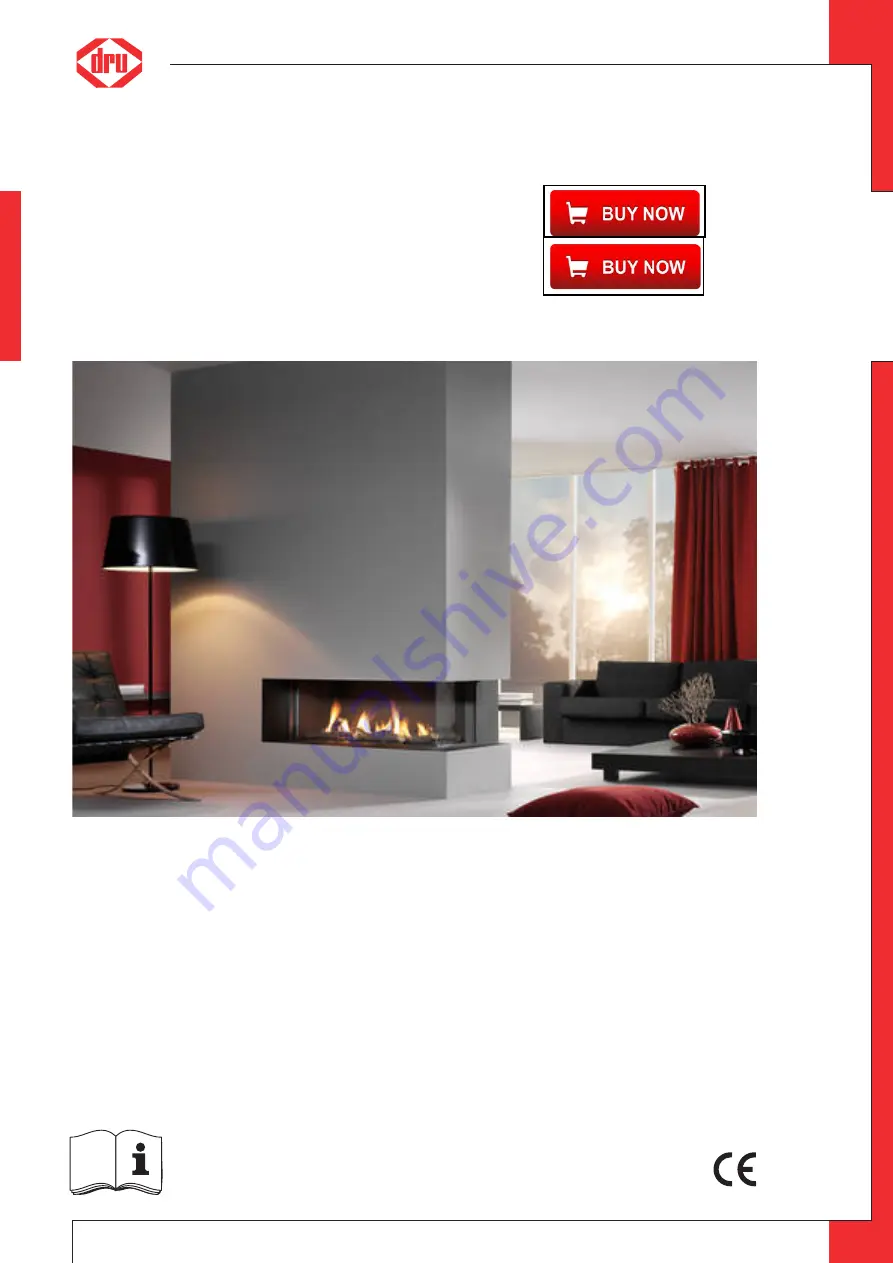
Metro 130XT/2 RCH
Metro 130XT/3 RCH

Installation manual

DRU-501802-EN-US-0318-10

G20/G25/G25.3 (Natural gas) G31 (Propane)

EN

959.062.05 EN

Summary of Contents for Metro 130XT-2 RCH

Page 1: ...E n g l i s h Store this document in a safe place Metro 130XT 2 RCH Metro 130XT 3 RCH Installation manual DRU 501802 EN US 0318 10 G20 G25 G25 3 Natural gas G31 Propane EN 959 062 05 EN...

Page 2: ...ing chimney C91 5 10 Additional instructions 5 11 Platform 5 11 1 Platform combined with lower decorative strip 5 11 2 Platform adjacent to the glass 5 12 Glass panes 5 12 1 Removing the front glass p...

Page 3: ...of this installation manual in the appendix Fully and carefully read and use this installation manual before installing the appliance When using the DRU Powervent system or DRU CM system the accompan...

Page 4: ...is has to do with the temperature development in the chimney breast Only use the flue gas discharge combustion air supply system supplied by DRU When installing a free standing appliance place the app...

Page 5: ...ally by means of the remote control In case of switching on manually the appliance will first return to full load Caution The appliance s control unit is characterized by stringent safety requirements...

Page 6: ...ulations Caution Protect the gas control and electric components hereafter referred to as the gas control against building dust and moisture For connecting the receiver and control panel at an applian...

Page 7: ...ening the self tapping screws and screw the self tapping screws back in the appliance Place the bracket with gas control together with the wiring of the ignition ionisation cable s the flexible gas ho...

Page 8: ...re the chimney breast is fully closed Whether the discharge concentric system is placed correctly Whether the channels fixing brackets and possible clip bindings which cannot be reached after installa...

Page 9: ...gas control and loosening the allen screw C by a few turns The bracket with the gas control can now be lifted and removed towards the front out of the control hatch Connect the 230V mains voltage wit...

Page 10: ...ethod of working The concentric system with wall or roof terminal has to comply with the following conditions In appendix 2 table 4 or 5 you can find whether a concentric pipe should be connected and...

Page 11: ...ing bracket 0 5 metre from the appliance at the most Place a fastening bracket maximum 0 1 metre from each bend if the bends are more than 0 25 metre away from each other If two bends are closer to on...

Page 12: ...ppendix 3 fig 2a A Create a recess in the platform in which the appliance will be placed if a false wall D is used the recess will be less deep the maximum material thickness is 30 mm Remove the lower...

Page 13: ...e glass pane and move it sideways Caution Make sure you do not damage the glass pane Tilt the bottom of the glass pane towards the front and remove the glass pane 5 12 2 Removing the side glass pane T...

Page 14: ...inlet guide L is located at the bottom side of the tray M surrounding the burner If you want to remove them proceed as follows see Appendix 3 fig 10a Unscrew the self tapping screws and remove the ver...

Page 15: ...not completely cover the burner pattern see Appendix 3 fig 23 and 24 because the main burner will not ignite properly which could result in unsafe situations the appliance will become filthy more quic...

Page 16: ...emote control it is possible to read all information stored in the receiver In this way the last 20 error messages can be retrieved and it will also be possible to read how many times an error occurre...

Page 17: ...on module by means of an RJ45 plug according to the instructions in the manual that is supplied with this module Now follow the steps described in the modbus protocol manual It is available from the s...

Page 18: ...e until the main burner ignites Caution After each attempt to ignite the system should be reset by means of the remote control Consult the diagram with error messages Appendix 1 if this does not succe...

Page 19: ...ition of the main burner does not comply with the above mentioned requirements 7 4 Flame picture The flame picture can only really be assessed when the appliance has been burning for several hours Vol...

Page 20: ...l against unintended ignition by other wireless remote controls such as car keys and garage door openers Point out the 230 Volt connection Instruct the user about the appliance and the remote control...

Page 21: ...pin suffocating flame Ionization pin placed incorrectly Ionization pin blocked measure ionization flow when 0 and 1 8 uA Make sure the connectors of the communication cable make proper contact Replac...

Page 22: ...e incorrectly mounted Pins on the connector on the gas control are bent High limit bridge defective ESYS defective burner device Window is open if this contact is present A bridge has been made across...

Page 23: ...ontrol Mains lead Control hatch Assembly set platform Back up self tapping screws for benefit of glass pane assembly Key bolts Hexagonal nut M8 Washer M8 Compression fitting 15 mm x G3 8 Socket spanne...

Page 24: ...85 6 0 0156 0 0124 0 0026 90 A Unit kW kW mg kWhinput GCV kW kW kW kW L h L h mbar mbar mm mm kW kW kW kW Type of heat output room temperature control Single stage heat output no room temperature con...

Page 25: ...meters horizontal pipe length excluding wall terminal 0 1 2 5 Table 4 Conditions for setting the appliance See Figure 5 5 Air inlet guide YES NO Restrictor slide NO NO Distance of restriction in mm OP...

Page 26: ...Situation is not permissible minimum length Situation A B C D Air inlet guide NO YES YES YES Table 6 Conditions for the adjustment of the appliance with a roof terminal Restrictor slide NO NO YES YES...

Page 27: ...3 Figures 27 50 min 830 max 850 1300 390 348 1380 1416 130 200 B B 286 463 18 227 398 min 235 max 285 38C 2023 0 390 1276 5 50 min 830 max 850 130 200 1320 5 330 1404 B B 398 286 18 227 463 min 235 ma...

Page 28: ...g l i s h INSTALLATION MANUAL 28 295 D 1286 135 430 40 1326 A C C 340 D 475 135 1330 B C C A C 38c 2026 0 B D A C B D 295 D 1310 1395 135 430 A C C 1400 340 D 475 135 B C C C A 38c 2025 0 D B C A D B...

Page 29: ...E n g l i s h INSTALLATION MANUAL 29 282 D 1020 135 417 40 1060 A C C 330 D 465 135 1065 B C C A C 38c 2018 0 B D A C B D 38C 1954 A B D D C 2b 2a...

Page 30: ...E n g l i s h INSTALLATION MANUAL 30 B H D G F E A C 38C 1747 0 38C 1868 d 0 4 3...

Page 31: ...E n g l i s h INSTALLATION MANUAL 31 A 2 B 3 38C 1956 0 4 1 0 8 4m 0 5m 38c 744zi 1x90 6 5...

Page 32: ...E n g l i s h INSTALLATION MANUAL 32 A 1 C 2 D 3 B 4 E 5 6 38c 1957 S T 38c 1664 0 R U 8 7...

Page 33: ...E n g l i s h INSTALLATION MANUAL 33 38C 1620 0 8x L L 1 2 2 55 40 38C 1662 0 10a 9...

Page 34: ...E n g l i s h INSTALLATION MANUAL 34 38P 0263 38P 0432 38P 0433 38P 0434 11 12 13 14...

Page 35: ...E n g l i s h INSTALLATION MANUAL 35 38P 0169 C B D E F G H A 38p 0022 38p 0023 38P 0028 1 18 15 16 17...

Page 36: ...E n g l i s h INSTALLATION MANUAL 36 38p 0443 38P 0442 A C B E 38p 0444 D 19 20 21...

Page 37: ...E n g l i s h INSTALLATION MANUAL 37 F G H 38P 0445 38P 0446 38P 0447 22 23 24...

Page 38: ...E n g l i s h INSTALLATION MANUAL 38 38p 0486 38p 0487 25 26...

Page 39: ...E n g l i s h INSTALLATION MANUAL 39 38C 1871 0 Modbus WiFi Router W R D B O A 0 3 V L N L N 0 3V C D B 38P 0790 0 max 0 5A 250VAC 30VDC max 80W 230VAC A PowerVent 36 35...

Page 40: ...E n g l i s h INSTALLATION MANUAL UK 1 98 Off 1 98 Off B2 B1 B U B U C B D 38p 0319 2 P1 P2 G IN A 38 37...

Page 41: ...E n g l i s h INSTALLATION MANUAL 41 Min 12 5 mm Min 12 5 mm 38C 2321 0 Min 100 mm Min 100 mm Min 60 mm Min 60 mm Min 0 mm Min 0 mm 38C 2311 0 40 41...

Page 42: ...E n g l i s h INSTALLATION MANUAL 42...

Page 43: ...E n g l i s h INSTALLATION MANUAL 43...

Page 44: ...E n g l i s h DRU Verwarming B V The Netherlands Postbus 1021 NL 6920 BA Duiven Ratio 8 NL 6921 RW Duiven EN...

Reviews: