19
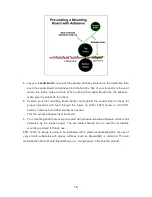
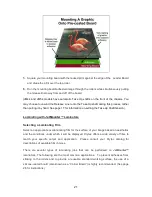
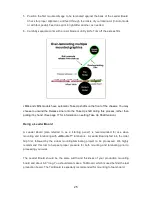
4. Lay your
Leader Board
on top of the exposed adhesive material on the worktable; then
push the Leader Board and adhesive into the Nip (the „Nip‟ of your laminator is the point
where the rollers make contact). When pushing the Leader Board into the adhesive,
make sure it is parallel to the rollers.
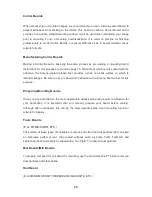
5.
Position your first mounting board behind and against the Leader Board. Check for
proper alignment, and feed through the rollers (in either AUTO mode or via FOOT
switch). Feed one board after another as needed.
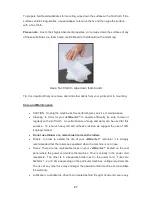
6.
Trim the excess adhesive off of the board.
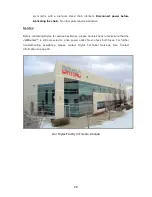
6. Your mounting boards are now pre-coated with pressure-sensitive adhesive, which is still
protected by the release paper. The pre-coated boards can be used for immediate
mounting or stored for future use.
TIP:
When an image is going to be laminated with a gloss overlaminating film, the use of
very smooth substrates with glossy surfaces (such as Masonite®) is preferred. This will
minimize the effect of board imperfections, (i.e. “orange peel”) in the finished product.


