24
7.
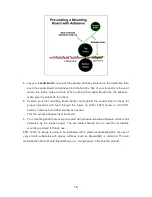
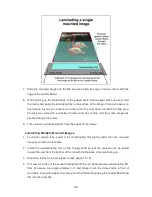
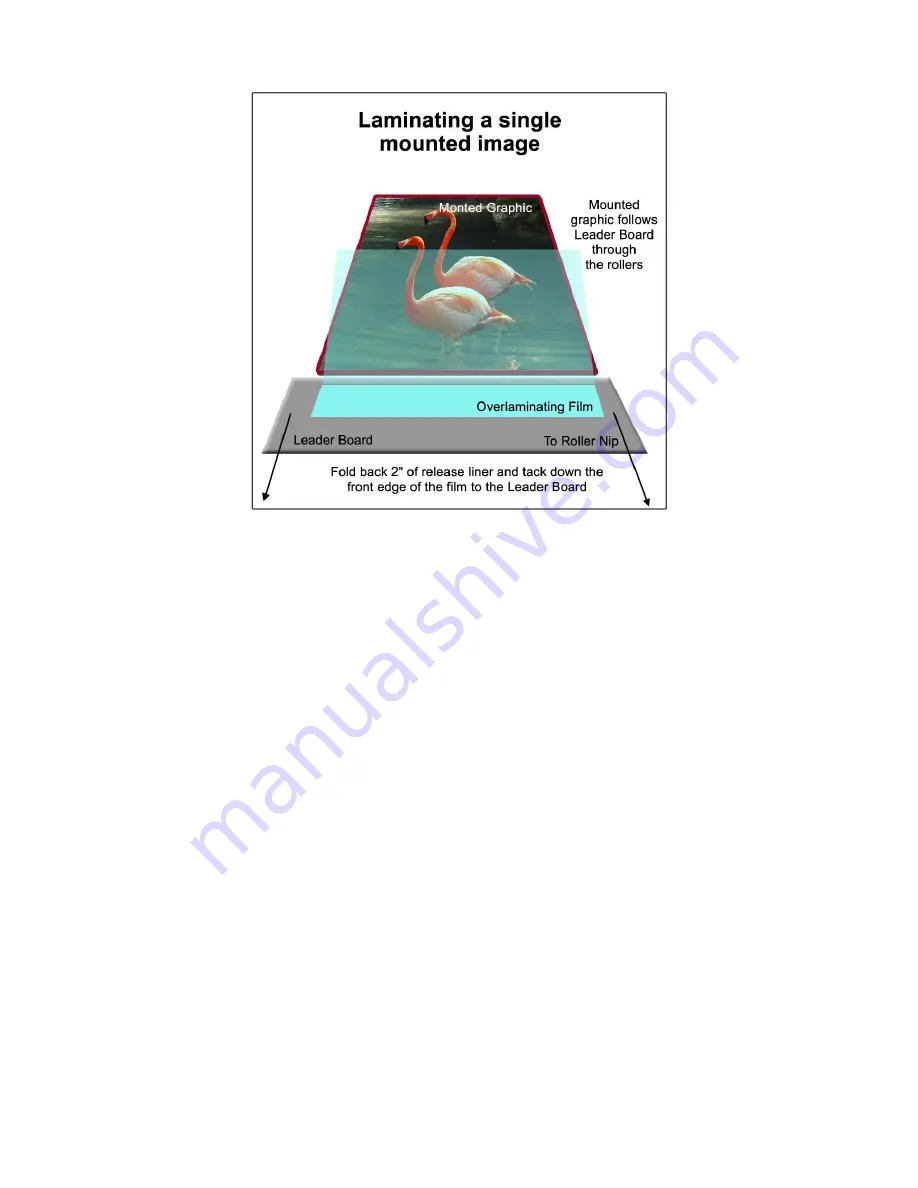
Slide the mounted image into the Nip area and allow its edge to make contact with the
edge of the Leader Board.
8.
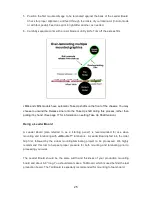
While holding up the folded edge of the peeled back release paper with one hand, start
the rollers and apply the laminating film to the surface of the image. Pull up and away on
the release liner as you advance to ensure that the liner does not reach the Nip area.
Process your work with a consistent motion and do not stop until the entire image has
passed through the rollers.
9.
Trim excess overlaminating film from the edges of the image.
L
a
m
inating Multiple Mounted
Im
age
s
1. For higher volume jobs, select a roll of laminating film slightly wider than the mounted
images you intend to laminate.
2. Install the overlaminating film on the Supply shaft so that the material can be pulled
toward the user from the bottom of the roll with the Release Liner side facing up.
3. Adjust the rollers for proper pressure (see pages 15-16).
4. Pull several inches of the overlaminating film off the roll. Separate the overlaminating film
from its release liner (approximately 3-
4”) and drape it onto the in-feed table in front of
the rollers. Keep the release liner away from the film while pushing the Leader Board and
film into the roller Nip.


