25
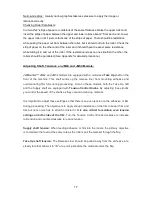
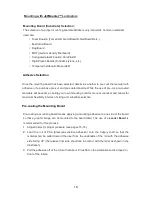
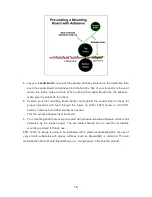
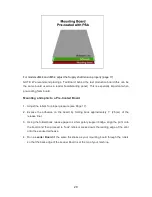
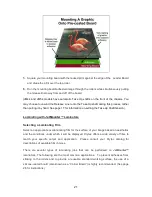
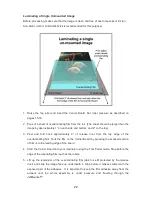
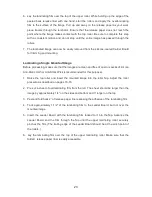
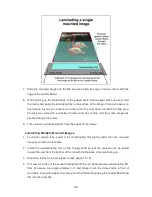
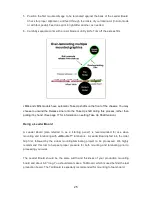
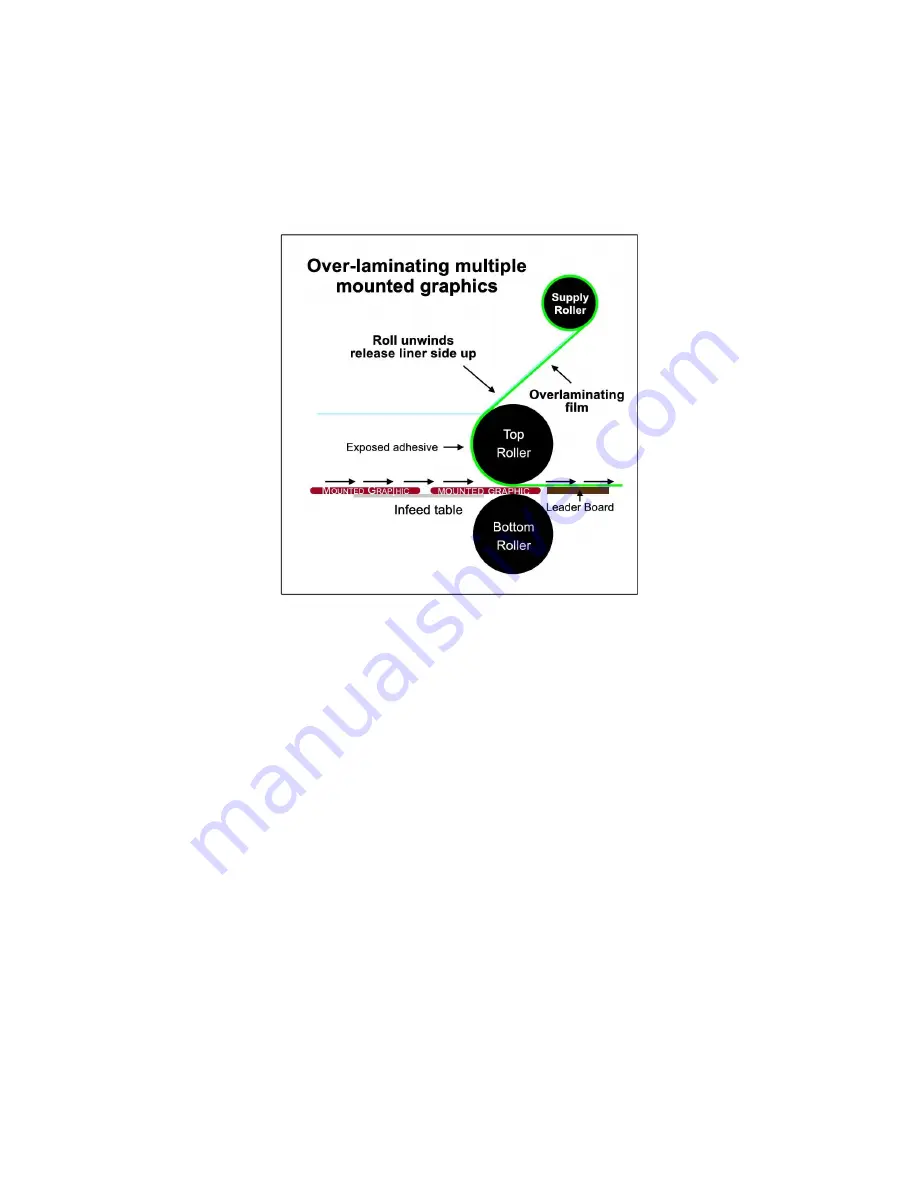
5. Position the first mounted image to be laminated against the back of the Leader Board.
Check for proper alignment, and feed through the rollers of your laminator (in Auto mode
or with foot pedal). Feed one print in right after another, as needed.
6. Carefully separate prints with a razor blade or utility knife. Trim off the excess film.
JM44 and JM54 models have automatic Take Up shafts on the front of the chassis. You may
choose to unwind the Release Liner onto the Take Up shaft during this process, rather than
pulling it by hand. (See page 17 for information on setting Take Up Shaft tension).
Us
ing a
L
eader
B
oard
A Lead
er Board (also referred to as a “starting panel”) is recommended for use when
mounting and laminating with
Jet
Mounter
™
laminators. A Leader Board is fed into the roller
Nip first, followed by the actual mounting/laminating project to be processed. We highly
recommend this tool to help set proper pressure for both mounting and laminating prior to
processing your work.
The Leader Board should be the same width and thickness of your production mounting
board and about 6-
8” long. You should also make a Tail Board, which is used behind the last
production board. The Tail Board is especially recommended for mounting to foam board.


