A
NTI
-M
ODE
TM
X2
U
SER
’
S
G
UIDE
1.Overview
What's included in the box
✔
The Anti-Mode
TM
X2 unit
✔
A power supply for your country / region
✔
A calibration microphone
✔
An infra-red remote controller (with batteries)
✔
This guide
Not included
✔
USB Type-C cable is not included
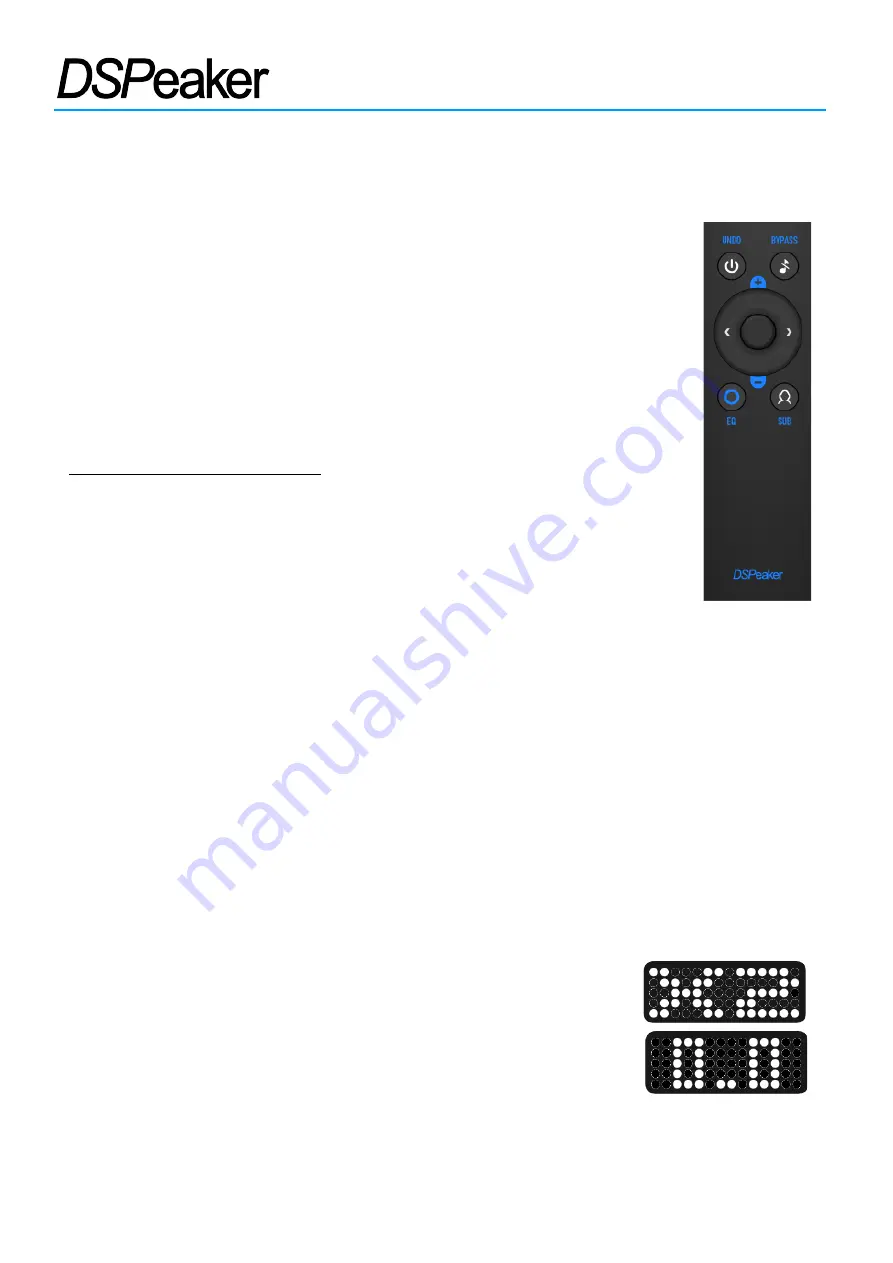
Remote Control Layout
The remote control layout is depiceted on the right. When this guide references a
button, it usually refers to a press of the corresponding button.
i
represents the
center button (Ok / Confirm).
Basic Information
Anti-Mode
TM
X2 is an automatic room & speaker optimizer with a preamplifier function. Running the
automatic calibration procedure using the provided microphone is required to utilize the optimization
feature and to establish the correct speaker configuration when a subwoofer is used. See Chapter 2
Calibration on page 9 for details.
Connections
Connect the left and right outputs to a pair of powered speakers or to your amplifier. If you have a
subwoofer, connect it to the "sub" output connector. Up to 3 digital audio sources can be connected:
Optical S/PDIF using Toslink, USB Audio 1.0 using USB-C, and Coaxial S/PDIF. If an analog audio source is
connected to the "Line In" inputs, the Coaxial S/PDIF connector can not be used at the same time.
Then connect the power supply to the wall socket and the plug to the
Power input of the Anti-Mode X2. The unit will automatically start and show
“X2” on the screen. After that “0.0” is shown shortly if there is no
calibration data. “2.0” or “2.1” is shown otherwise, depending on the mode
chosen in a previous calibration.
If your amplifier doesn’t have a gain setting or it is set quite high,
remember to check the volume setting of the Anti-Mode X2 before proceeding. The default volume is
-40dB, you may need to increase it for normal operation.
Rev. 1.1
2022-08-10
Page 4 (12)


