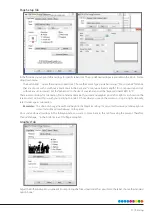
18 | Printing
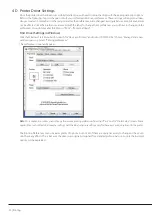
After you click “Finish”, you can always go back and change any of these “Label Properties” settings, by going to the Menu
Bar and select “Document Properties” or double click on the blank label.
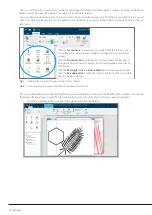
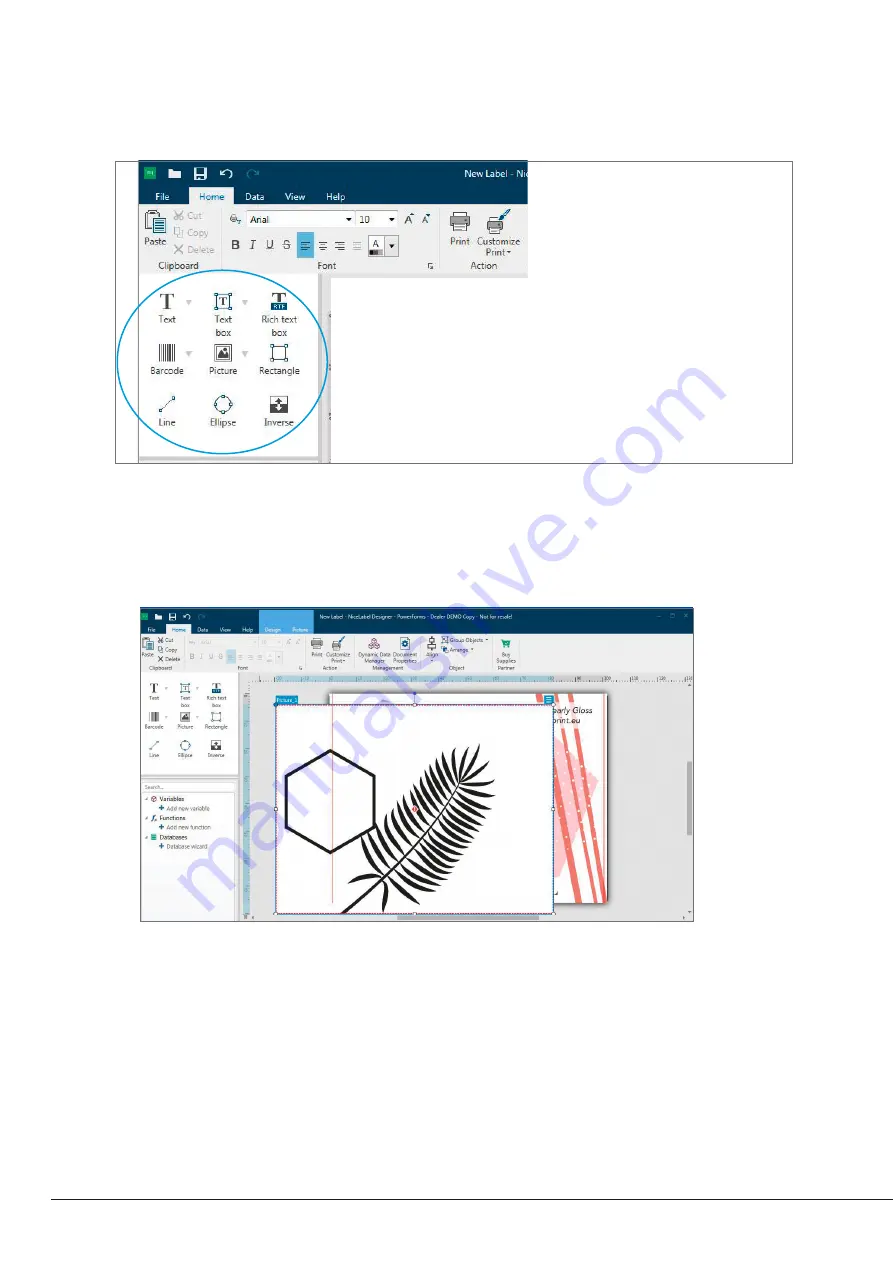
Once you have created your label size you can start to design your label using tools from the tool box/button bar. You will
need to add text, rectangles, lines and/or graphics. This can be done using one of the buttons on the button bar at the top
left screen.
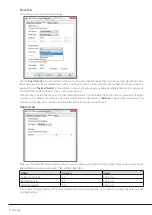
Click the
Text buttons
to add text to your labels. Edit the text on screen
or double click to open up text settings to change font, size and other
settings.
Click the
Picture button
to add graphic. Click anywhere on the label. A
pop-up window will open to browse to the image/graphic and select it
with “Open”.
Click the
Rectangle
,
Line
and
Ellipse button
to add geometrical shapes.
Click the
Barcode button
to add a bar code. Double click the bar code to
choose the bar code type.
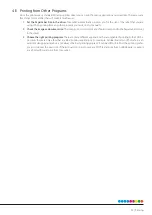
Tip 1:
Double-click any object to open settings for that object.
Tip 2:
Go to the Help tab to access the NiceLabel Manual and Tutorials
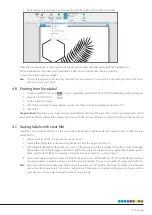
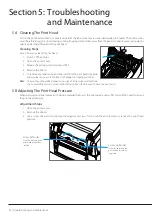
If you are adding metallic or colour highlights to a pre-printed label you can open the label file that you have used to print
the labels. Afterward you can add the black and white picture or any black text or shape you want to imprint.
1. Add a text, picture/graphic or shape to the desired position on the label
Summary of Contents for FX510e
Page 4: ......
Page 31: ...FX510E 190305 ...