


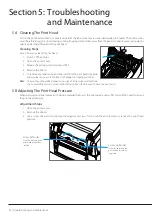


26 | Troubleshooting and Maintenance
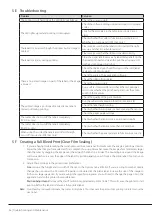
5 E Troubleshooting
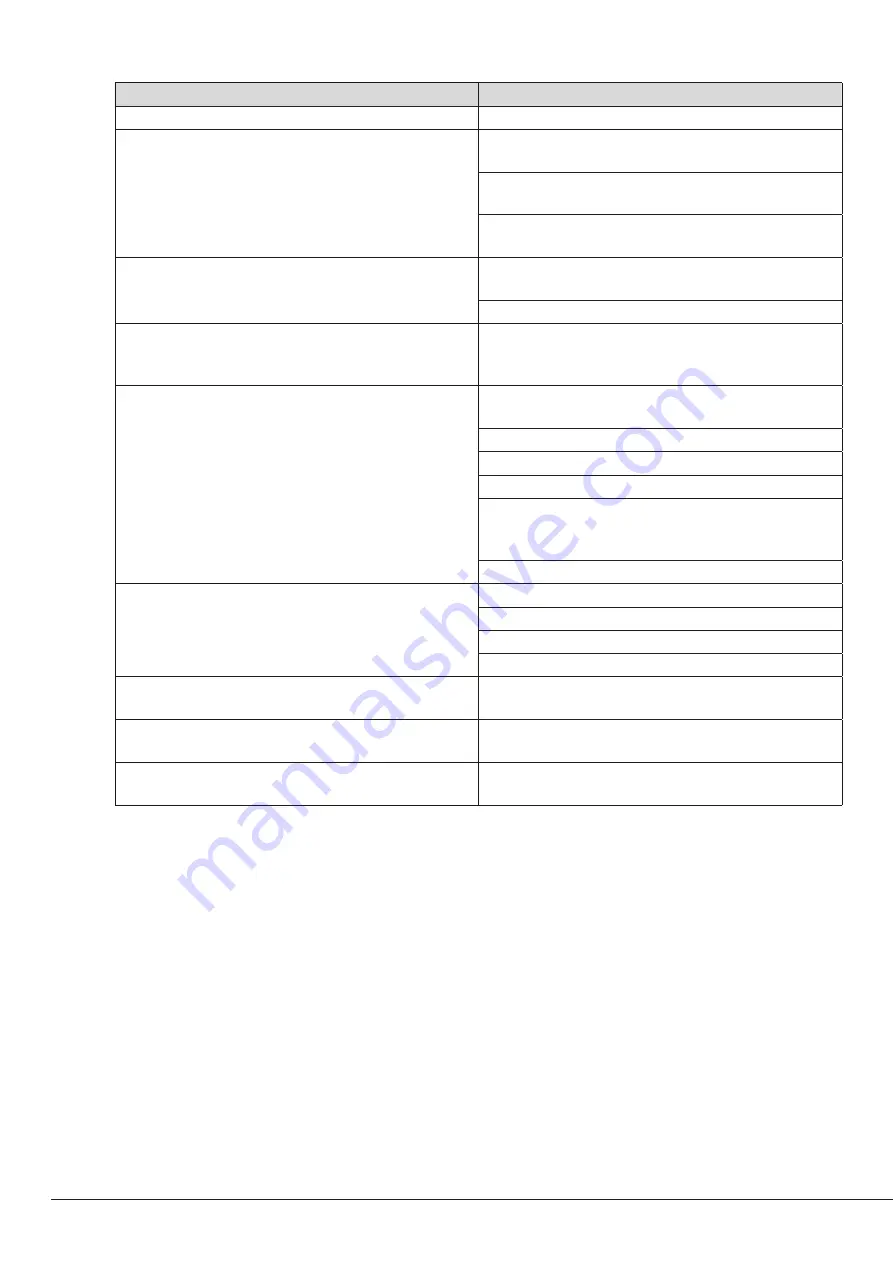
Problem
Solution
The printer is switched on but the LED does not light up
Check the power supply.
The LED lights up red and printing is interrupted
Check the software settings (driver settings) or command
codes.
Look for the error alert in the table in Section 3C Error
alerts.
Check whether the cutter is functioning normally and
whether it is cutting at all. (FX510ec only)
The label stock passes through the printer but no image is
printed.
Please make sure that the label stock is loaded the right
way up and that it is suitable material.
Please make sure that the ribbon is loaded correctly.
The label stock jams during printing.
Clear the paper jam. Remove any label material left on the
thermal print head and clean the print head using a soft
lint-free cloth dipped in alcohol
There is no printed image on part of the label or the image
is blurred.
Check the thermal print head for dust or other dirt (label
material or ribbon residue).
Check for errors in the application software.
Check the ribbon for wrinkles.
Check the power supply.
Run a self test (Section 3B ) and check the test print pat-
tern to see whether the print head prints over the entire
width of the medium.
Check the quality of the print medium
The printed image is positioned incorrectly or a label is
missed out during printing.
Run the Label size calibration function. (Section 3 B)
Check the label height setting.
Check whether there is paper or dust covering the sensor.
Check the paper guide settings.
The cutter does not cut off the labels completely
(FX510ec only).
Check whether the label stock is positioned straight
The cutter does not cut off the labels completely
(FX510ec only).
Check whether the label is more than 0.2 mm thick
When using the cutter, the labels are not fed through
or cut off incorrectly. (FX510ec only).
Check whether the paper guides are functioning correctly.
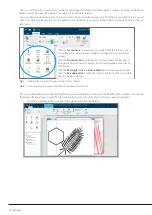
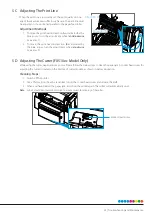
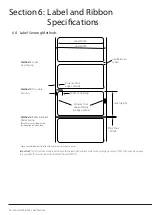
5 F Creating a Full Bleed Print (Clear Film Sealing)
1. If you are having trouble making the rectangle cover the entire label, first make sure the image is printing at least as
big as the label size you have selected. To accomplish this using NiceLabel, make the image a few millimeters larger
than the label by dragging the image over the edge of the label on all sides. The bounding box around the image
will turn red when it is over the edge of the label. Try printing again to see if it covers the entire label. If not, move on
to step two.
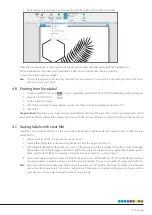
2. Adjust these settings in the printer driver preferences:
Size.
Increase the height and/or width of the size in the Options tab a little bit. If you are using NiceLabel, simply
change the size under the Document Properties or double click the blank label. Increase the size of the image to
fit the new larger page size. If you are using other graphics programs you will need to change the page size in the
application and in the printer driver preferences.
Position Adjustment.
Decrease the Start Position by approximately -2mm (-0.08”). This will cause the printer to start
printing before the label and ensure a fully printed label.
Note:
Over bleeding too much will cause the printer to skip labels. This is because the printer stops printing too late to sense the
next label.
Summary of Contents for FX510e
Page 4: ......
Page 31: ...FX510E 190305 ...


