10
ZKL 3000 RC
7. INSTALLING THE ZKL 3000 RC
a. Installing the ZKL 3000 RC in the track
After you have successfully tested the ZKL 3000 RC in a safe location, you can install the ZKL 3000
RC in the track as follows:
• Ensure that the distance between the bottom of the ZKL 3000 RC and any ballast is at least 3cm
• Set the override key switch of the ZKL 3000 RC to ‘ON’
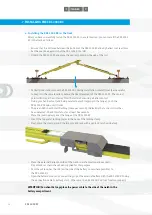
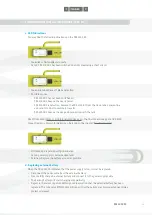
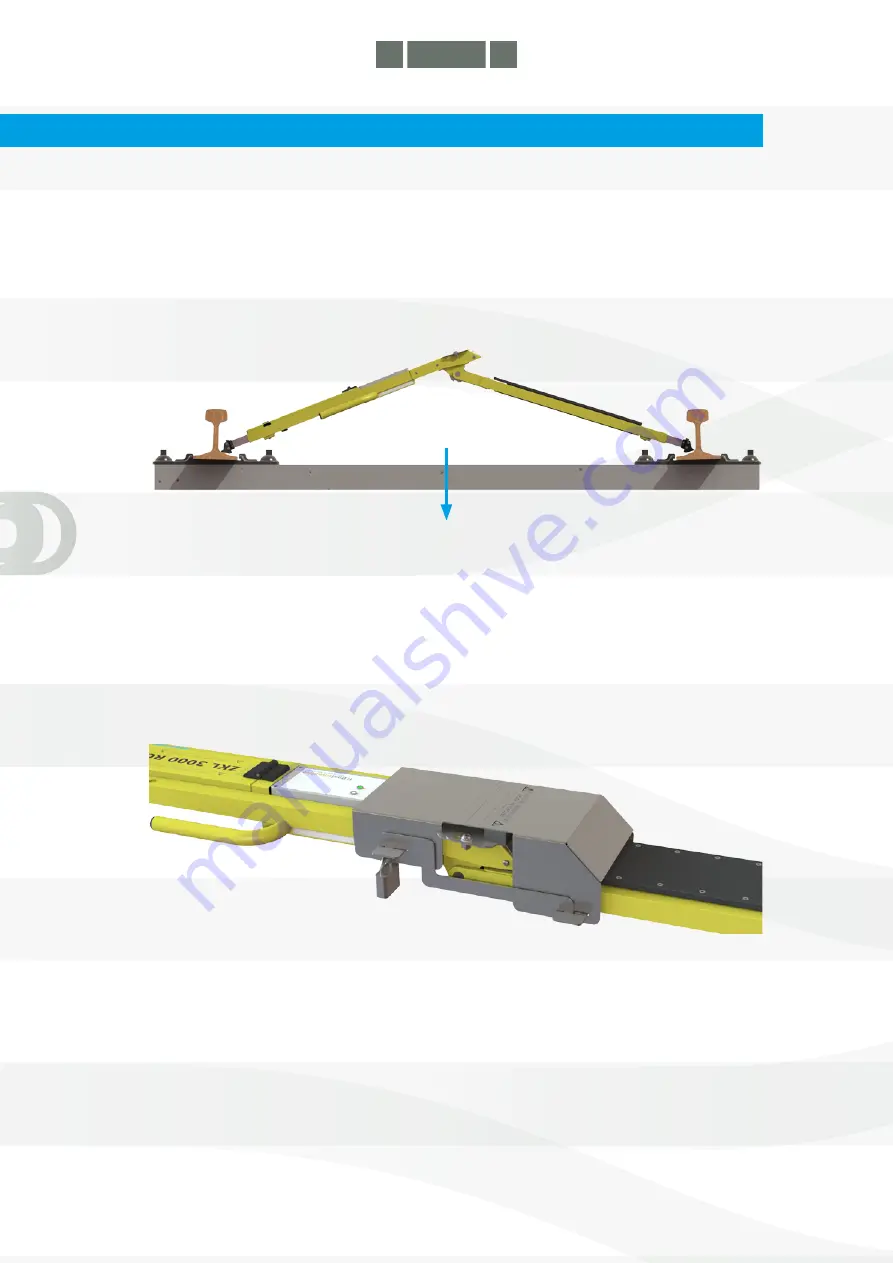
• Unfold the ZKL 3000 RC and place the contact points on the web of the rail
• Partially insert and remove the ZKL 3000 RC during installation several times (being careful
to keep it in the same location) before the final placement of the ZKL 3000 RC. The contact
points will scrape the rust away from the rail web ensuring a better contact
• Using your hand or foot (and being careful to avoid trapping in the hinge), push the
ZKL 3000 RC down until it locks
• The green LED should start flashing (twice per second), indicating that a short circuit has
been detected. Check this status for at least five seconds
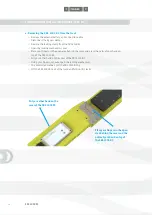
• Place the locking clamp over the hinge of the ZKL 3000 RC
• Insert the two metal locking plates in the base of the locking clamp
• Next, place the clamp around the two pins and lock with a padlock (as shown below)
• Place the external battery outside of the track in a safe location and secure it.
No padlocks or chains have been supplied for this purpose
• Pass the cable under the rail (on the side of the battery cover where possible) to
the ZKL 3000 RC
• Open the battery cover and connect the plug of the external battery with the ZKL 3000 RC using
the connection cable to battery slot 2. Otherwise, the ZKL 3000 RC will not function properly
ATTENTION! You should always place the power cable to the side of the notch in the
battery compartment
.
>
>
index
>

