5
USING YOUR MINI CHOPPER
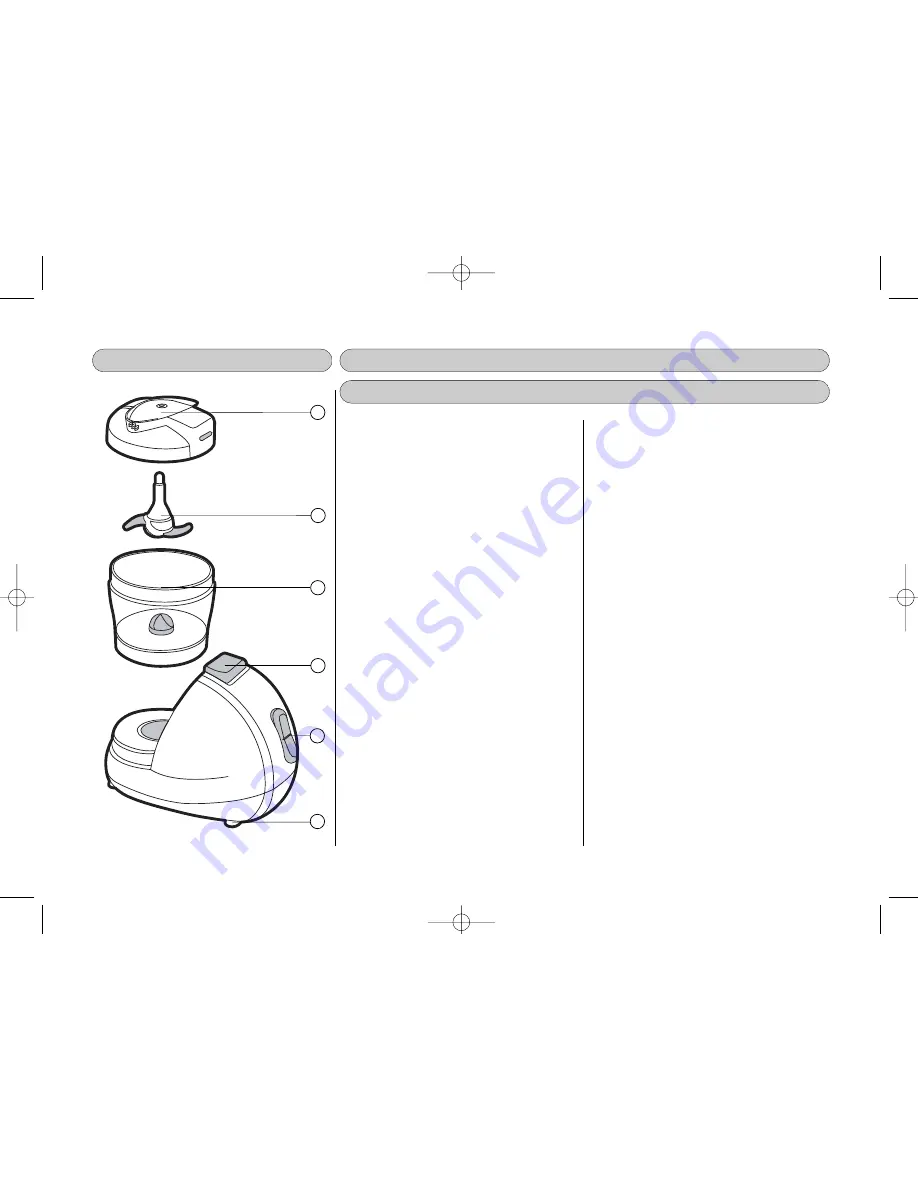
PARTS & CONTROLS
GETTING STARTED
The following section will explain
how to get the most out of your mini
chopper. Please follow the
instructions carefully.
•
Wash chopper bowl, chopper lid
and chopper blades with warm,
soapy water. Rinse and dry
thoroughly
•
Put the blade attachment in first.
It sits at the bottom of the bowl.
Treat the blades with respect -
they are sharp!
•
Seal the chopper bowl by putting
on the lid - from left to right.
Engage the locking position first,
on the left, with its three little
plastic uprights, then push down
on the right which has a small
protruding ledge
•
Once the lid is on, and only then,
gently slide the bowl into position
on the base, engaging it securely
before switching on. Do not force
N
No
otte
e::
Your mini chopper is equipped
with a safety feature, where the
blades will not operate unless the
chopper lid and chopper bowl are
correctly engaged.
•
To release the bowl from the
base, press the button on the side
with the cable and pull the bowl
away from the left
•
N
Ne
evve
err tto
ou
ucch
h tth
he
e ccu
uttttiin
ng
g e
ed
dg
ge
ess o
off
tth
he
e b
blla
ad
de
e a
ass tth
he
ey
y a
arre
e vve
erry
y ssh
ha
arrp
p!!
•
Add food ingredients to the
chopper bowl, distributing them
evenly with a spatula
When chopping, pre-cut the
larger parts of food into pieces of
even size, approximately 1.0 to
1.5cm (half inch to ¾ inch)
•
If working with hot ingredients,
take care not to put your hands
over the little holes in the lid.
The steam needs to escape and
can be hot
1
3
4
5
2
6
310306_mini chopper cookbook.qxp 4/4/2006 15:44 Page 5


