


5.5
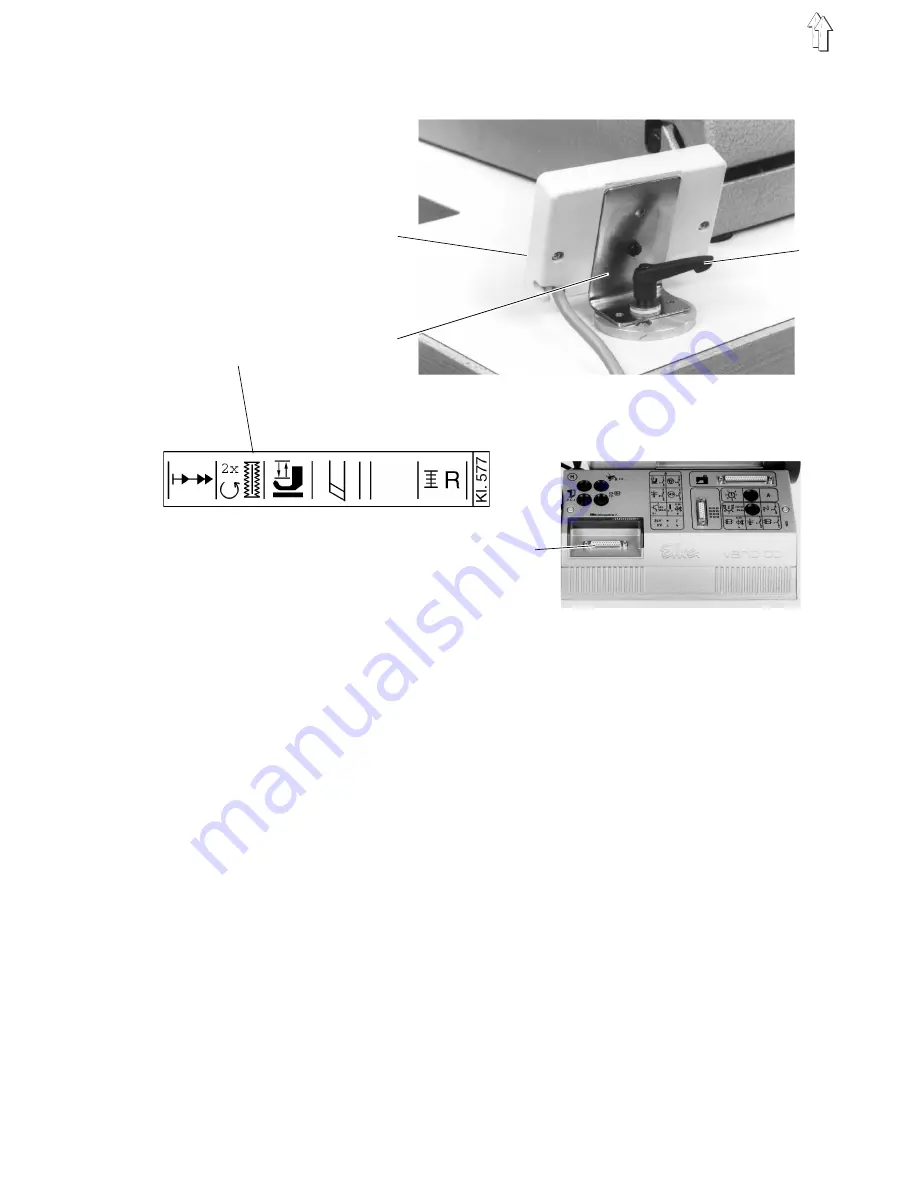
Installing and connecting the control panel
–
Remove the designation strip 9 of the cl. 577 from the driver
package and introduce it into the control panel.
–
By using the available fastening material, fasten first the control
panel 10 to the square 11.
–
Then install the square 11, together with the control panel 10, on
the table top.
–
Lead the connecting cable of the control panel to the control box,
by passing it through the hole in the table top.
–
Introduce the plug of the control panel into the bush 12 and fasten
by a screw.
The illustration shows the rotary connection of the control panel when
using a stand for transversal/longitudinal operation.
Turning the control panel
–
Loosen the clamping lever 13.
–
Turn the control panel in the desired position.
–
Tighten clamping lever 13.
10
13
12
11
9
11
Summary of Contents for 577-1111
Page 2: ...Fig A 10 4 6 13 14 1 5 12 7 8 9 11 2...
Page 5: ...1 2 3 5...


