53
5. Using On-Screen Menu
❶
Using the Menus
NOTE: The on-screen menu may not be displayed correctly while interlaced motion video image is projected.
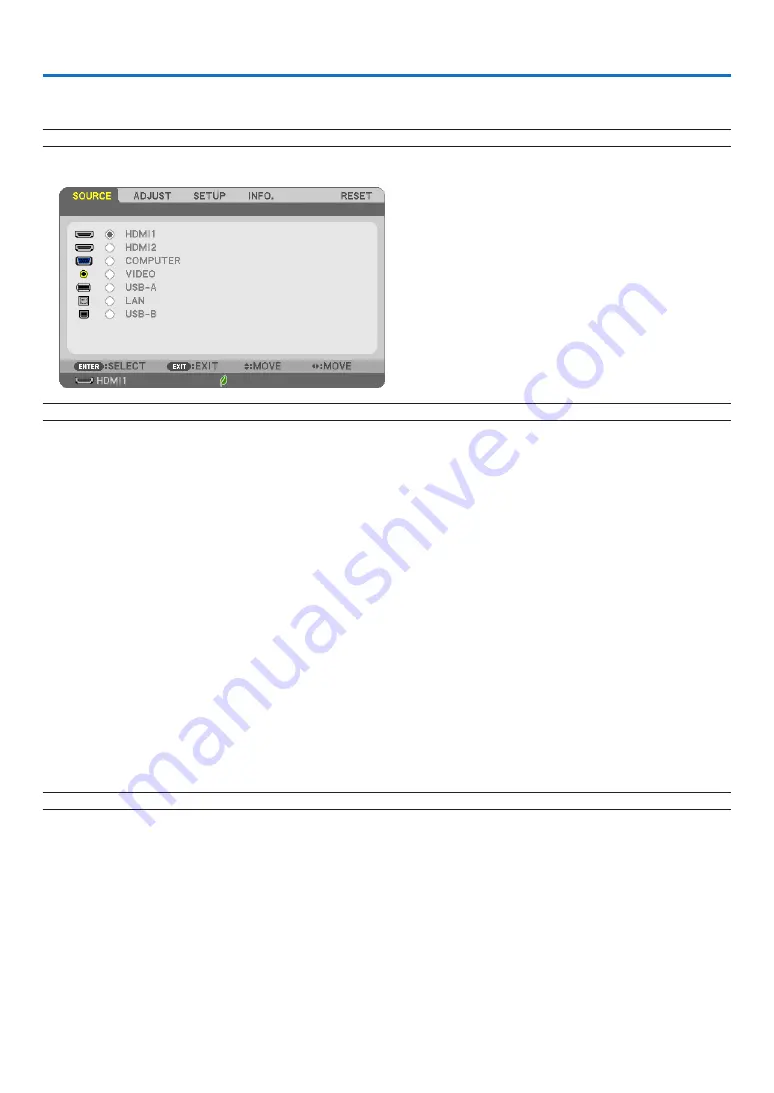
1. Press the MENU button on the remote control or the projector cabinet to display the menu.
NOTE: The commands such as
ENTER, EXIT,
▲▼
,
◀▶
in the bottom show available buttons for your operation.
2. Press the
◀▶
buttons on the remote control or the projector cabinet to display the submenu.
3. Press the ENTER button on the remote control or the projector cabinet to highlight the top item or the first
tab.
4. Use the
▲▼
buttons on the remote control or the projector cabinet to select the item you want to adjust or
set.
You can use the
◀▶
buttons on the remote control or the projector cabinet to select the tab you want.
5. Press the ENTER button on the remote control or the projector cabinet to display the submenu window.
6. Adjust the level or turn the selected item on or off by using the
▲▼◀▶
buttons on the remote control or the
projector cabinet.
Changes are stored until adjusted again.
7. Repeat steps 2 -6 to adjust an additional item, or press the EXIT button on the remote control or the projec-
tor cabinet to quit the menu display.
NOTE: When a menu or message is displayed, several lines of information may be lost, depending on the signal or settings.
8. Press the MENU button to close the menu.
To return to the previous menu, press the EXIT button.


