145
5. Using On-Screen Menu
[AUTHENTICATION] (required for wireless only)
Setting is required for using WPA-EAP or WPA2-EAP.
Preparation before setting
Select a wireless LAN compliant WPA-EAP or WPA2-EAP authentication and install a digital certificate on the projec-
tor.
1. Set [DATE AND TIME] on the projector. (
→
page
118
)
2. Use a computer to save digital certificates (files) for WPA-EAP or WPA2-EAP setting to your USB memory
device.
After completing saving the file, remove the USB memory device from the computer.
NOTE:
• Save a digital certificate (file) to the root folder of the USB memory.
• The file formats of digital certificate that are supported by the projector are DER and PKCS#12 only.
• The projector cannot handle any digital certificate whose file size exceeds 8 KB.
• CRL (Certificate Relocation List) is not supported.
• Client certificate chain is not supported.
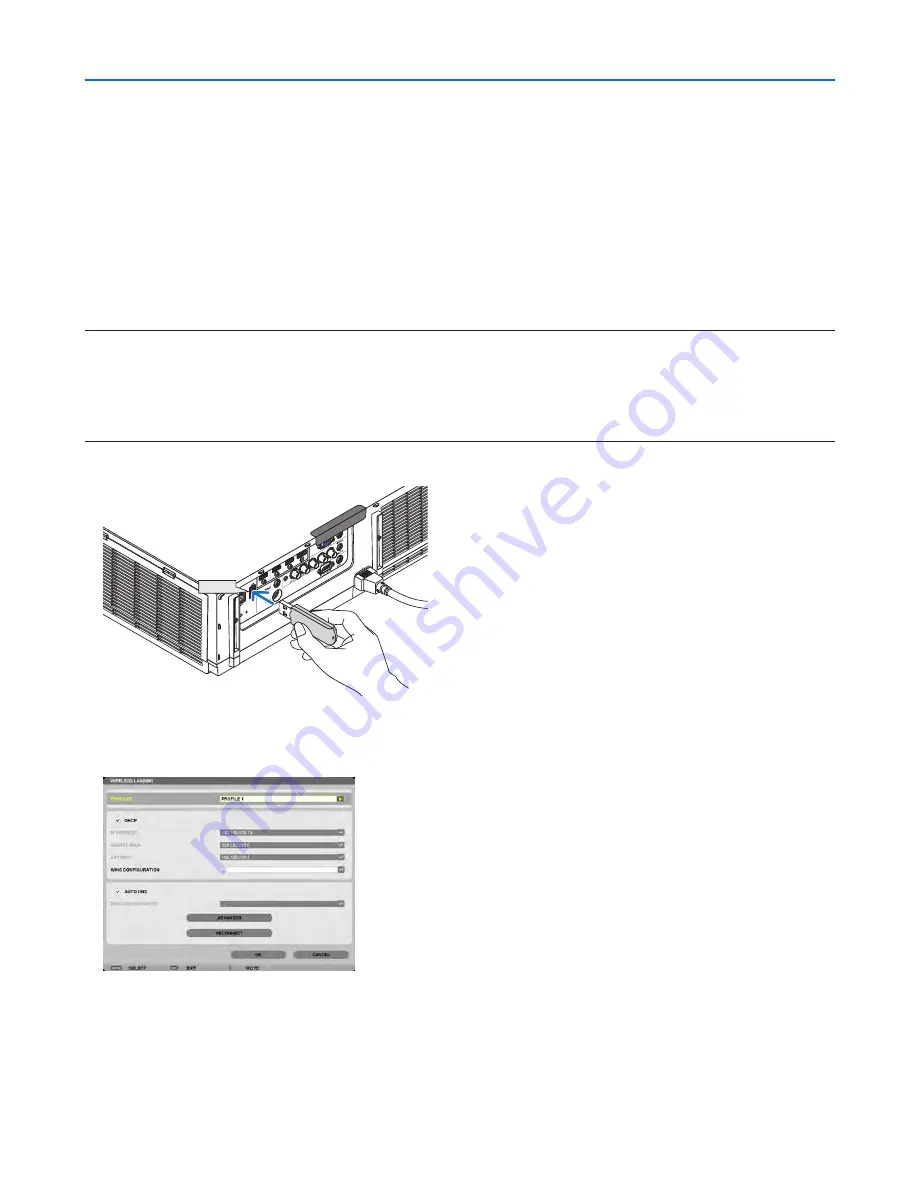
3. Plug the USB memory device into the USB port of the projector.
USB
Setting Procedures
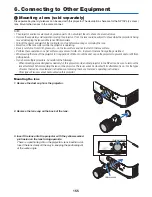
1. Select [NETWORK SETTINGS(MM)]
→
[WIRELESSS LAN].
2. Set items such as PROFILES, DHCP, IP ADDRESS, SUBNET MASK and others as required.
• Select [PROFILE 1] or [PROFILE 2] for [PROFILES]. If [EASY CONNECTION] is selected, WPA-PSK, WPA2-
PSK, WPA-EAP, or WPA2-EAP is not available.
3. Select [ADVANCED] and press the ENTER button.
The [ADVANCED] setting screen will be displayed.


