
2
Installation and Operation of: FLM100 Half Rack Retro
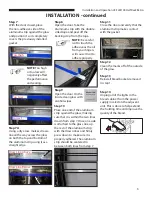
INSTALLATION
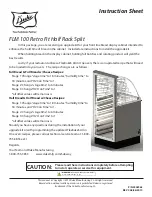
Please read these instructions completely before attempting
to install, operate or service this equipment.
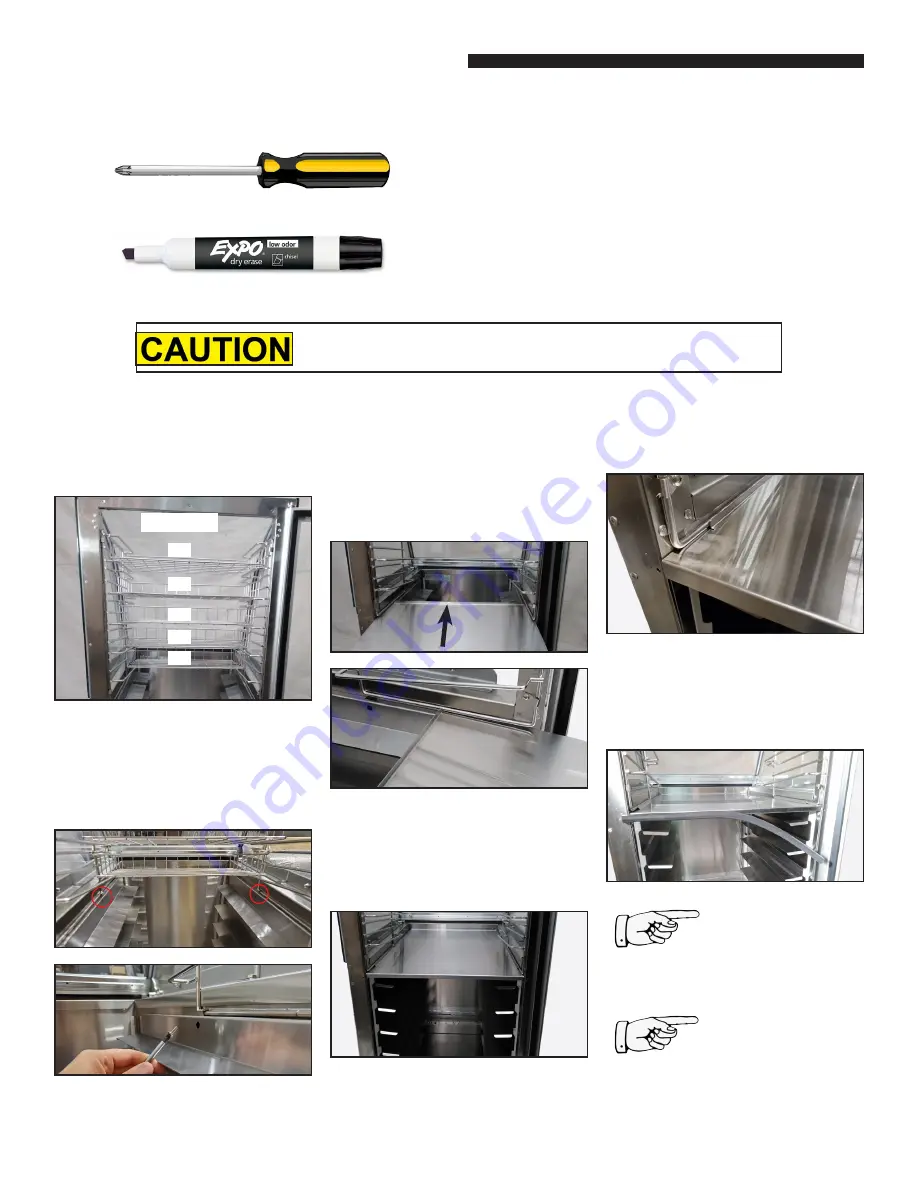
Step 2
Locate the two removable tabs
holding the wire racks in place
and remove them using a Phillips
Head Screwdriver.
Step 3
Insert the partition plate provided
between the lower sheet metal
rack and the upper wire rack. The
wire racks may need to be pulled
up slightly to make room for this
plate.
Step 1
Make sure unit is disconnected
from any power source. Remove
top five baskets from unit.
Remove
1
2
3
4
5
Step 4
Slide the rack all the way in until
the back flanges is resting against
the inside of the cabinet wall.
Step 5
Make sure that the wire rack is
resting between the cabinet wall
and the partition plate flange.
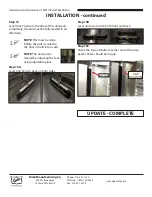
Step 6
Install the edge trim-seal to the
flange of the partition plate. Make
sure it is pushed all the way onto
the flange and is secure.
NOTE
: There should
be approximately
1” overlapping the
partition plate on
each side.
NOTE
: Adjust side-
to-side accordingly
to make sure this
overlap does not
interfere with the
door gasket.
Tools Required:
Phillips Head Screwdriver
Dry Erase Pen
Parts Included:
• Partition Plate,
• Edge Trim Gasket,
• Aluminum Strip with Adhesive
• Alcohol Pads