
5427 hollister avenue, santa barbara, ca 93111
tel 805.964.9610 fax 805.964.9749
www.seymourduncan.com
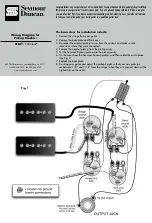
Wiring Diagram for
Pickup Models:
STK-P1 P-90 Stack
®
The basic steps for installation include:
1. Remove the strings from your guitar.
2. Remove the back plate and flip it over.
3. De-solder the original pickup’s wires from the controls and make sure to
remember where they were connected.
4. Remove the original pickup from the pickup cavity.
5. Put the Seymour Duncan pickup into the pickup cavity.
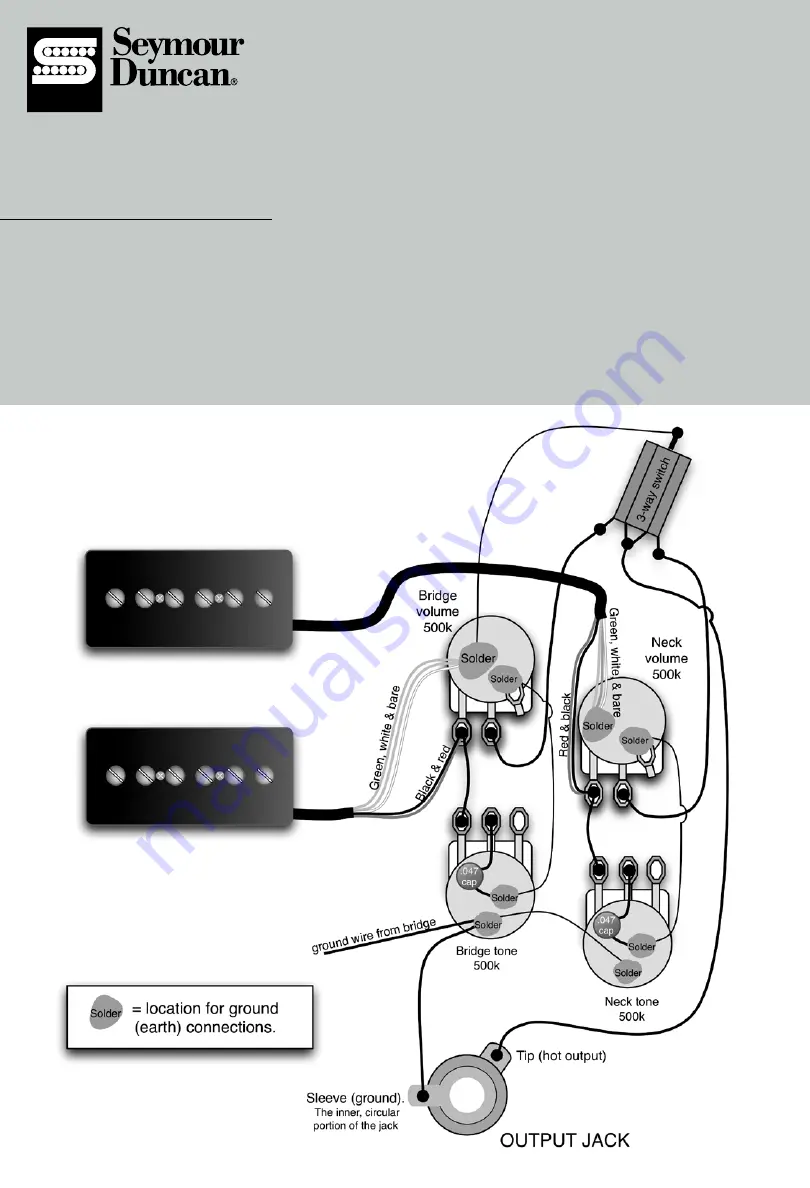
6. Tin the wires from the Seymour Duncan pickup, and then solder them into place
(see Fig. 1).
7. Replace the back plate.
8. Re-string your guitar and adjust the pickup height so that your new pickup is
set between 1/8” and 1/16” from the strings (when they are pressed down at the
highest fret on the neck).
Congratulations on your purchase of a fine, hand-built, Seymour Duncan electric guitar pickup! Installing
this pickup in your guitar isn’t rocket science. And, if you’re already handy with tools, it’ll be a snap for
you–and fun too! But if you have no experience handling red-hot soldering irons, you’d be well advised
to take your new pickup and your trusty guitar to a qualified guitar tech.
Fig. 1


