3
Section 5: Floor and Drain Assembly
Time needed: approximately 20 minutes
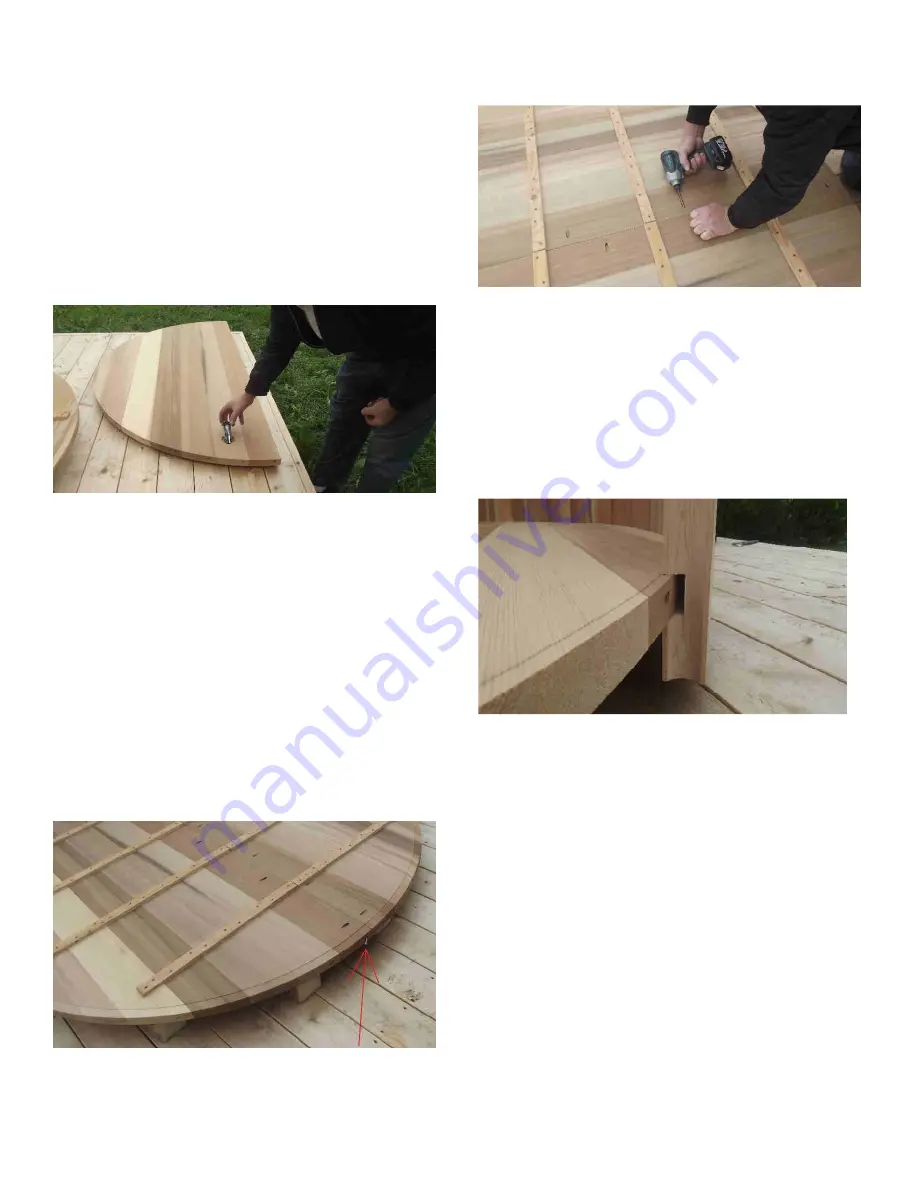
Install the floor drain at this time in the recessed hole in
one half of the floor. The recess is in the topside of the
floor. Put a medium sized bead of silicone around the
corner of the recessed hole, and a small amount on the
threads of the drain (Figure 5.1.) Slip the drain in place
with the rubber gasket on the top side (inside the tub) and
tighten the large nut underneath hand tight. Finish with
1/2 turn with a pipe wrench - do not over tighten!
Fig. 5.1
Flip the floor section over and tighten with channel-lock
pliers. Do not over-tighten.
Section 6: Floor Assembly
Time needed: approximately 20 minutes
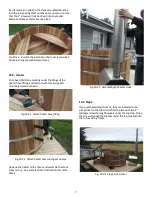
Attach the two halves of the floor to each other at this
time. Lay the two halves upside-down on the joist.
Optionally, a ¼” bead of silicone caulking can be laid across
the floor seam before the two halves are joined. Make the
two edges exactly flush and insert a 2½” Kreg Screw into
the edges on both sides of the floor seam as shown below
in Figure 6.1.
Fig. 6.1
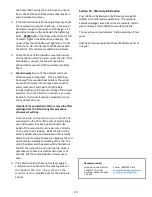
Finish fastening the two floor halves with 2½” Kreg screws
into predrilled holes along both sides as shown in Fig 6.2.
Fig. 6.2
Section 7: Staves
Time needed: approximately 45 minutes.
The staves are the vertical boards that make up the sides
of the tub. Set the special stave with the holes for the
heater hose at the position where the heater will be so it
can be inserted there during assembly.
Fig. 7.1
Start placing the staves with the dado (groove) over the
edge of the floor, as shown in Fig. 7.1.
AS YOU PROCEED - Check the edges of each stave and
remove any dirt or wood particles that could interfere
with a good seal.
The first stave should straddle the floor seam. Use your
rubber mallet to ensure that all staves are tight together at
the seams, but do not make them tight against the edge of
the floor. Leave a space between the edge of the floor and
the bottom of the dado, as shown. Use the pencil line
circle on the floor as a guide.
Continue inserting staves all around, each time making
sure the edges to be joined are clean and free of particles,
that each new stave is tapped snug against the previous
stave all along the joint, and that you continue to follow
the scribe line on the floor.
Don’t forget to insert the special stave with the holes for
the heater hoses in line with where the heater will be
Summary of Contents for Cedar Hot Tub
Page 11: ...11...


