28
Accessories:
ACCESSORIES
1. Outdoor Temperature Sensor Kit -
BD710487302V
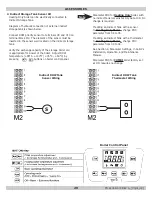
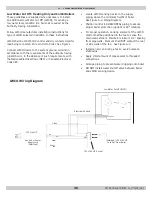
Use Outdoor Sensor Kit with Heating Only or Combi Boilers.
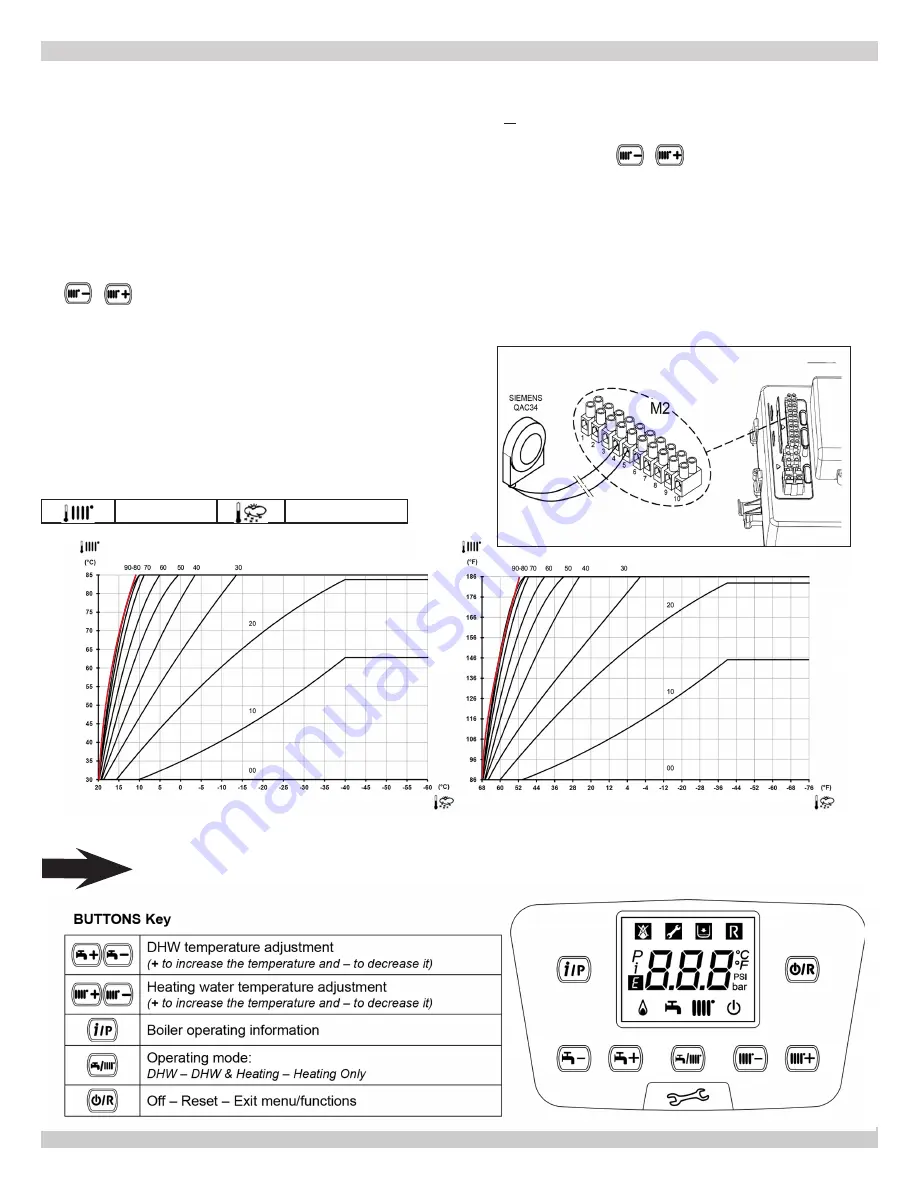
Wire Control to boiler M2 terminal strip terminals #4 and #5
as shown below.
Install/locate Control according to instructions supplied
with sensor kit and Installation, Operation and Maintenance
Manual (IOM).
Setting “
Kt
” Climate Curve:
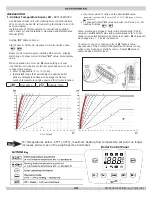
Start boiler in CH mode. Depress CH control button once.
Boiler control will recognize installed OAS sensor. Display
will change to show current default “
Kt”
value. Note display
value.
When operation in CH mode,
Kt
value setting will over
ride maximum CH boiler control set point based on current
outdoor temperature.
•
Refer to applicable °F (or °C) chart,
• Identify
Kt
range that will satisfy the desired boiler
delivery temperature based on average (extreme)
outdoor temperature range expected for climate location.
Flow Temp
Outside Temp
Boiler Control Panel
Note
F
or temperatures below -40°F (-40°C), maximum heating flow temperature set point no longer
increases and curves on the graph become horizontal.
°F
°C
• Use lower value of range as the desired
Kt
value.
(example): to deliver 186°F water @ OT of -20°F =
Kt
range is 90 thru
25. Select 25.
• To change”default”
Kt
value on boiler control use +/- CH
Heating buttons.
When scolling has stopped, boiler will automatically “SAVE”
value as new
Kt
defalt value and automatically return to CH
mode when no
Kt
adjustment activity is sensed.
Kt
values can
be changed in +/- 1 point increments.
To return to check or change current
Kt
“default value -
depress one of the CH setpoint adjustment buttons (once),
while in any heating or standby mode. Adjust
Kt
value to
obtain desired comfort level.
90 Is Default.
PN 240011430 REV G, [03/31/18]
Summary of Contents for DCB-125
Page 2: ...DCC 205 ...
Page 4: ...DCB 165 ...
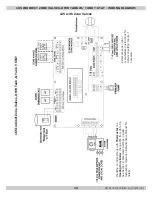
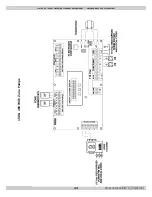
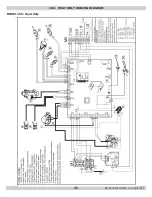
Page 65: ...61 APPENDIX A WIRING DIAGRAMS A 1 MODELS 125 Heat Only 240011947 REV B 03 31 2018 ...
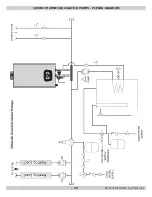
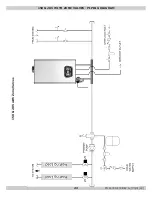
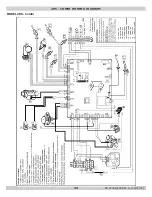
Page 66: ...62 APPENDIX A WIRING DIAGRAMS A 2 MODELS 165 Heat Only 240011947 REV B 03 31 2018 ...
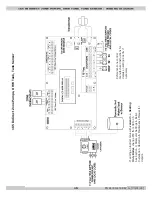
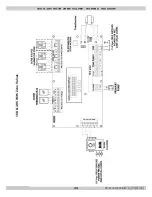
Page 67: ...63 APPENDIX A WIRING DIAGRAMS A 3 MODELS 150 Combi 240011947 REV B 03 31 2018 ...
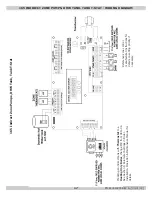
Page 68: ...64 APPENDIX A WIRING DIAGRAMS A 4 MODELS 205 Combi 240011947 REV B 03 31 2018 ...
Page 69: ...65 NOTES 240011947 REV B 03 31 2018 ...
Page 70: ...66 NOTES 240011947 REV B 03 31 2018 ...
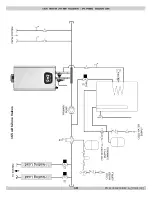
Page 81: ...9 125 WITH ZONE CIRCULATOR PUMPS 125 with Zone Circulator Pumps PN 240011430 REV G 03 31 18 ...
Page 84: ...12 125 WITH ZONE VALVES PIPING DIAGRAM 125 with Zone Valves PN 240011430 REV G 03 31 18 ...
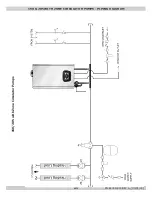
Page 90: ...18 165 with Zone Valves 165 WITH ZONE VALVES PIPING DIAGRAM PN 240011430 REV G 03 31 18 ...
Page 94: ...22 150 205 WITH ZONE PUMPS WIRING DIAGRAM 150 205 With Zone Pumps PN 240011430 REV G 03 31 18 ...
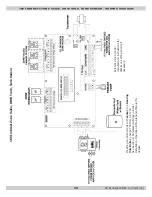
Page 102: ...30 MODEL 125 Heat Only 125 HEAT ONLY WIRING DIAGRAM PN 240011430 REV G 03 31 18 ...
Page 103: ...31 MODEL 165 Heat Only 165 HEAT ONLY WIRING DIAGRAM PN 240011430 REV G 03 31 18 ...
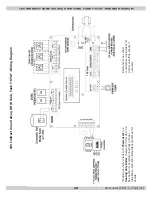
Page 104: ...32 MODEL 150 Combi 150 COMBI WIRING DIAGRAM PN 240011430 REV G 03 31 18 ...
Page 105: ...33 MODEL 205 Combi 205 COMBI WIRING DIAGRAM PN 240011430 REV G 03 31 18 ...
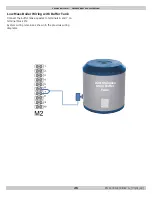
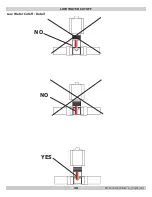
Page 110: ...38 Low Water Cutoff Detail LOW WATER CUTOFF NO NO YES PN 240011430 REV G 03 31 18 ...
Page 111: ...39 NOTES PN 240011430 REV G 03 31 18 ...
Page 112: ......
Page 115: ......
Page 116: ......

