19
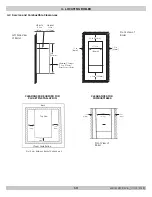
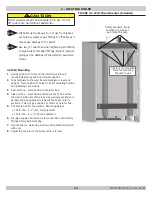
NO
NO
YES
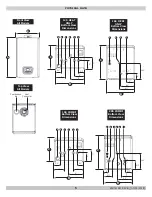
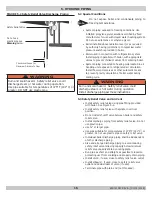
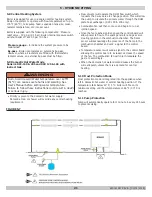
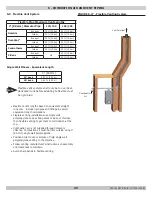
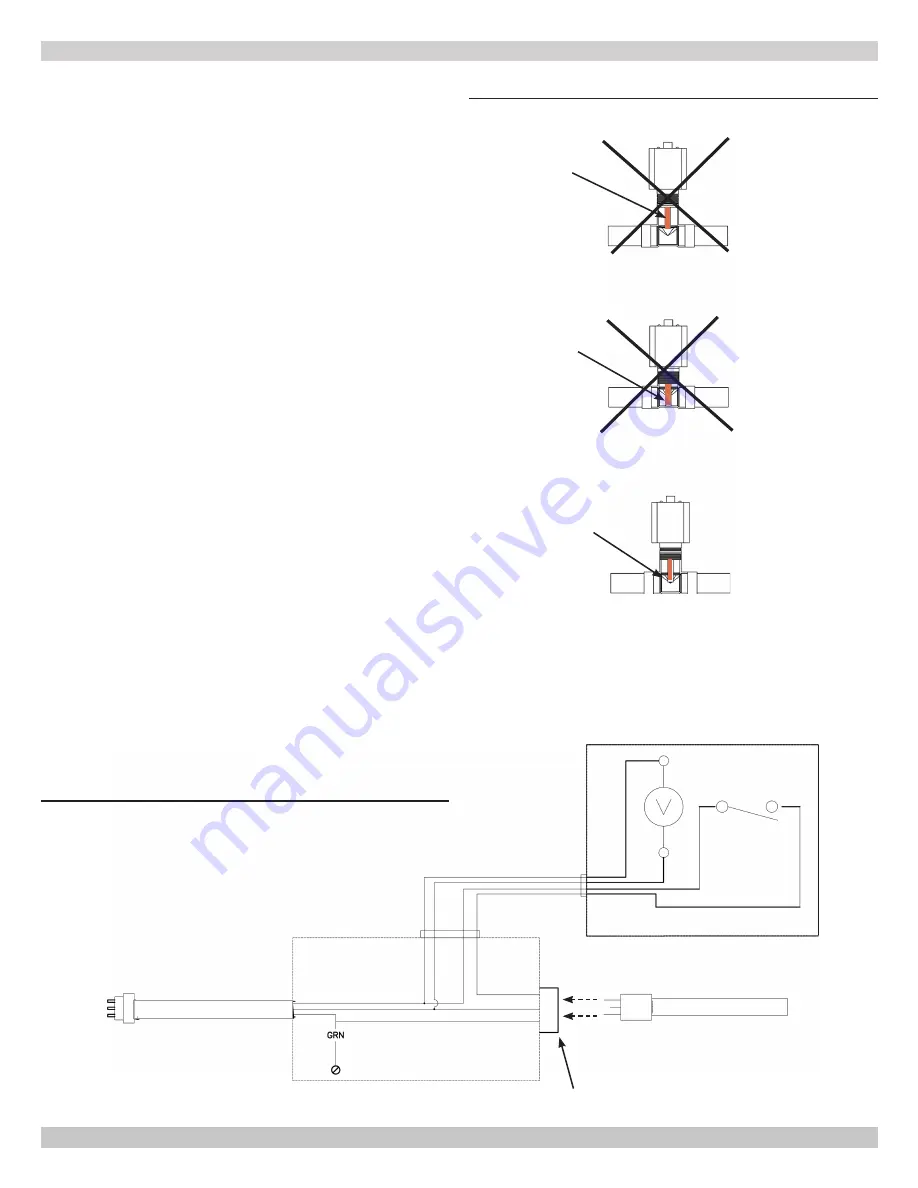
FIGURE 5-5 - Low Water Cutoff - Detail
5 - HYDRONIC PIPING
5.6 External Optional Low Water Cut Off
These guidelines are supplied when necessary to install an
additional Low Water Cut Off (LWCO), for sensing a low water
level condition in a boiler, as required by the Authority Having
Jurisdiction.
Follow LWCO manufacturer installation instructions for type of
LWCO selected in addition to these instructions.
LWCO shall be 120V/60HZ control and dry contacts sized for
load being connected. Wire control to boiler. See Figure 5-4.
Connect LWCO device to the system ground. Ground in
accordance with the requirements of the authority having
jurisdiction or, in the absence of such requirements, with the
National Electrical Code (NEC) or Canadian Electrical Code
CEC.
• Locate LWCO sensing device in the supply
piping, above the minimum height of boiler.
See Figure 5-3, Piping Diagram.
• Position control in HORIZONTAL piping to assure proper
boiler protection (upright or 90° rotation).
• For proper operation, sensing element of the LWCO
control shall be positioned in the tee to sense the main
water stream. Maintain minimum 1/4” spacing from pipe
walls. Element shall NOT contact the rear, or side walls of
the tee. See Figure 5-5.
• Install an air vent using a tee to avoid nuisance
shutdowns.
• Apply small amount of pipe sealant to threaded
connections.
• Arrange piping to prevent water dripping onto boiler.
• DO NOT install water shutoff valve between boiler and
LWCO sensing device.
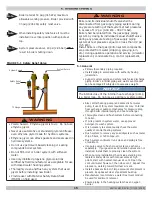
Low Water Cutoff (LWCO)
Electrical Conduit
J-Box
120 V/60 HZ
Conduit or Power
Supply cord
(Polarized)
L
1
N
G
GND
L
1
N
GND
BLK
WHT
120 V/60 HZ Socket
(Polarized) 120 V/60 HZ
Cord Set From Boiler
N.O
FIGURE 5-4 - LWCO Wiring Diagram
240011947 REV B, [03/31/2018]
Summary of Contents for DCB-125
Page 2: ...DCC 205 ...
Page 4: ...DCB 165 ...
Page 65: ...61 APPENDIX A WIRING DIAGRAMS A 1 MODELS 125 Heat Only 240011947 REV B 03 31 2018 ...
Page 66: ...62 APPENDIX A WIRING DIAGRAMS A 2 MODELS 165 Heat Only 240011947 REV B 03 31 2018 ...
Page 67: ...63 APPENDIX A WIRING DIAGRAMS A 3 MODELS 150 Combi 240011947 REV B 03 31 2018 ...
Page 68: ...64 APPENDIX A WIRING DIAGRAMS A 4 MODELS 205 Combi 240011947 REV B 03 31 2018 ...
Page 69: ...65 NOTES 240011947 REV B 03 31 2018 ...
Page 70: ...66 NOTES 240011947 REV B 03 31 2018 ...
Page 81: ...9 125 WITH ZONE CIRCULATOR PUMPS 125 with Zone Circulator Pumps PN 240011430 REV G 03 31 18 ...
Page 84: ...12 125 WITH ZONE VALVES PIPING DIAGRAM 125 with Zone Valves PN 240011430 REV G 03 31 18 ...
Page 90: ...18 165 with Zone Valves 165 WITH ZONE VALVES PIPING DIAGRAM PN 240011430 REV G 03 31 18 ...
Page 94: ...22 150 205 WITH ZONE PUMPS WIRING DIAGRAM 150 205 With Zone Pumps PN 240011430 REV G 03 31 18 ...
Page 102: ...30 MODEL 125 Heat Only 125 HEAT ONLY WIRING DIAGRAM PN 240011430 REV G 03 31 18 ...
Page 103: ...31 MODEL 165 Heat Only 165 HEAT ONLY WIRING DIAGRAM PN 240011430 REV G 03 31 18 ...
Page 104: ...32 MODEL 150 Combi 150 COMBI WIRING DIAGRAM PN 240011430 REV G 03 31 18 ...
Page 105: ...33 MODEL 205 Combi 205 COMBI WIRING DIAGRAM PN 240011430 REV G 03 31 18 ...
Page 110: ...38 Low Water Cutoff Detail LOW WATER CUTOFF NO NO YES PN 240011430 REV G 03 31 18 ...
Page 111: ...39 NOTES PN 240011430 REV G 03 31 18 ...
Page 112: ......
Page 115: ......
Page 116: ......

