129
c
Platemaking/Master Feed and Ejection Section
chap.3
440061
440059
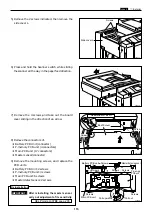
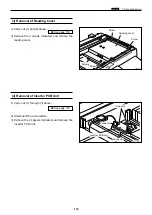
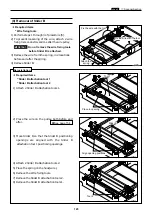
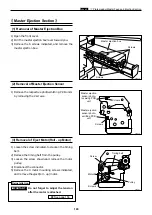
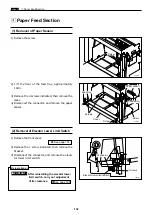
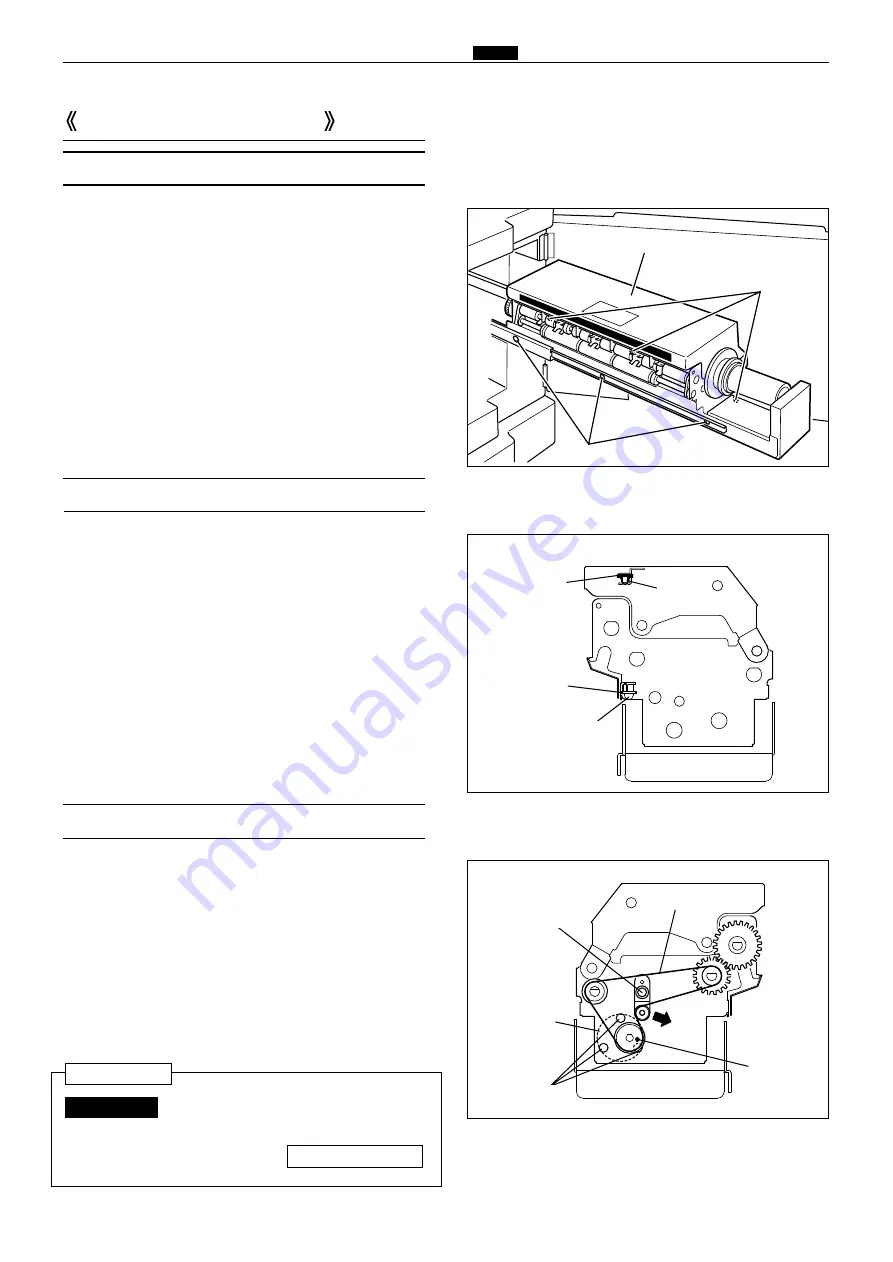
1) Open the front cover.
2) Pull the master ejection box lever toward you.
3) Remove the 6 screws indicated, and remove the
master ejection box.
(1) Removal of Master Ejection Box
Master Ejection Section
Master ejection box
Screws
440058
Screws
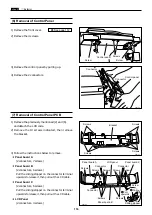
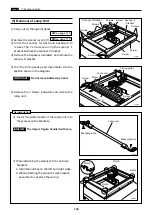
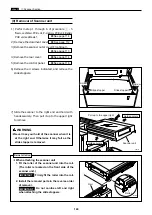
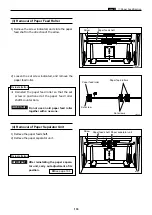
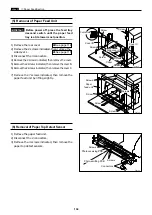
(2) Removal of Master Ejection Sensor
1) Remove the respective photo-emitting PCB units
by removing the 2 screws.
Master ejection
sensor photo-
emitting PCB
unit
Screws
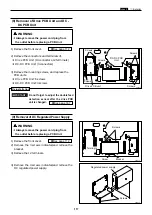
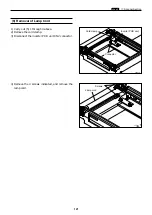
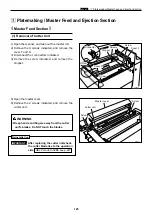
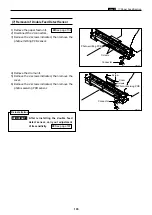
1) Loosen the screw indicated, to slacken the timing
belt.
2) Remove the timing belt from the pulley.
3) Loosen the screw shown,and remove the motor
pulley.
4) Disconnect the connector.
5) Remove the 3 motor mounting screws indicated,
and remove the eject(roll - up) motor.
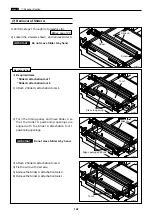
Do not forget to adjust the tension
after the motor is attached.
\
See page 158
IMPORTANT :
(3) Removal of Eject Motor(Roll - up Motor)
Reinstallation
Screws
Motor
Timing belt
Pulley
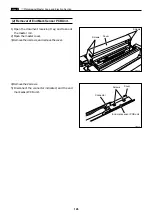
Master ejection
sensor photo-
receiving PCB
unit
Screws
Screw
Summary of Contents for Duprinter DP-330
Page 9: ......
Page 11: ......
Page 18: ...c Dimensions chap 1 17 MEMO...
Page 24: ...4 8 2A 2B 2C 44000A1e b Part Names and Their Functions chap 1 23...
Page 152: ...151 MEMO...
Page 193: ...192 MEMO...
Page 329: ...328 x Overall Wiring Layout chap 8 15 Overall Wiring Layout 2 Drive PCB 2 2...

