Programming a JOB in Simple Mode
44
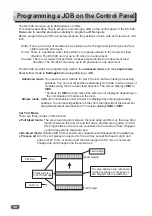
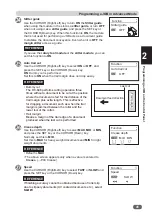
Slit
Enter the distance from the right edge of the document to the
Slit B
using the NUMERIC keys and press the SET key or the
CURSOR (Down) key.
When you require fewer than six slits, enter
0
after the last slit
setting and then press
the SET key.
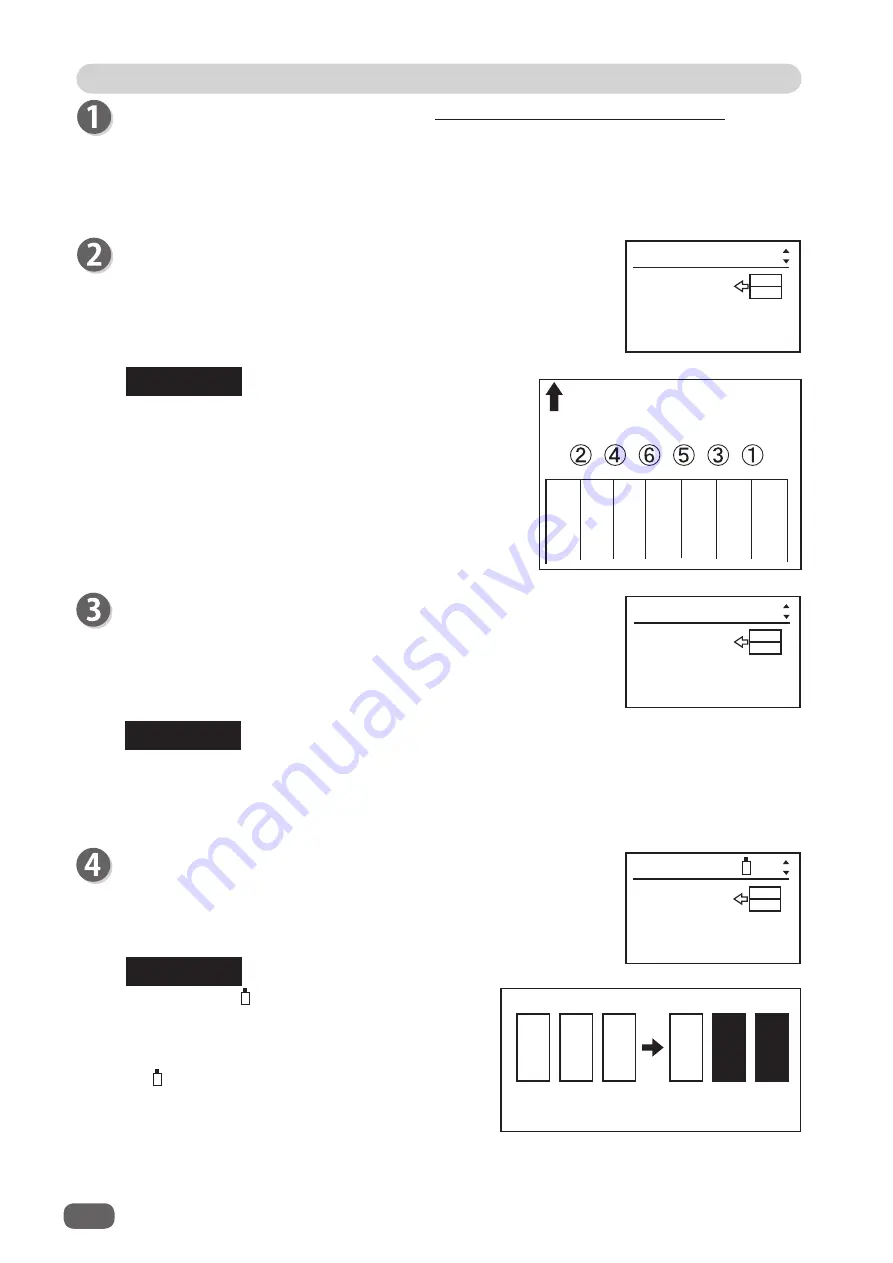
REFERENCE
●
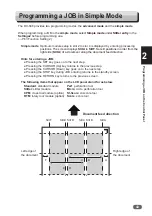
Simple mode: Slits are set in alphabetical order
from
Slit A
to
Slit F
.
●
Advanced mode: Slits are set in numerical order
as shown in the
fi
gure on the
right.
Slit
Enter the distance from the right edge of the document to the
position for
Slit A
using the NUMERIC keys, and then press the
SET key or the CURSOR (Down) key.
In the
simple mode
,
SlitA
to
SlitF
are displayed.
REFERENCE
Enter the distance from the right edge of the document to the
SlitC
using the NUMERIC keys and press the SET key or the
CURSOR (Down) key.
REFERENCE
Two slitter modules
are
used.
↑
↑
The number of icons indicates how many
slitter
modules
are used for the JOB. If the
slitter modules
are used both in
SLOT3
and
SLOT4
as shown in the
fi
gure on the right,
two of
the icons
are displayed on the LCD panel.
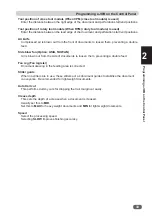
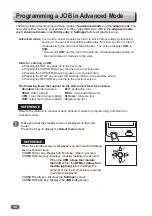
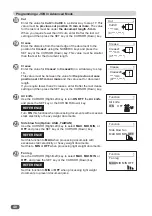
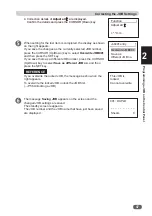
Follow steps 1 to 11 and steps 15 to 18 of Programming a JOB in Advanced Mode.
(
→
P.34 Programming a JOB in Advanced Mode)
●
When only slitter modules are installed in slot 3 and slot 4. (Neither the
CPM (cross tool
module)
nor the
RTM (rotary tool module)
are used.)
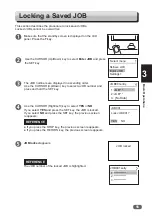
When saving a JOB with side margins of 48–55 mm in the
simple mode
:
Right margin: Enter 0 for
SlitA
and 48–55 for
SlitB
.
Left margin: Enter 48–55 for the width of the last slit but one and the document width for
the last slit width.
Not used
Used
Used
SLOT2
SLOT3
SLOT4
SLOT2
SLOT3
SLOT4
SlitA
Slit
***.*mm
(0/***.*-***.*)
SlitB
Slit
***.*mm
(0/***.*-***.*)
SlitC
Slit
***.*mm
(0/***.*-***.*)
Document feed direction
A
B
C
D
E
F

