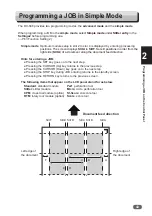
Programming a JOB in Simple Mode
45
Programming a JOB on the Control Panel
2
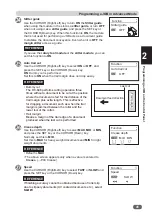
Module setup
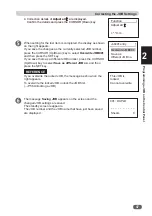
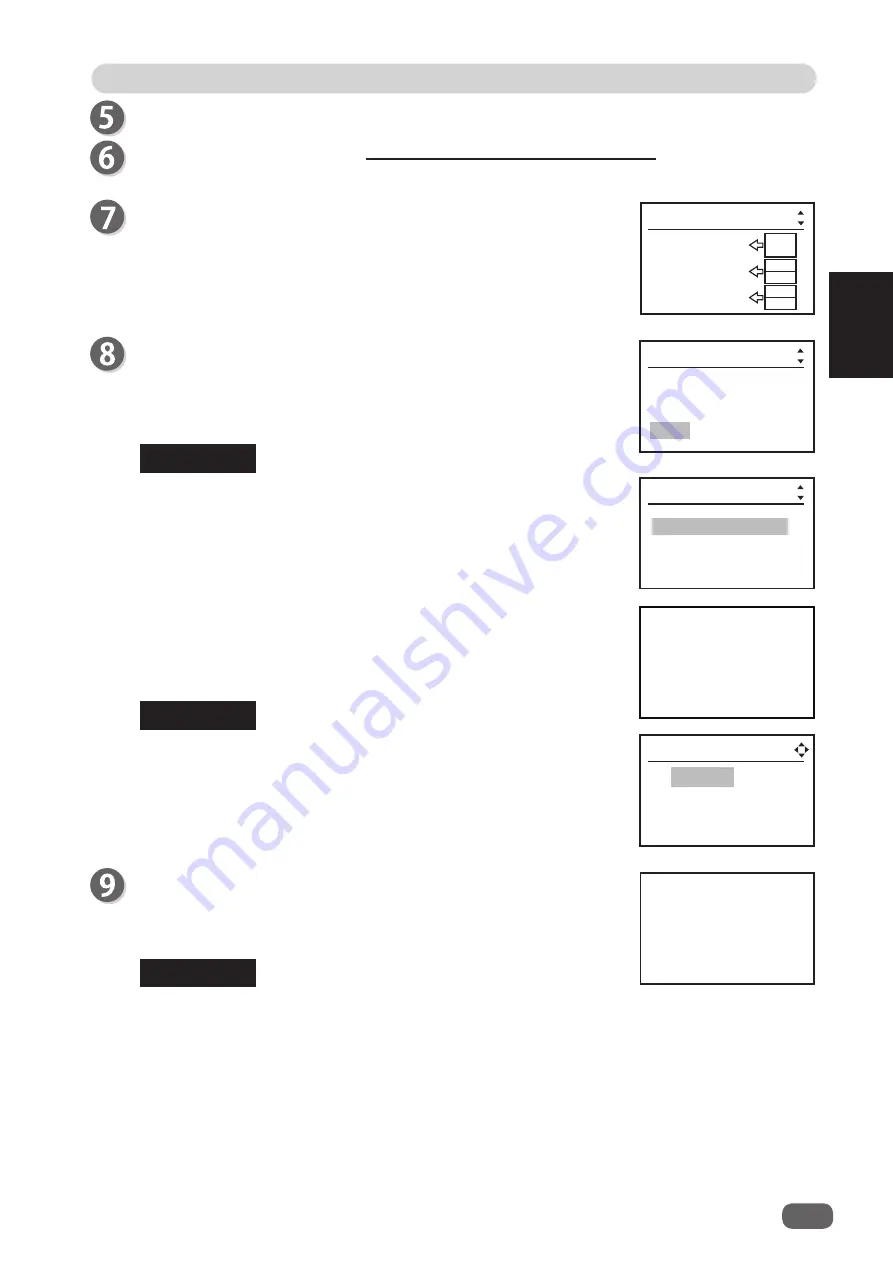
Check that the modules in slot 3 and slot 4 are the
slitter
modules
. The
fi
gure on the right
shows that standard module is
used in slot 2 and the
slitter
modules
are used in slot 3 and slot
4.
The display as shown on the right appears on the screen.
To save the JOB001, select
YES
and press the SET key.
To cancel the settings, press the STOP key.
YES NO
Enter JOB001?
Job001entry
REFERENCE
REFERENCE
The message
Saving JOB
appears on the screen and the JOB
settings are saved.
The JOB number with its name which you have just saved is
displayed.
REFERENCE
1: DUPLO
2: [No Data]
3: [No Data]
JOB001entry
Overwrite JOB001
Save as
di
ff
erent JOB no
Job001entry
●
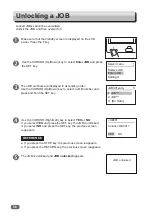
If you
have selected an
already stored JOB number, the
messages
Overwrite JOB***
or
Save as di
ff
erent JOB no.
appears on the screen.
If you select
Overwrite JOB***
and press the SET key, the JOB
is overwritten.
●
If you select
Save as di
ff
erent JOB no.
and press the SET
key, a list of JOB numbers appears on the screen.
Use the CURSOR (Up/Down) key to select JOB number and
press the SET key. Every time you press the CURSOR (Right/
Left) key, the setting details of the highlighted JOB number are
displayed.
001: DUPLO
Sheets
0
- - - - - - - - - -
Enter values for
SlitD
to
SlitF
in a similar way.
Proceed with steps 23 to 34 of Programming a JOB in Advanced mode.
(
→
P.39 Programming a JOB in Advanced mode)
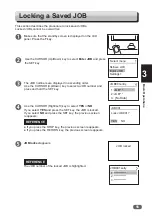
This JOB is
locked.
Cannot overwrite
●
If you overwrite the locked JOB, the message as shown on the
right appears.
To overwrite the locked JOB, unlock the JOB
fi
rst.
(
→
P.56 Unlocking a JOB)
When a JOB is retrieved, a JOB is saved, or the power is turned
ON
, function settings in the JOB overwrites the setting made in
Settings1
and
Settings3
.
2:Standard
Module setup
3:Slitter
4:Slitter


