4
Safety instructions
Warning
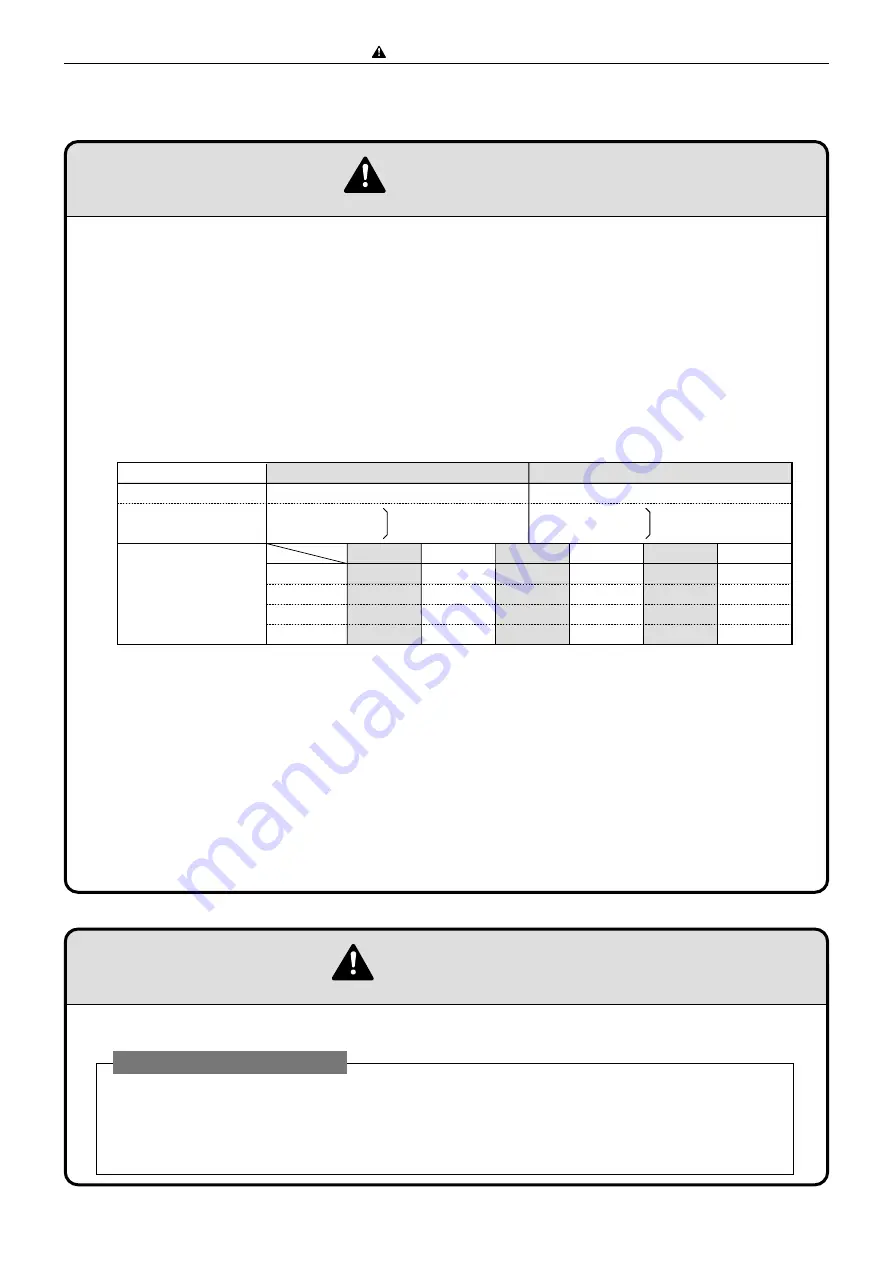
• The machine's power supply voltage and power consumption depend on the model. Details of this
are given in the tables below. The power supply voltage and power consumption for the machine
are given in the table below. The machine's power supply voltage is indicated on the identification
plate located on the machine's left side; the machine must be connected to a power supply of the
voltage indicated.
a
Otherwise, fire or electric shock could result.
If the power supply voltage is unstable or if the power supply has insufficient capacity, the
machine may not operate normally.
Make sure that the power supply has sufficient capacity for the system as a whole, including
optional equipment.
• Use only the power cord that is provided among the accessories.
Insert the power cord plug firmly into the socket, so that proper electrical contact is effected.
• Install the machine close to its power supply. The outlet used should be exclusively for the
machine, and have no other equipment connected to it.
If an extension cord is necessary, it should have a ground terminal, and be of the following ratings:
* For a 120V AC model: 130V, at least 15A, length not exceeding 5m.
* For a 230V AC model: 250V, at least 8A, length not exceeding 5m.
• Never tread on the power cord or pinch it between other objects, or accidents could result.
2. Cautions for installation work
• Install the machine in accordance with the installation procedure appended to this manual.
• Lock the casters after the machine is installed.
a
Otherwise, the machine could move or fall over, causing injury.
• To move the machine, push it by its mounting base.
a
Pushing the printing (upper) part of the machine could make it fall over.
CAUTION
Using the optional printer stand
Connect to outlet of
120V AC
, 60Hz, at least 15A Connect to outlet of
230V AC
, 60Hz, at least 15A
With no load
*
At full load
Power supply voltage
No more than 130V AC Use power supply meeting
these requirements
At least 110V AC
Master making
Printing (Speed 5)
Standing by
Sleeping
150 W
240 W
18 W
8 W
145 W
240 W
18 W
8 W
140 W
230 W
18 W
8 W
135 W
240 W
18 W
8 W
130 W
230 W
18 W
8 W
130 W
230 W
18 W
8 W
Power consumption
DP-S850 DP-S650 DP-S620 DP-S550 DP-S520 DP-S510
No more than 250V AC Use power supply meeting
these requirements
At least 210V AC
120V AC model
230V AC model
*
"With no load" - when the machine is on standby.
*
"At full load" - when the machine is running at maximum power consumption.
Summary of Contents for DP-S Series
Page 1: ......
Page 9: ......
Page 11: ......
Page 16: ...x Dimensions chap 1 15 R8S01001 xDimensions 622 1360 510 228 1080 710 980 688 370 mm...
Page 22: ...v Part Names and Their Functions chap 1 21 44000A1e 2A 2B 2C R8S01006a 2Detailed drawing...
Page 33: ...32 z Scanner Section chap 2 Circuit R8S02E03e...
Page 87: ...86 m Drum Section chap 2 2 Circuit R8S02E30...
Page 171: ...170 MEMO...
Page 193: ...192 MEMO...
Page 195: ...194 z Help mode List chap 7 z HELP Mode List...
Page 243: ...242 c HELP Mode Function and Operation Procedures chap 7...
Page 270: ...269 c HELP Mode Function and Operation Procedures chap 7...
Page 281: ...280 MEMO...
Page 293: ...292 z Electrical Parts Layout and Their Functions chap 9 MEMO...
Page 295: ...309 294 x Overall Wiring Layout chap 9 Overall Wiring Layout 1 Main PCB 2 2...
Page 297: ...311 296 x Overall Wiring Layout chap 9 Overall Wiring Layout 2 Drive PCB 2 2...


