76
12. STITCHER HEAD
7
7
7
7
7
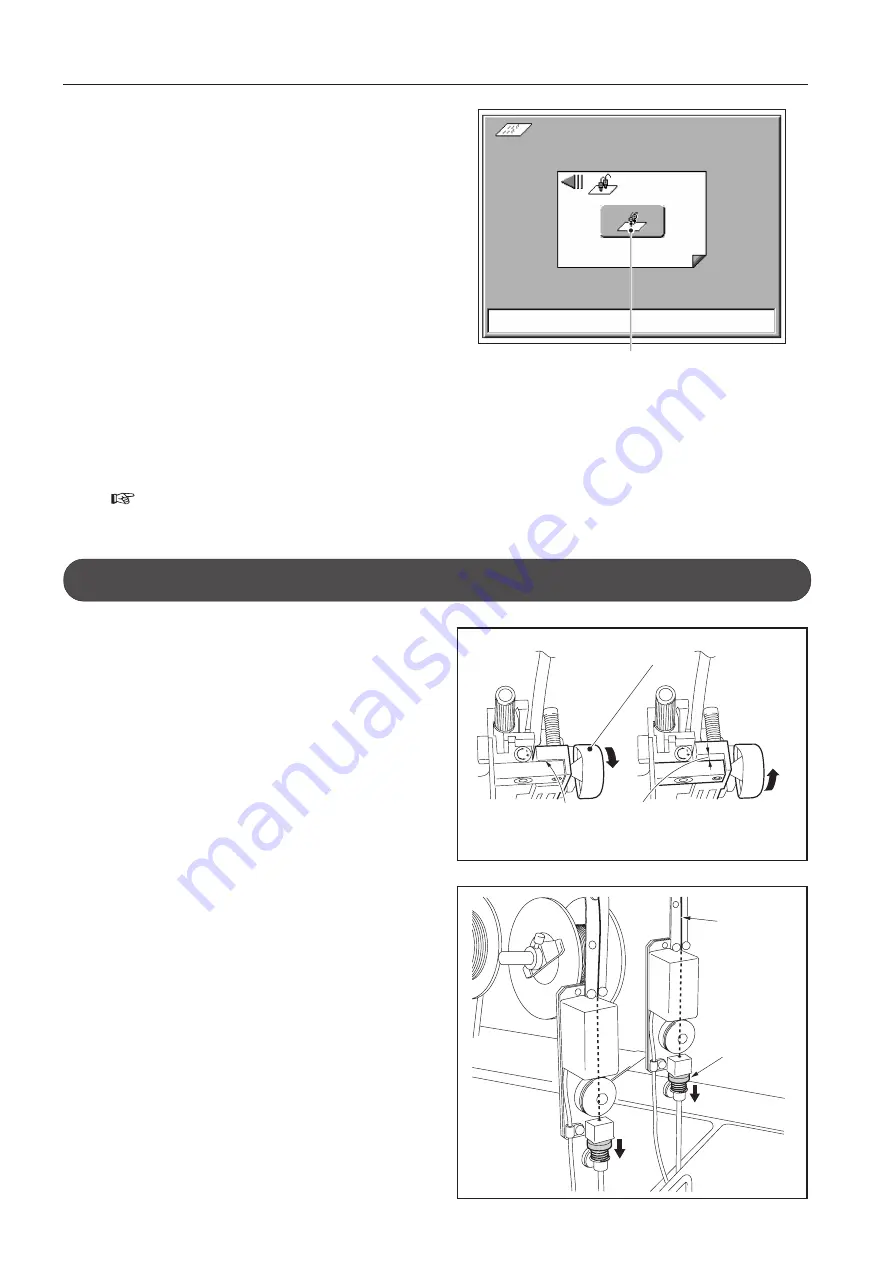
Press the [Stitch Test Action key].
After several stitching operations, the paper will be
ejected to the side stitching stacker.
Stitch Test Action key
<Stitch Test Action> Screen
12-5. Removing Wire
1
1
1
1
1
Turn the triangular handle to the non
stitching position where there is a clear-
ance as shown right.
Wire
Release disk
Triangular handle
Clearance
No clearance
Stitching position
Non stitching position
2
2
2
2
2
While holding down the release disk, pull
out the wire.
3
3
3
3
3
Return the triangular handle to the stitch-
ing position where there is no clearance as
shown right.
8
8
8
8
8
Check the stitched state, and return to the
main menu by pressing the MAIN MENU tab.
If the state is not satisfactory, adjust the stitcher
head and repeat stitching tests.
(
Refer to “12-6. Adjustments” on page 77.)


