#11235
C
OMPOST
B
IN
ASSEMBLY INSTRUCTIONS
TOOLS NEEDED:
Drill with #2 Phillips Bit (recommended) or
Phillips Screwdriver
Super or Crazy Glue
BACK PANEL ASSEMBLY
(Refer to Right Side of Drawing 1)
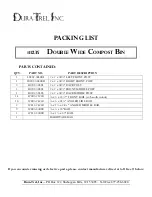
Lay the 2 x 2 x 30½” middle back post on a clean, flat surface with the screw pilot holes facing up. Slide eight of the
⅞
x 3 x 53”
rails through the routed holes. The 2 x 2 x 30½” middle back post should be in the center of all of the
⅞
x 3 x 53”. Slide the
two 2 x 2 x 30½” back end posts on each end of the
⅞
x 3 x 53” rails with the screw pilot holes facing up and to the outside.
Fasten with
⅝
" screws and snap screw caps over screw heads.
(Be sure the 2 x 2 x 30½” middle back post is centered
before fastening with screws.)
FRONT PANEL ASSEMBLY
(Refer to Left Side of Drawing 1)
Lay the 2 x 2 x 30½” middle front post on a clean, flat surface with the screw pilot holes facing up. Slide the remaining
⅞
x 3 x
53” rail through the bottom
⅞
x 3” routed hole and the
⅞
x 1½ x 53” through the top routed hole. The 2 x 2 x 30½” middle
front post should be in the middle of the two rails. With the
⅞
x 1½ x 53” on top, the
⅞
x 3 x 53” rail on the bottom and the screw pilot holes of the 2 x 2 x 30½” front middle post facing
up; slide the 2 x 2 x 30½” front right post on the right side of the assembly and the
2 x 2 x 30½” front left post on the left side of the assembly with the screw pilot holes facing up and to the outside. Fasten with
⅝
" screws and snap screw caps over screw heads.
(Be sure the 2 x 2 x 30½” middle front post is centered before
fastening with screws.)
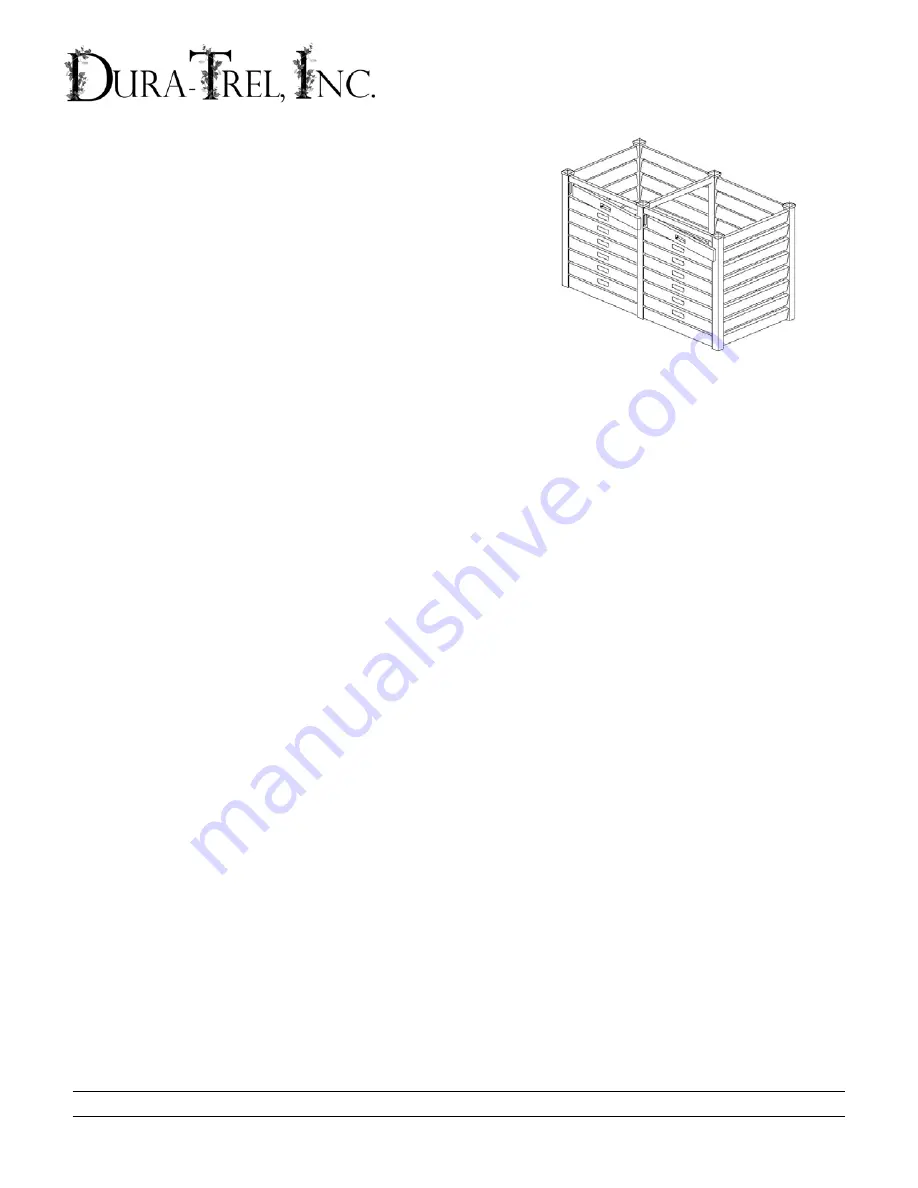
COMPOST BIN ASSEMBLY
(Refer to Drawing 2)
With back panel laying flat with routed openings facing up; slide the
⅞
x 3 x 24¼” angled side rails
completely
into both back
end posts and the two
⅞
x 1½ x 24¼” angled middle rails into the back middle post. Be sure that the angled end of each rail is
inserted into the back posts. Fasten the
⅞
x 3 x 24¼” angled side rails with
⅝
" screws and the
⅞
x 1½ x 24¼” angled middle
rails with 1¼” screws. Snap screw caps over screw heads.
Next slide front panel onto side rails making sure there is
enough gap inside front posts to easily slide removable front rails in and out.
Fasten the side rails with
⅝
" screws
and the middle rails with 1¼” screws, as before and snap screw caps over screw heads. Apply glue to inside edges of 2 x 2" post
caps and place on top of posts.
Insert
⅞
x 3 x 25¼” Front Removable Rails by sliding into the front left and front right post completely then slide into the front
middle post, adjust so handle cutouts line up evenly.
(NOTE: If the front middle post is NOT centered properly, the
front rails will not fit on both sides.)
If you encounter missing or defective parts, please contact manufacturer direct at toll free #
below.
Dura-Trel, Inc. ~
PO Box 122, Sheboygan Falls, WI 53085 ~ Toll Free 877-258-6020


