background image

   Model#

11172

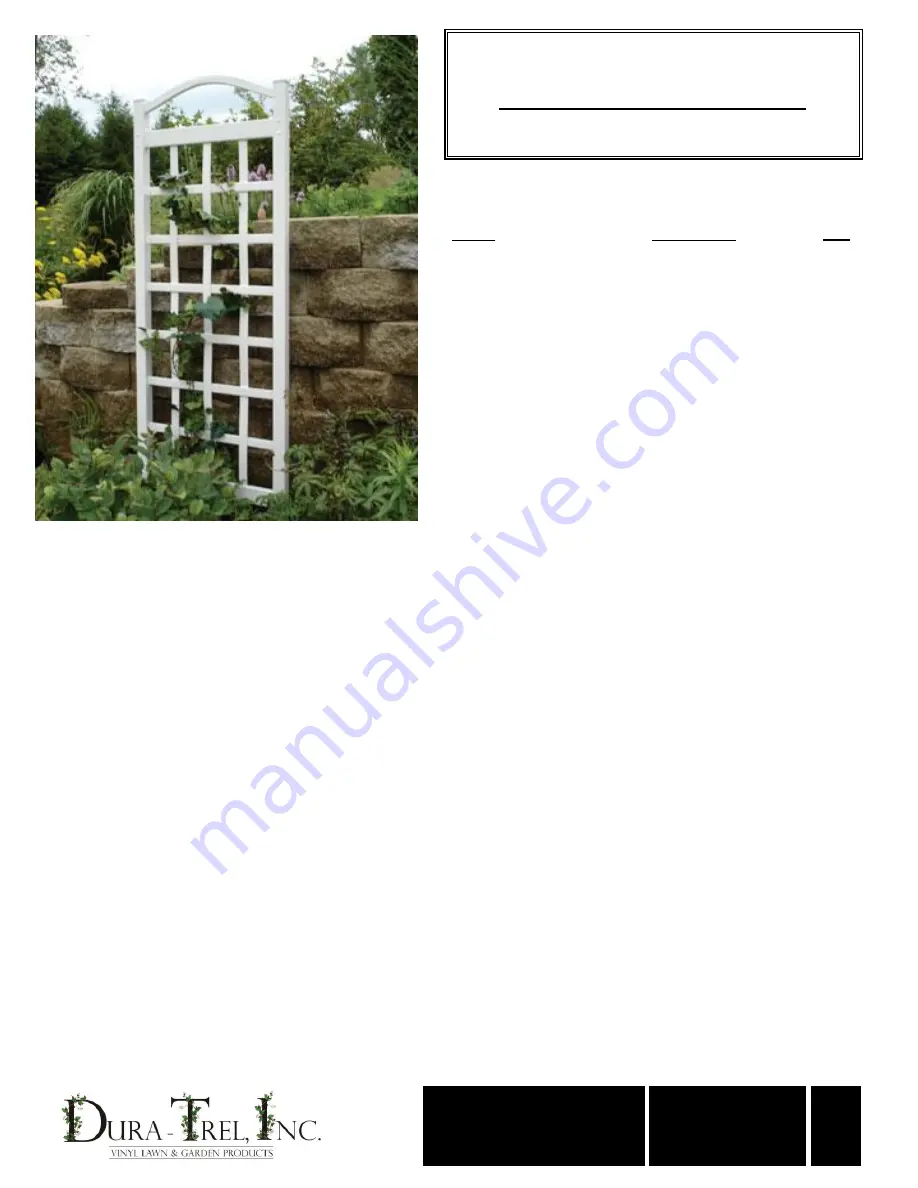
Assembly Instructions

Part #

Description

max 5 x 3.5

1

2" sq. x 74" Left Post

2

2" sq. x 74" Right Post

3

⅞ x 3 x 27½" Top/Bottom Cross Rail

4

¼ x 1½ x 63" Vertical Slat

5

¼ x 1½ x 27½" Horizontal Slat

6

⅞ x 1½ x 27½" Bent Top

7

Hardware Bag

(includes:)

2" sq." Post Cap

1¼" Painted Screw

Trellis Ground Anchor Kit    

 (includes:)

16" Steel Ground Anchor (L-Shaped)

#8 - 1" Painted Self Tapping Screw

PLEASE READ THROUGH BEFORE BEGINNING ASSEMBLY.
IMPORTANT:  Check boxes for Contents Listed

Check inside of parts as some parts are packaged

inside of others

In the event of missing, damaged or defective parts

please call our customer service dept. at 1-877-258-6020

When assembling components, place on a clean, flat

non-abrasive surface to avoid scratches

… Battery or Electric Drill 

 with #2 phillips bit

… Hammer or Rubber Mallet

 (recommended)

… PVC, Super, or Crazy Glue

150 Birch Road

P.O. Box 122

Sheboygan Falls,  WI  53085

1

2

4

www.dura-trel.com

sales@dura-trel.com

Tools Required

1-877-258-6020

1

General Information

2

8

1

1

3

6

1

2

Qty

1

Cambridge Trellis

Summary of Contents for Cambridge Trellis 11172

Page 1: ...SSEMBLY IMPORTANT Check boxes for Contents Listed Check inside of parts as some parts are packaged inside of others In the event of missing damaged or defective parts please call our customer service dept at 1 877 258 6020 When assembling components place on a clean flat non abrasive surface to avoid scratches Battery or Electric Drill with 2 phillips bit Hammer or Rubber Mallet recommended PVC Su...

Page 2: ... Trel Inc is not responsible for damages to product during shipping E Damage attributable to atmospheric pollutants hail lightning hurricane tornado wind borne objects earthquake fire mildew casualty act of God building or ground settlement or subjection to stress or weight CLAIMS AND REMEDIES If a Dura Trel Inc product is determined to have a manufacturing defect which is covered by this warranty...

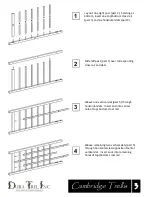
Page 3: ...ats part 4 Slide left post part 1 over corresponding cross rail and slats Weave remaining two vertical slats part 5 through horizontal slats opposite of center vertical slat Insert ends into remaining holes of top bottom cross rail 1 2 4 3 Weave one vertical slat part 5 through horizontal slats Insert end into center hole of top bottom cross rail ...

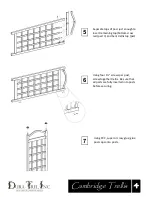
Page 4: ... enough to insert remaining top bottom cross rail part 3 and bent trellis top part Using four 1 screws per post screw together trellis Be sure that all parts are fully inserted into posts before securing Using PVC super or crazy glue glue post caps onto posts 5 6 7 ...

Page 5: ...00 2 2 sq x 74 CBT Right Post 1 00 3 x 3 x 27 CB Top Bottom 2 00 4 x 1 x 63 Slat 3 00 5 x 1 x 27 Slat 6 00 6 x 1 x 27 CB Bent Top 1 00 7 Hardware Bag 1 00 2 sq Post Cap 2 00 1 Painted Screw 8 00 Grnd Anch Trellis 2 x 2 1 00 8 1 Self Tapping White He 4 00 ...

Reviews: