Rugged Notebook User Guide
19
R13S User Guide
Getting Familiar With Your Notebook
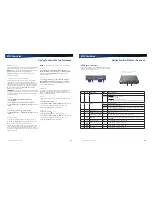
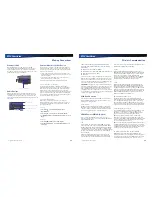
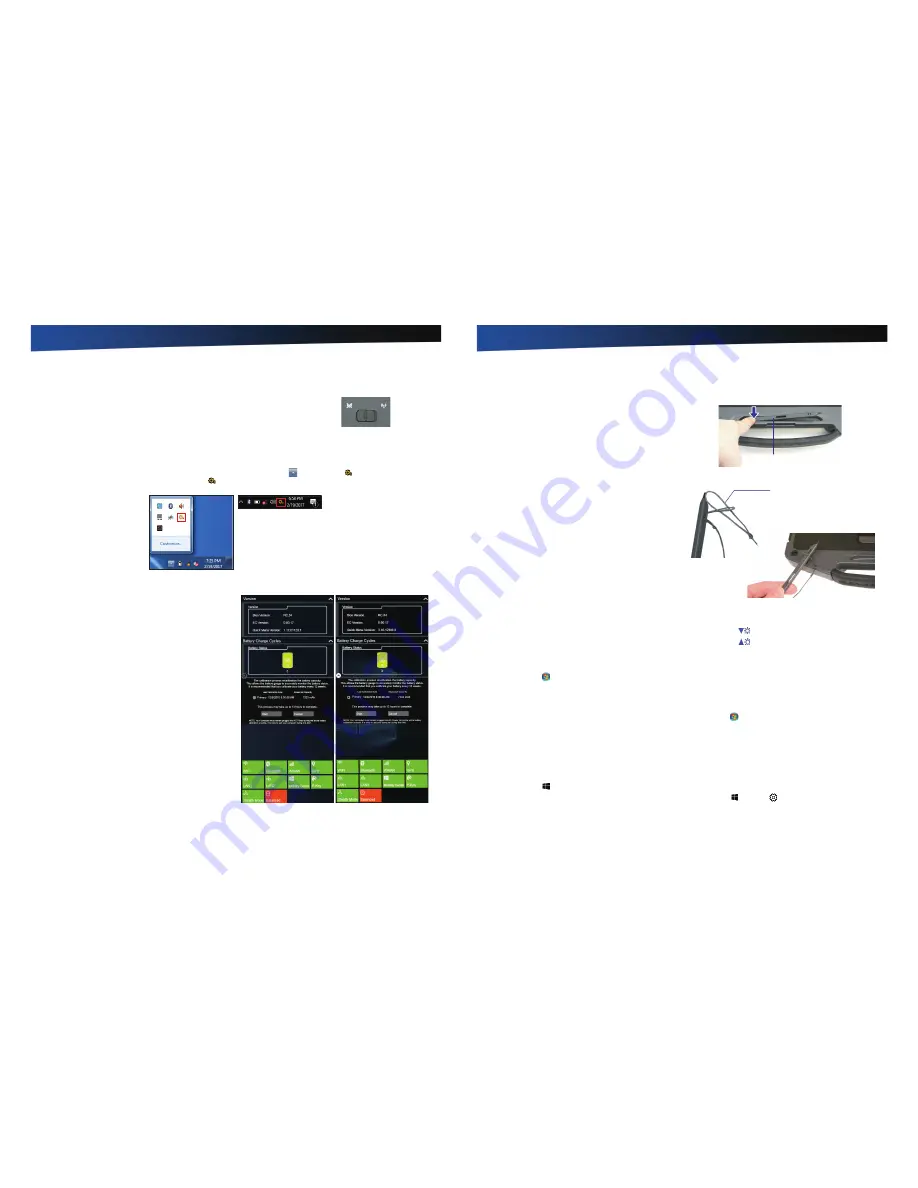
To Turn all Radios on or off
1.
Slide the radio switch to the left to power off all radio devices (airplane mode).
2.
Slide the radio switch to the right to turn radio power on.
Using the QuickMenu
Bluetooth
GPS
Wireless LAN
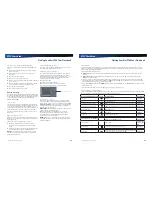
QuickMenu
In
QuickMenu
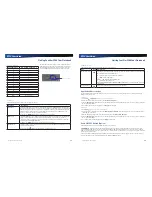
you can review the BIOS version, EC version, battery status, enable or disable the radio devices, and more.
To access the
QuickMenu
, click the arrow on the task bar to display hidden icons (
) and then click
icon (for
Windows 7
) or
click the System Tray area of the Taskbar and then click
icon (for
Windows 10
).
Windows 10
Windows 7
Do any of the following:
Version
: Review the BIOS version, EC version,
QuickMenu
version.
Windows 7
Windows 10
Battery Charge Cycles
: Review the battery status, charging
cycles (displayed under the battery icon).
Battery Calibration
: Calibrate the battery for more accurate
battery status monitoring. See the
Battery Calibration
.
WIFI
: Click to enable/disable wireless network. See the
Wireless Communication
.
Bluetooth
: Click to enable/disable Bluetooth. See the
Wireless
Communication
.
WWAN
: Click to enable/disable wireless wide area network.
See the
Wireless Communication
.
GPS
: Click to enable/disable geopositioning. See the
Wireless
Communication
.
LAN1/LAN2
: Click to enable/disable local area network. See
the
Ethernet (LAN)
.
Mobility Center
: Click to access the
Windows Mobility Center
for quick access of adjusting the display brightness, mute
the audio, view the battery status and modify
Power
plan,
enable/disable wireless network, rotate the screen, connect
external displays, sync information between connected
devices, and configure presentation settings.
P-Key
: Click to open the documents library.
Stealth Mode
: Click repeatedly to toggle between
Stealth
Mode
,
Night Vision
. Set
Disable
to disable the
Stealth Mode
and
Night Virison
function. See the
Stealth Mode
.
Balanced/High Performance/PowerSaver
: Click repeatedly to toggle between different
Power
plans, such as
Balanced
,
High
Performance
, and
Power Saver
. To modify the power settings, see the
Managing Power
.
Rugged Notebook User Guide
20
R13S User Guide
Getting Familiar With Your Notebook
Display
This notebook features a 13.3-inch, XGA, outdoor-viewable,
color display with an integrated touch screen. You can
start programs and input data on the touch screen using
an approved pen (stylus) that comes with the device. The
Colorvue™ Transmissive display technology uses a built-in
backlight for easy reading in most ambient light conditions.
DynaVue
®
display technology provides improved outdoor
visibility and even works well in sunlight.
CAUTION
To avoid damaging the display, do not slam it
when you close it. Also, do not place any object on top of the
device when the display is closed.
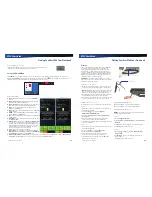
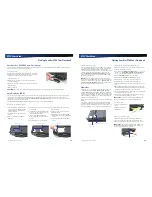
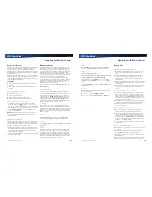
Install the Stylus Tether
1.
Insert one tether loop through one of the holes on the end
of the stylus, then pull it back through the adjacent hole.
NOTE
The holes in the stylus are notched on one side and
smooth on the other. Feed the tether through the smooth
side first, so that it lies inside the notch when finished.
2.
Insert the free end of the tether through the loop and pull
the slack back through the loop to secure the stylus.
3.
Repeat these steps with the other end of the tether to attach
it to one of the tether slots on the front on your device.
Calibrate the Touch Screen
To calibrate the touch screen, follow the instructions below:
Windows 7
1.
Press down on one side of the stylus to remove it from its
slot below the TouchPad.
2.
From the
Start
menu, select
All Programs
,
HIDeGalaxTouch
,
HIDeGalaxTouch
.
3.
Select
9 Points
Linearization
or
25 Points
Linearization
(more precise)
.
4.
Use an approved stylus and follow the instructions
provided to complete touch screen calibration.
5.
Click
OK
to complete calibration and click
OK
again to begin
using your notebook.
Windows 10
1.
Press down on one side of the stylus to remove it from its
slot below the TouchPad.
2.
From the
Start
menu, select
eGalaxTouch
.
3.
On the
Tools
tab, select
Linearization
.
4.
Use an approved stylus and follow the instructions
provided to complete touch screen calibration.
5.
Click
OK
to save the new settings and click
OK
again to
begin using your notebook.
Adjusting Display Brightness
Press
Fn + F6
to decrease display brightness.
Press
Fn + F7
to increase display brightness.
Adjusting Display Resolution
NOTE
Using a lower resolution than the screen designation
will reduce the area of the display.
Windows 7
1.
Select
Start
,
Control Panel
.
2.
Under
Appearance and Personalization
, click
Adjust Screen
Resolution
.
3.
On
Resolution
, use the slide bar to adjust the resolution.
4.
Click
Apply
to save the new setting.
Windows 10
1.
Select
Start
, Settings
, System, Display, Advanced
display settings
.
2.
On
Resolution
, select your desired resolution from the
drop-down menu.
3.
Click
Apply
to save the new setting.
Press down to remove stylus
Smooth Side


