Rugged Notebook User Guide
23
R13S User Guide
Getting Familiar With Your Notebook
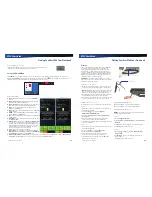
Audio
Your device includes 24-bit high-fidelity stereo audio output
and an integrated microphone. You can also attach external
audio devices via the audio in and out jacks on the left side of
the device.
To Adjust the Volume
To decrease volume, press
Fn + F8
.
To increase volume, press
Fn + F9
.
To mute the volume, press
Fn + F10
.
You can also adjust the volume with the Windows volume
control applet located on the taskbar. However, the volume
control function keys override the Windows volume control
applet. If your volume is too low or too high after setting the
volume in the applet, adjust the volume with the function
keys.
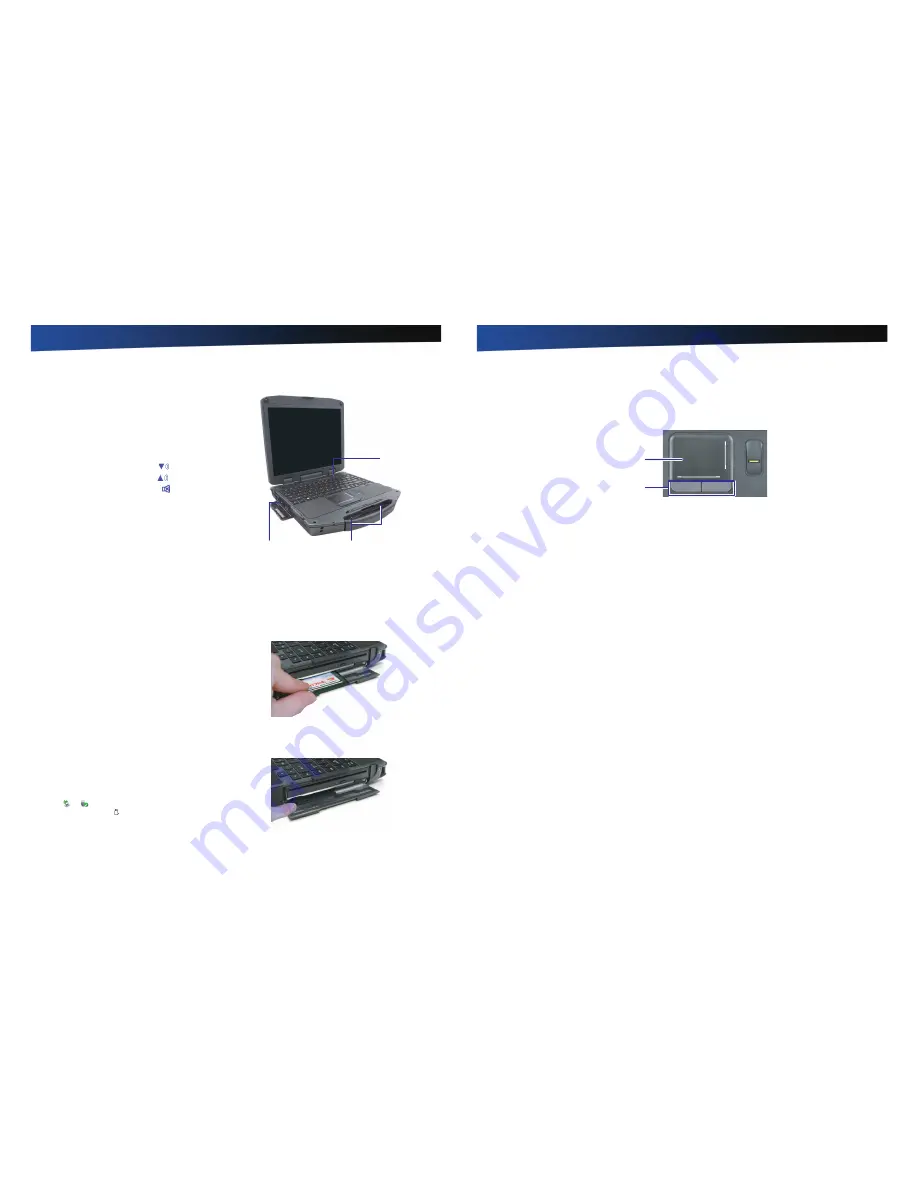
Speakers
Audio Jacks
Microphone
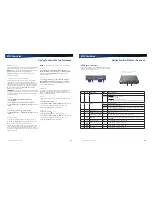
The PC Card Slot (Option)
PC Card
Use the PC card slot, located on the right side of the device under the media bay, as an interface between your device and a
variety of communications devices, such as network adapters, SCSI adapters, and fax/modems, or to provide additional data
storage capacity. Your device’s PC Card slot supports single Type I or II PC Cards, 32-bit CardBus cards, and Zoomed Video
cards.
CAUTION
Do not remove or change any hardware while your device is hibernating or in a Sleep/Standby state.
Inserting the Card
1.
The top side of a PC Card is usually identified with a label.
Insert the card into the slot with the top up and the edge
with pinhole contacts or arrow, going in first. You will feel
some resistance as the card slides into the back of the slot.
2.
PC Cards require drivers, or a program that allows the
operating system to use a specific device. Many drivers are
included with Windows so the PC Card will be automatically
recognized; but if not, you will be prompted to install the
driver included with your card.
3.
The PC Card becomes a removable disk drive and is
assigned a letter drive.
NOTE
Please read the instructions included with individual
PC Cards. Some cards may be inserted with power on, while
others require that the device be turned off.
Ejecting a Card
1.
First, exit the application using the card.
2.
On the taskbar, left-click on the
Safely Remove Hardware
icon
or
(for
Windows 7
) or
Safely Remove Hardware
and Eject Media
icon (for
Windows 10
).
3.
Press the PC Card further into the slot to release the card.
You will hear a click.
Rugged Notebook User Guide
24
R13S User Guide
Getting Familiar With Your Notebook
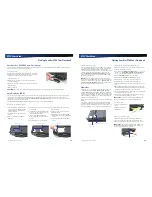
TouchPad
The integrated TouchPad is a pointing device that senses movement on its surface so the cursor responds as you move your
finger over of the TouchPad. The buttons located directly below the TouchPad have the same function as a two-button mouse.
Press these buttons to make selections, drag objects, or perform a variety of other functions depending on the software.
TouchPad
TouchPad Buttons
Selecting Objects
1.
Move the pointer over the object to be selected
2.
Double-tap the TouchPad or double-click the left TouchPad
button. The TouchPad will respond like a mouse.
Dragging Objects
1.
Place the cursor over the desired object.
2.
Press and hold the left button or tap the TouchPad two
times as if you were double-clicking but do not remove your
finger after the second tap.
3.
Move the cursor to the desired location and release the
button or lift your finger to finish dragging.
Scrolling
Two-Finger Scrolling
The two-finger scrolling feature allows you to scroll vertically
or horizontally and initiate scrolling from anywhere on the
TouchPad surface.
1.
Place two fingers down on the TouchPad surface. The
fingers should be slightly separated.
2.
Using a straight continuous motion, slide both fingers in
the desired direction.
3.
Lift both fingers up off the TouchPad surface to stop
scrolling.
Zooming
Pinch Zoom
The Pinch Zoom gesture delivers smooth zooming
functionality in many applications, including Microsoft Office
2003 and 2007, MS IE 6,7, and 8, as well as Adobe Acrobat/
Reader and PhotoShop CS3 and CS4, MS Windows Media
Player 11, WinDVD 9, and iTunes. This feature is enhanced with
PointZoom(
TM
) for intelligent and contextual zoom control.
Users surfing the Web can pinch over a site’s text enlarging
the font, pinch over a map and zoom the map - all in the same
browser window.
The Pinch Zoom gesture can be used to perform the same
function as a scroll wheel on a standard Windows applications
that support CTRL-SCROLL WHEEL zoom functionality.
To use the Pinch Zoom gesture:
1.
Place two fingers down on the TouchPad surface.
2.
Slide the fingers further apart to zoom in or slide the
fingers closer together to zoom out. For the best zooming
experience, use the tips of your fingers.
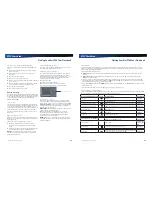
Rotating Objects
Pivot Rotate
The Pivot Rotate gesture allows objects such as a photo,
PDF file, or other selected object, to be rotated in 90 degree
increments.
1.
Place one finger down on the left “target” zone (adjustable
scroll zone) of the TouchPad surface and keep it stationary.
2.
Place another finger down near the middle of the TouchPad.
3.
Slide the second finger in a circular motion around the
first finger. Ensure that the space between the two fingers
remains the same while making the circular motion. Slide
clockwise or counterclockwise to rotate the selected object
in the desired direction.

