Rugged Notebook User Guide
25
R13S User Guide
Getting Familiar With Your Notebook
Application Gestures
Three Finger Flick
The Three-Finger Flick gesture enhances navigation for a
variety of applications. It can be used to browse the Internet
or scroll through photos in a photo viewer window. It can also
be used to enter or exit slideshow mode.
To enable this feature, select the
Enable Three-Finger Flick
check box.
To use the Three-Finger-Flick gesture for navigation:
1.
Place three fingers, slightly separated, down on the
TouchPad surface.
2.
Flick your fingers in a straight, continuous motion in the
desired direction, moving from one side of the TouchPad to
the opposite side.
3.
Slide your fingers to the right or left to page forward or
backward in a photo viewer or an Internet browser window,
and then lift the fingers.
To use the Three-Finger-Flick gesture for slideshow mode,
slide your fingers vertically.
Slide fingers upward to launch slideshow mode.
Slide fingers downward to exit slideshow mode.
Three Finger Press
The Three-Finger Press gesture provides a shortcut for
launching a specified application or applications.
To enable this feature, select the
Enable Three-Finger Press
check box. To customize the applications that launch, click the
Configure
button.
To use the Three-Finger-Press feature:
1.
Place three fingers down on the TouchPad surface. Ensure
that there is a small gap between the fingers.
2.
Hold fingers still until the application or applications begin
to launch.
3.
Lift fingers upward off the TouchPad surface.
Adjusting the TouchPad Settings
These settings allow you to change the orientation from
righthanded to left-handed, and fine-tune the pointer
movement and timing of clicks.
Windows 7:
1.
Select
Start
, Control Panel, Hardware and Sound
.
2.
Under
Devices and Printers
, select
Mouse
. This will bring
you to the
Mouse Properties
window.
3.
On the
Buttons
tab, use the
Devices
drop-down menu to
select
Synaptics TouchPad V7.2 on PS/2 Port
. Now you can
choose TouchPad settings for the way you work.
Windows 10:
1.
Select
Start
, Settings
, Devices, Mouse & touchpad,
Releated Settings, Additional mouse options
. This will bring
you to the
Mouse Properties
window.
2.
On the
Buttons
tab, use the
Devices
drop-down menu to
select
Synaptics TouchPad V7.2 on PS/2 Port
. Now you can
choose TouchPad settings for the way you work.
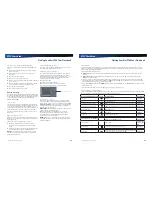
The Synaptics TouchPad can also be accessed via the
icon
in system tray.
TouchPad Precautions
The TouchPad is a sensitive device. If not properly cared for,
it can be easily damaged. Please take note of the following
precautions:
Make sure the TouchPad does not into come into contact
with dirt, liquids or grease.
Keep the TouchPad area dry and clean.
Do not touch the TouchPad if your fingers are dirty.
Do not rest heavy objects on the TouchPad or TouchPad
buttons.
Keep your fingers dry and clean when using the TouchPad.
Avoid tapping too hard. The TouchPad is sensitive to finger
movements and responds best to light touches.
Rugged Notebook User Guide
26
R13S User Guide
Getting Familiar With Your Notebook
SD Card Slots
SD card
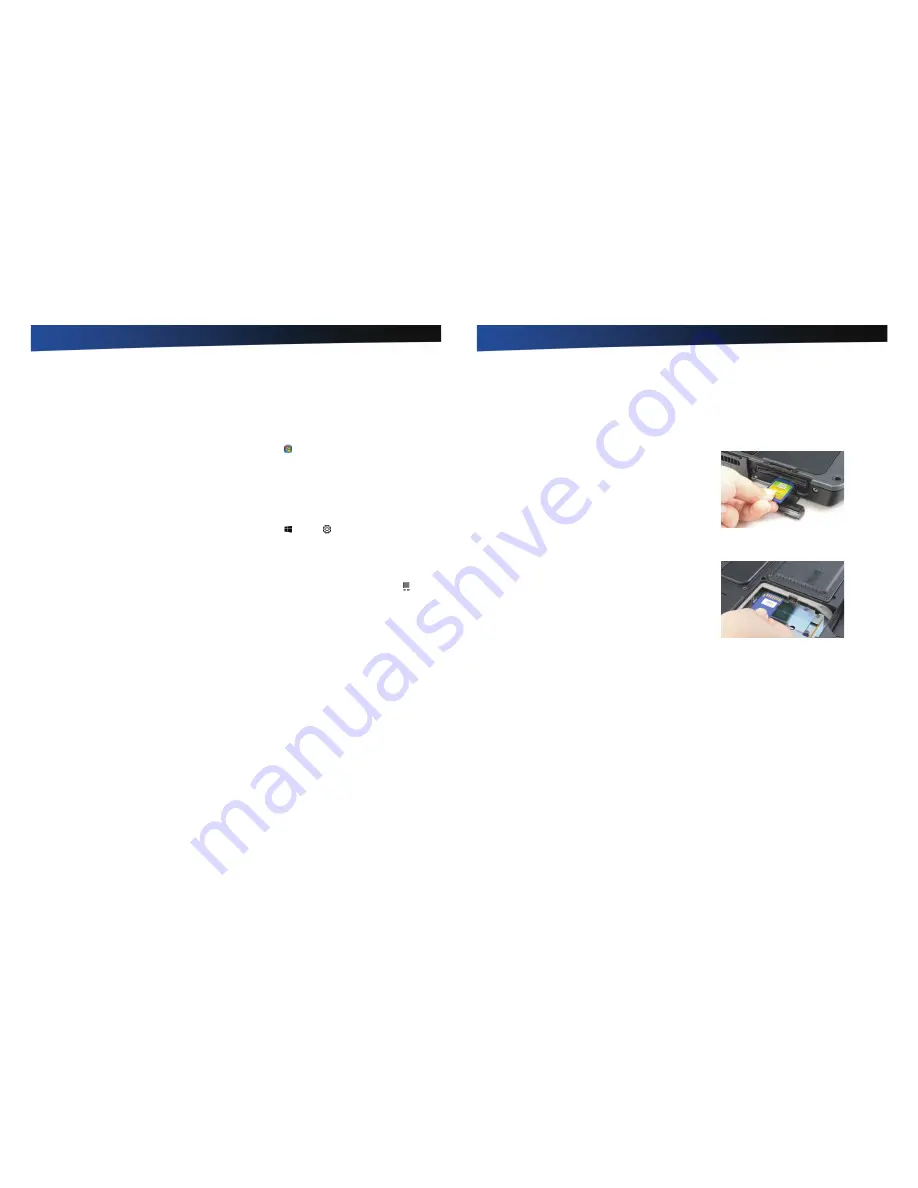
Your device comes with two SD card slots, both supporting SDXC cards. The external slot is located on the left side of the
device and the internal slot is located inside the HDD bay.
To Insert a Card
Into the Left Side SD Card Slot
Insert the SD card with gold contacts facing down into the slot
until it clicks into place. The card will appear as a removable
storage device that you can copy files to and from.
Into the SD Card Slot Inside the Battery Bay
1.
Remove the HDD (see
Replacing the hard disk drive
).
2.
Insert the SD card with gold contacts facing up into the slot
until it clicks into place. The card will appear as a removable
storage device that you can copy files to and from.
3.
Install the HDD (see
Replacing the hard disk drive
).
To Remove a Card
From the Left Side SD Card Slot
1.
Make sure no operation is using the SD card (such as file
copying or deletion).
2.
Press the card further into the slot to release the card. You
will hear a click.
3.
Remove the card.
CAUTION
Do not remove or change any hardware while
your device is hibernating or in a Sleep/Standby state.
From the SD Card Slot Inside the Battery Bay
1.
Remove the HDD (see
Replacing the hard disk drive
).
2.
Press the card further into the slot to release the card. You
will hear a click.
3.
Remove the card.
4.
Install the HDD (see
Replacing the hard disk drive
).
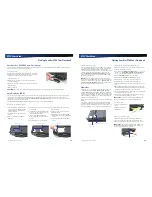
Left Side SD Card Slot
SD Card Slot Inside the Battery Bay


