Rugged Notebook User Guide
27
R13S User Guide
Getting Familiar With Your Notebook
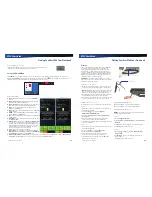
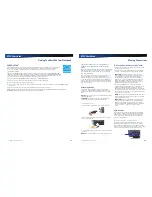
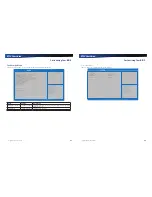
Smart Card or EXPRESS Card Slot (Option)
Your device comes with a Smart Card Reader or ExpressCard slot (option) that supports ExpressCard/34 and ExpressCard/54.
This slot is located on the left side of the device.
Smart Card reader (FIPS 201) or EXPRESS Card/54
To Insert a Card
Insert the compatible card with the label side up into the slot
until it clicks into place. The card will appear as a removable
storage device that you can copy files to and from.
To Remove a Card
1.
Make sure no operation is using the card (such as file
copying or deletion).
2.
Press the card further into the slot to release the card. You
will hear a click.
3.
Remove the card.
CAUTION
Do not remove or change any hardware while your device is hibernating or in a Sleep/Standby state.
Hard Disk Drive (HDD)
Your device features a removable, shock-mounted hard disk to provide high-capacity storage and fast access. The operating
system and most programs are stored here. Your device identifies the hard disk drive as drive C. You can do a one-time
configuration of your hard disk space through the
HDD Space Setup Wizard
. The Wizard can run when it is convenient for you;
however, should be run after first start-up.
See the
Customizing Your BIOS
section to password protect your removable hard disk drive.
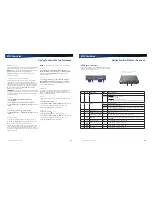
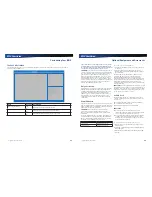
Replacing the hard disk drive
1.
You should print these instructions
before continuing. They will not be
available after you shut down the
device in step two.
2.
Shut down the device and remove
power.
3.
Remove the battery (see
Battery
Removal
).
4.
Turn the device over so you are looking
at the bottom.
5.
If installed, use a Phillips screwdriver
to remove the two optional screws in
the hard disk drive cover.
6.
Flip open the HDD locks and turn
both of them toward the center of the
device.
7.
Lift the HDD cover off of the device.
8.
Using the ribbon, remove the HDD
from the device.
9.
Align the connectors and insert the
HDD in the device.
10.
Replace the door and turn the HDD
locks toward the outside of the device
to lock it.
11.
If desired, install the optional HDD
screws.
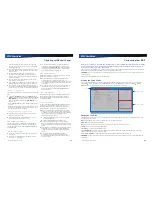
Remove screws
Turn toward inside
Remove by the ribbon
Rugged Notebook User Guide
28
R13S User Guide
Getting Familiar With Your Notebook
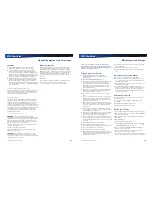
Hard Disk Drive Heater
The hard disk drive heater warms the HDD before spinning
up in temperatures below 5°C, the minimum safe operating
temperature for the HDD. The heater is integrated and
operates as needed when the device is on. If the temperature
is below 5°C when booting or resuming you will see the
message “
Warming internal hard drive. Please wait...
”. The
unit will continue booting when it detects the HDD is warm
enough to operate safely.
NOTE
If you are using the device in a cold temperature
environment and the battery level is too low for the heater to
operate, you will see the error message “
Battery too low to
warm the hard drive. Shutting down...
” and the device will
shut down. Apply external power and reboot.
Media Bay
Depending on your configuration, your device may have an
optional DVD multi-drive (DVD-RAM/DVD-ROM/DVD-RW/
CD-R/CD-ROM/CD-RW) or media bay battery. The multi-drive
allows you to read data from DVDs and CDs, including audio
or video CDs, and enables you to burn your data onto a CD or
DVD recordable disc. Please refer to the recording software
online help for more information.
If you have the media bay battery, it extends your unplugged
runtime.
Your notebook identifies the drive with the letter following
the hard drive and/or recovery partition letter. If your hard
drive is C, then the media bay will be E if you have a recovery
partition. It will be D if you do not have a recovery partition.
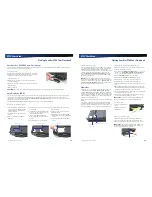
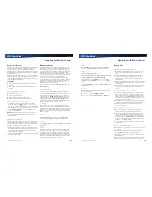
To Change Swappable Media Bay Device
1.
Make sure the device is not accessing the media bay drive.
2.
Open the media bay door cover.
3.
Left-click on the
Safely Remove Hardware
icon
or
(for
Windows 7
) or
S
afely Remove Hardware and Eject Media
icon on the Windows tray taskbar (for
Windows 10
).
4.
Select the
Media Bay
device, then select
Stop
.
5.
Wait for the “
Safe To Remove Hardware
” message.
6.
Flip the device over so the bottom side is facing up.
7.
If installed, remove the screw in the media bay lock.
8.
Slide the media bay lock toward the back of the device and
hold.
9.
While holding the media lock in the unlocked position, slide
the media bay release toward the outside of the device. The
media bay should come part way out of the device.
10.
Grasp the media bay device by the edges and pull straight
out until it is clear from the slot.
11.
Re-insert the next media bay device by firmly pushing it
back into the slot until it clicks into place.
CAUTION
Do not remove or change any hardware while
your device is hibernating or in a Sleep/Standby state.
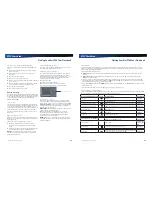
To Insert a Disk
1.
Open the media bay door
cover.
2.
Insert the disk into the
media bay slot.
To Remove a DVD or CD
1.
Make sure the device is not accessing the DVD drive.
2.
Press the eject button. The disk will automatically eject.
3.
Pick up the disk by the edges and remove it from the slot.
CAUTION
When the device is reading from a DVD or CD,
the Optical Disk Drive LED will flash on. Do not attempt to
remove a disk while this light is active.
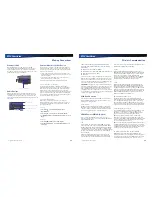
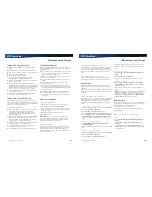
Media Bay Release
Media Bay
Screw and Lock
Multi Drive Eject Button

